Search the Forum
Showing results for '#LED'.
-
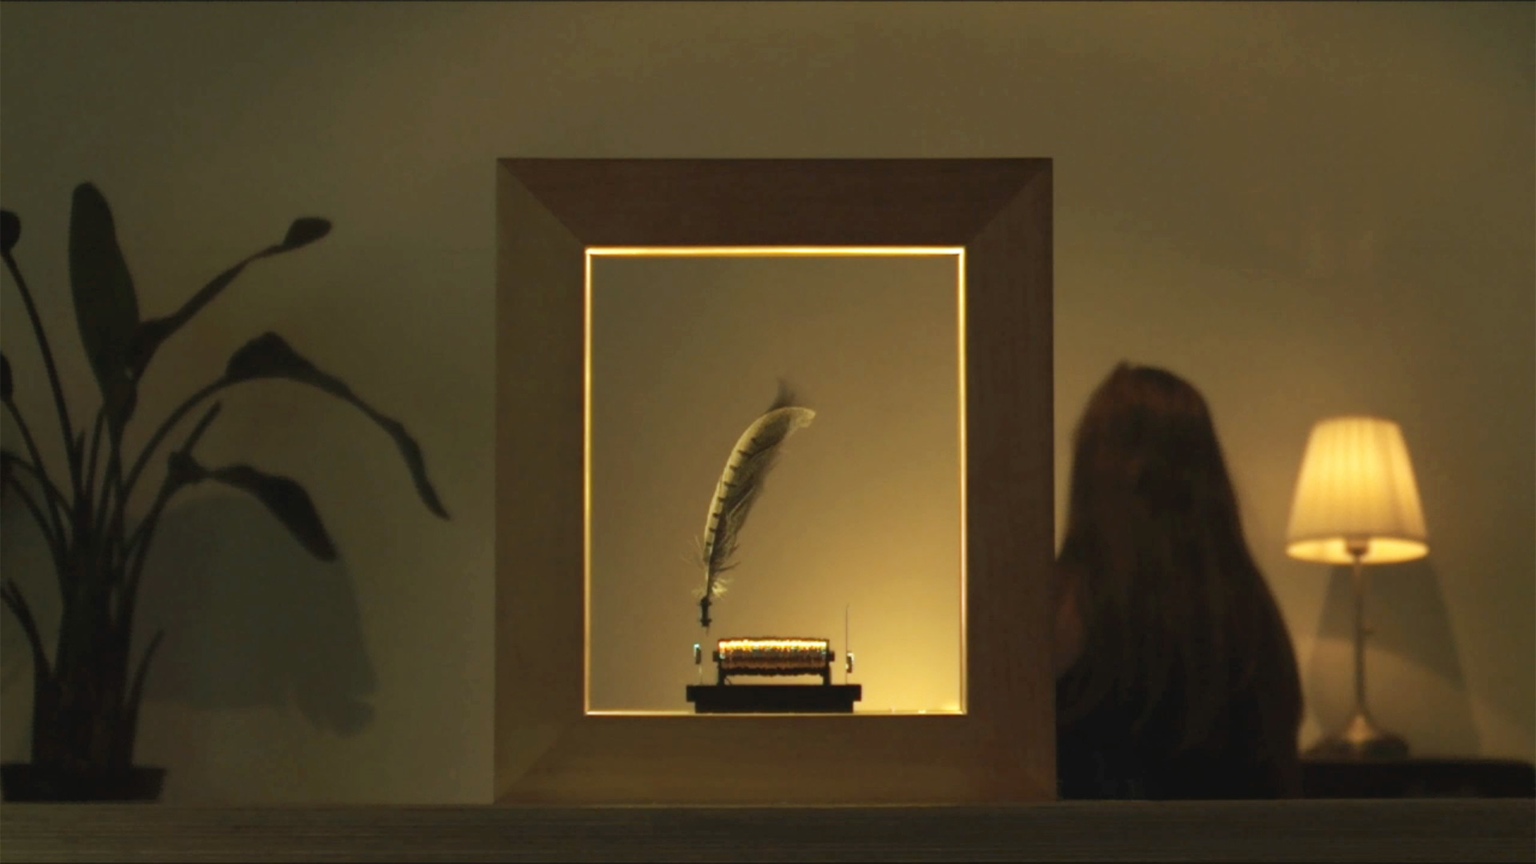
Slow Dance - En ramme, som bremser Time Der er ret stor sandsynlighed for, at du på et eller andet tidspunkt har besøgt dit lokale diskotek. Så kender du også strobe-lys, der giver sådan en fed stop-go fornemmelse, når folk danser rundt. Hold lige fast i det billede, og så udskifter du diskoteket med din stue. Du har en tyk billedramme med en fjer eller en blomst, der er tilsluttet en elektromagnet. Strobe-lyset er sat op i hastighed, så det blotte øje ikke kan se, at det blinker. Resultatet er the slow dance. Blomsten eller fjeren danser slow motion foran dig. Det er en optisk illusion og et sejt kunstværk at have stående i stuen. I videoen ovenover kan du se, hvordan Slow Dance Frame fungerer. se mere her: kickstarter

-
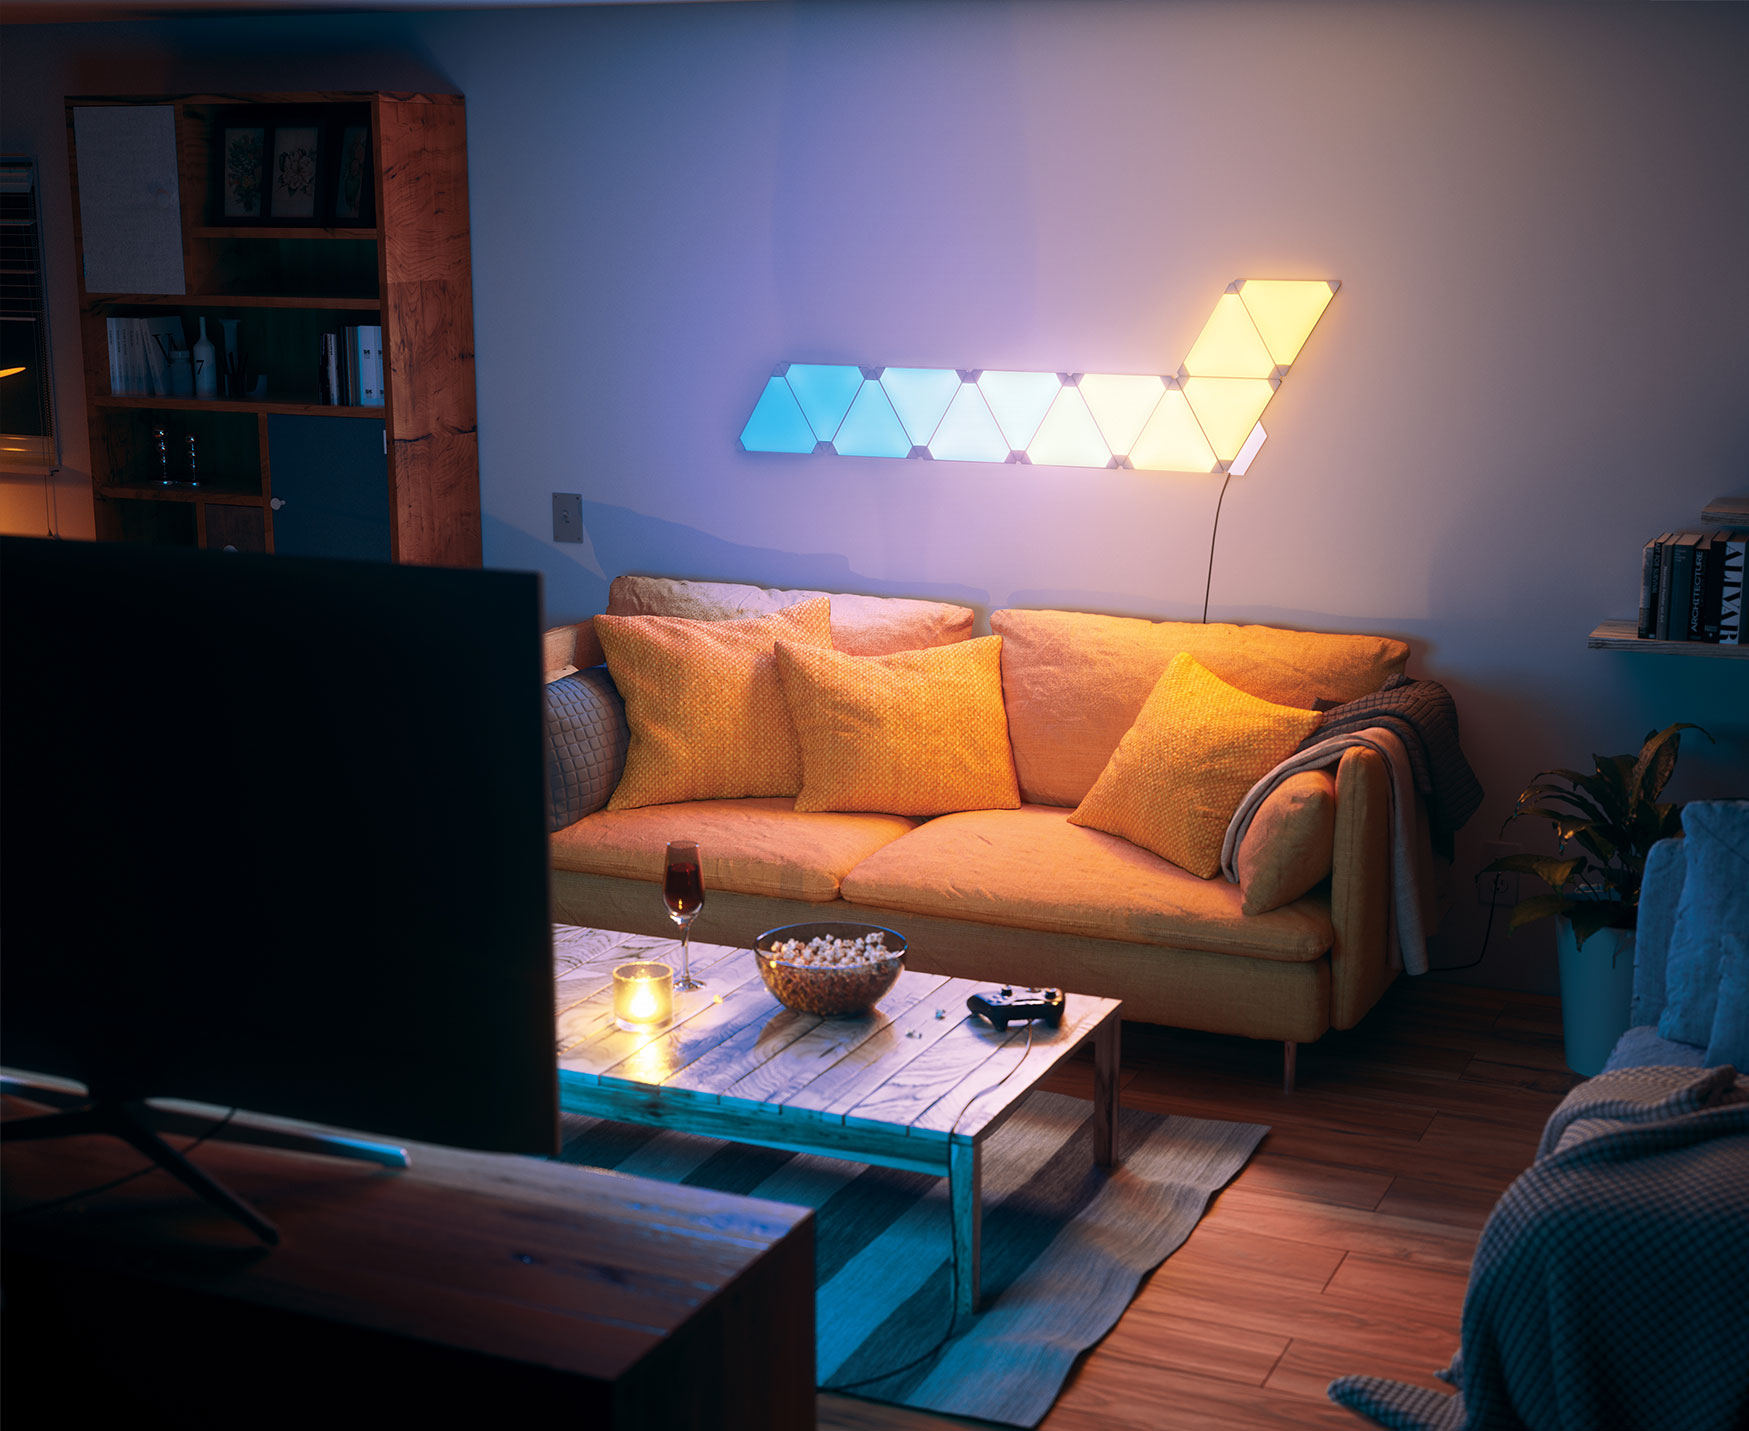
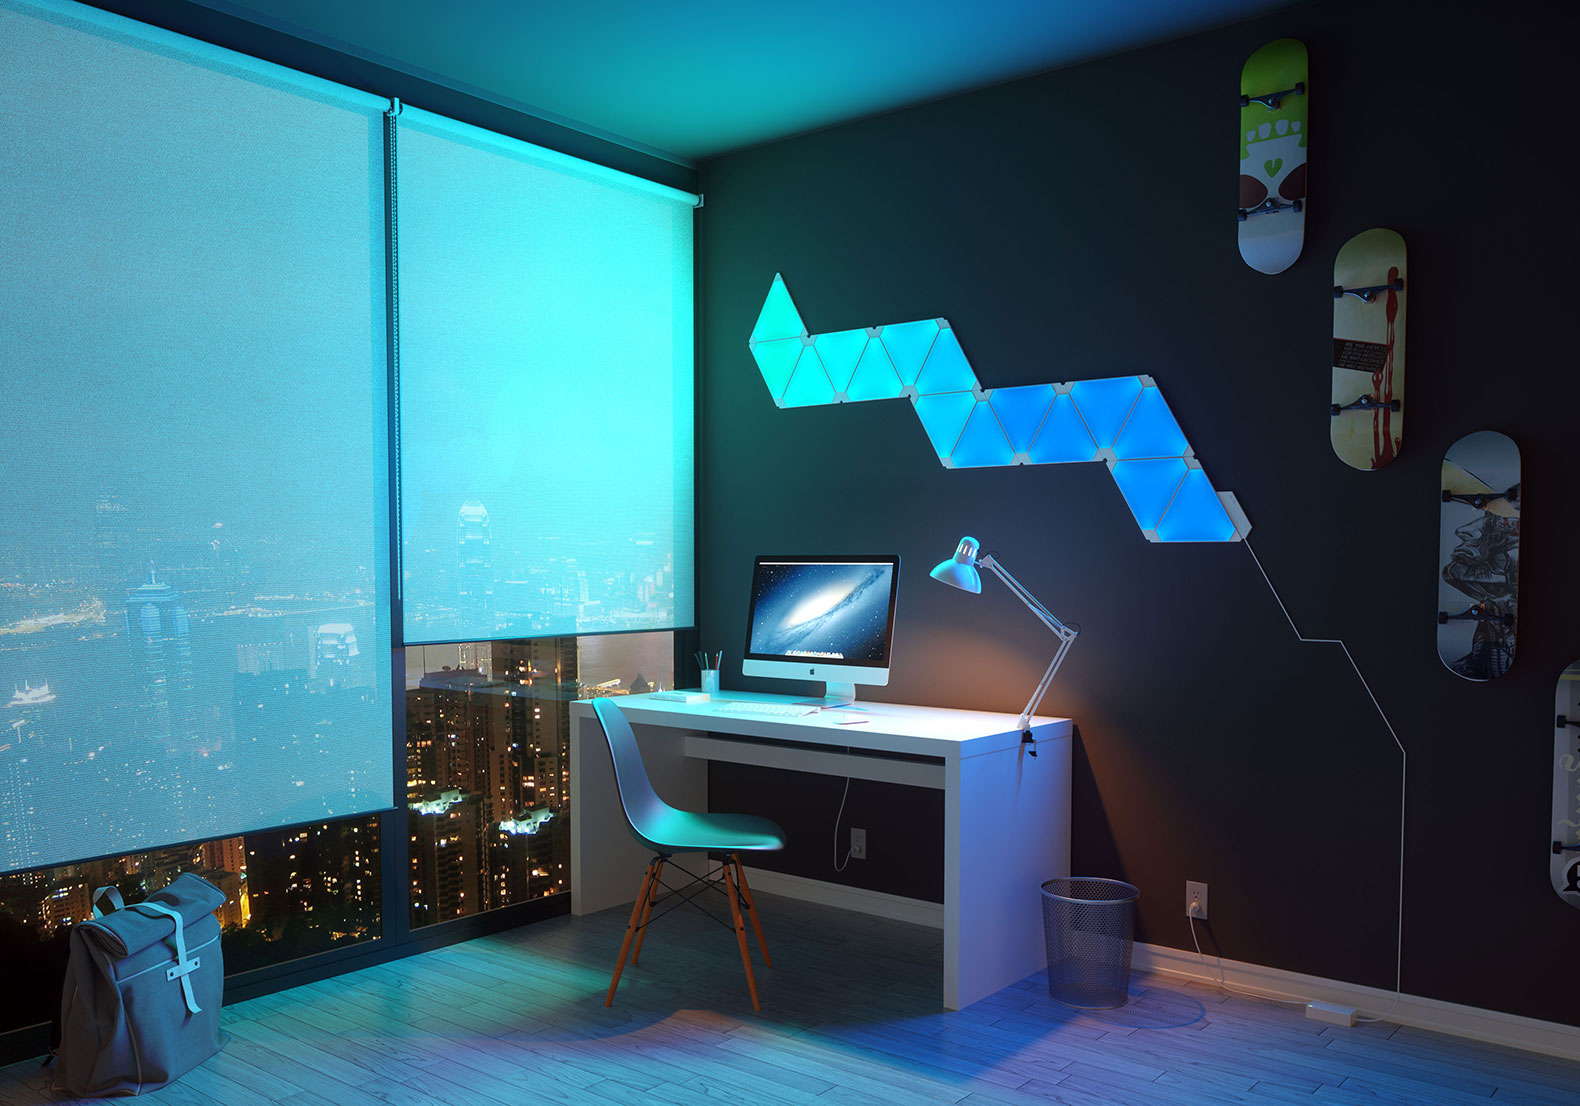
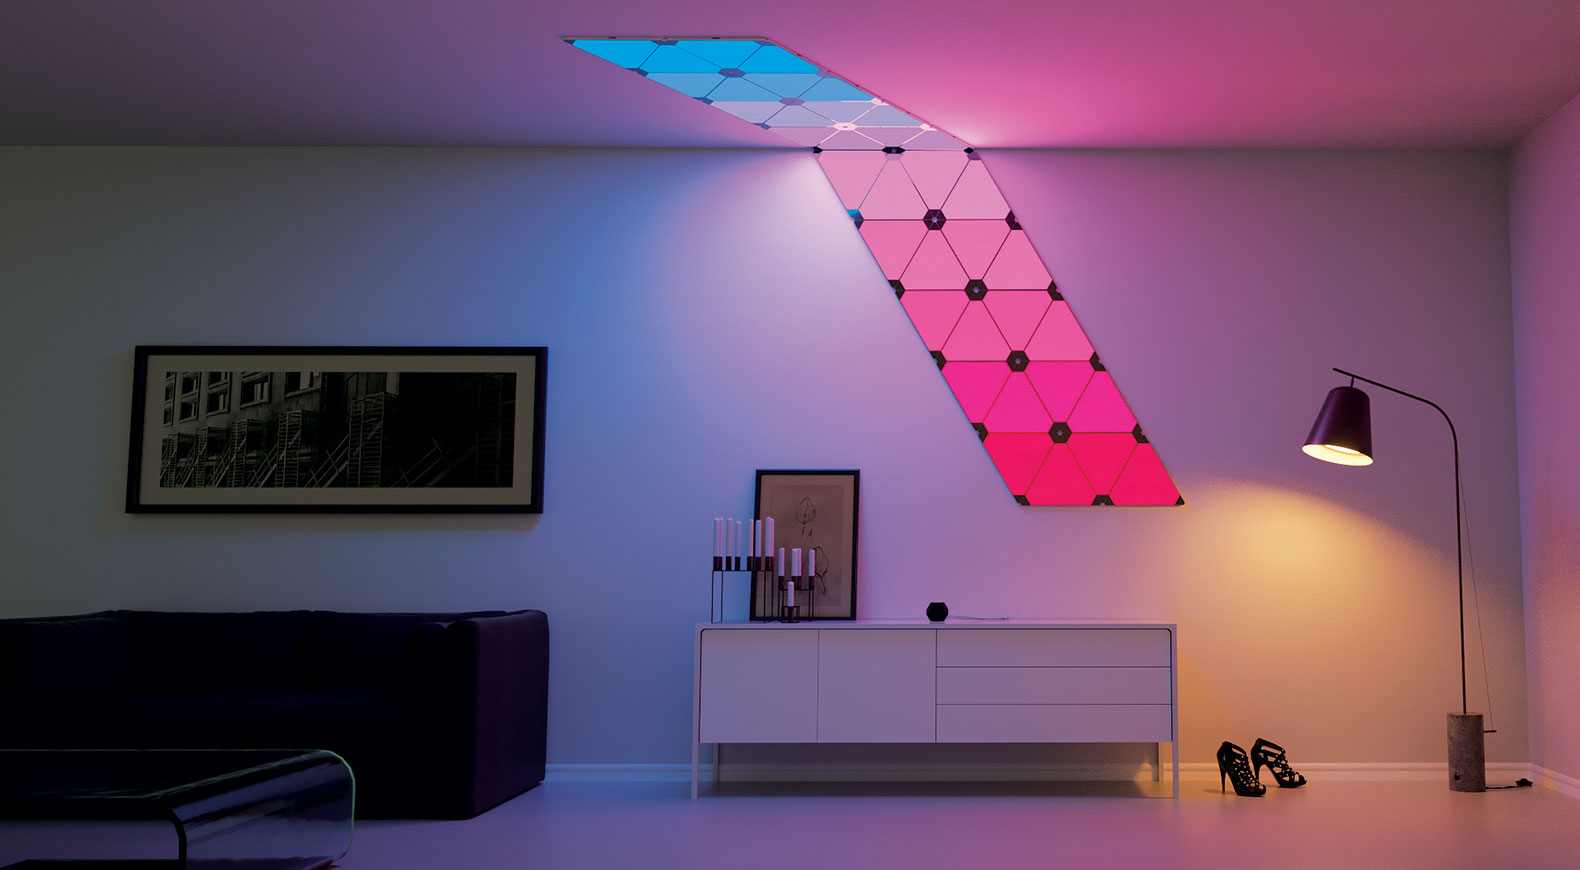
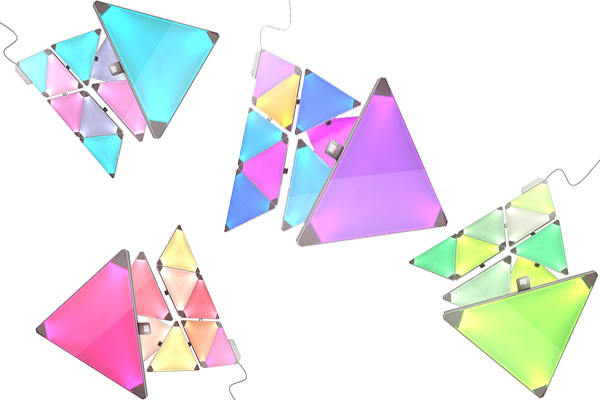
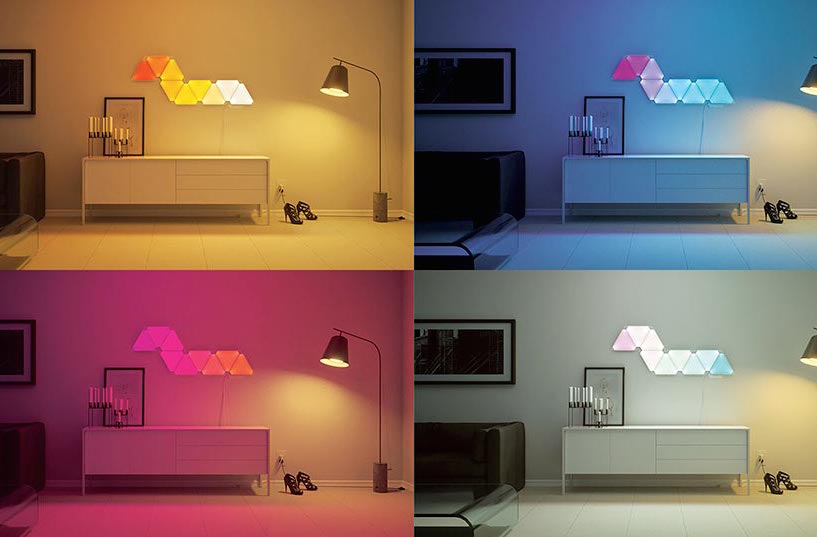
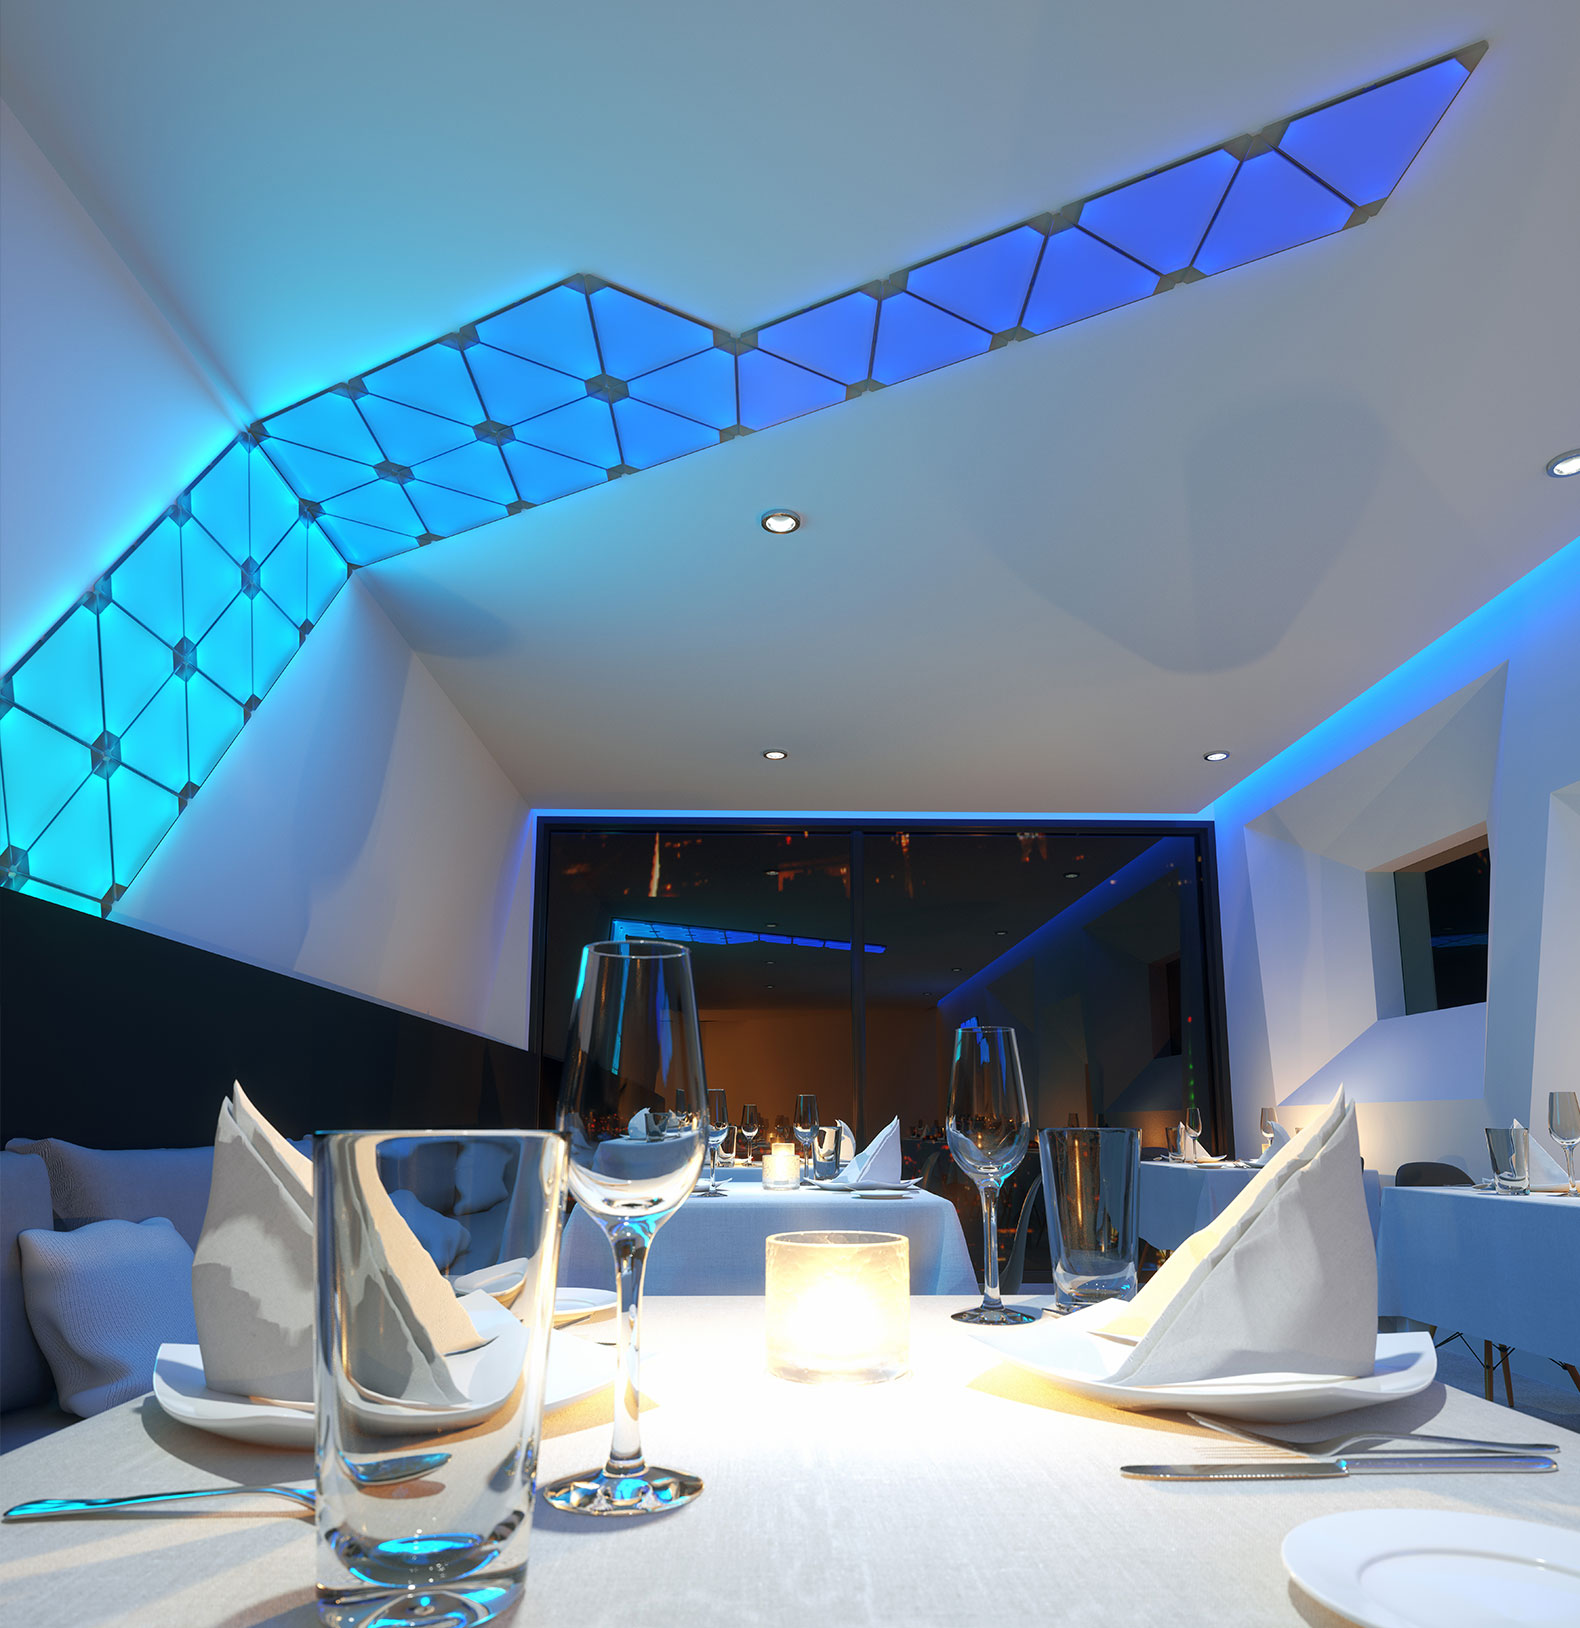
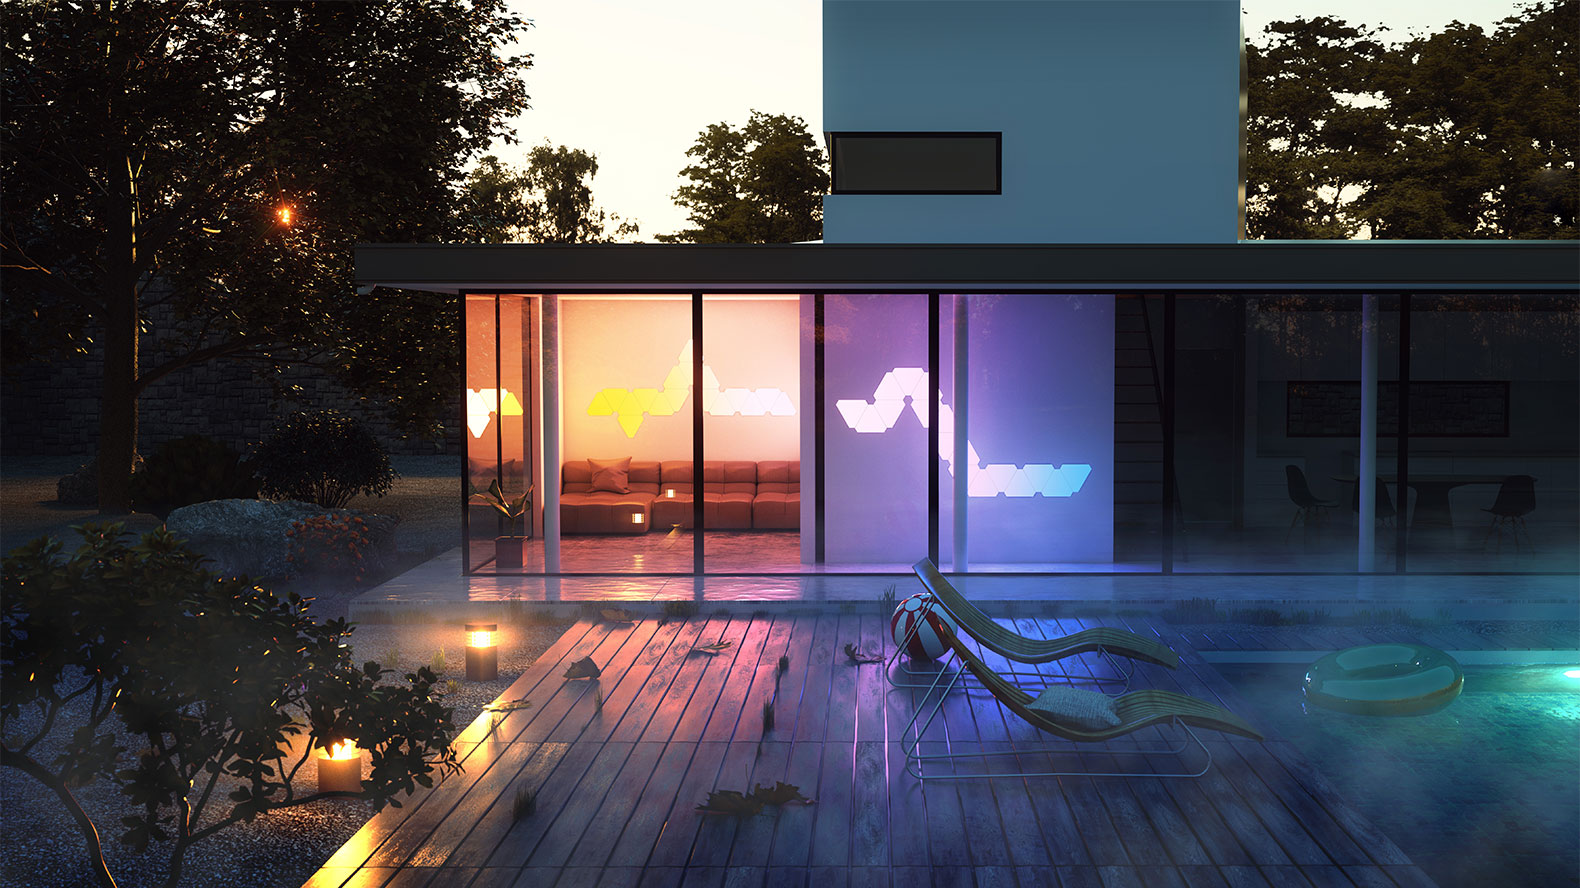
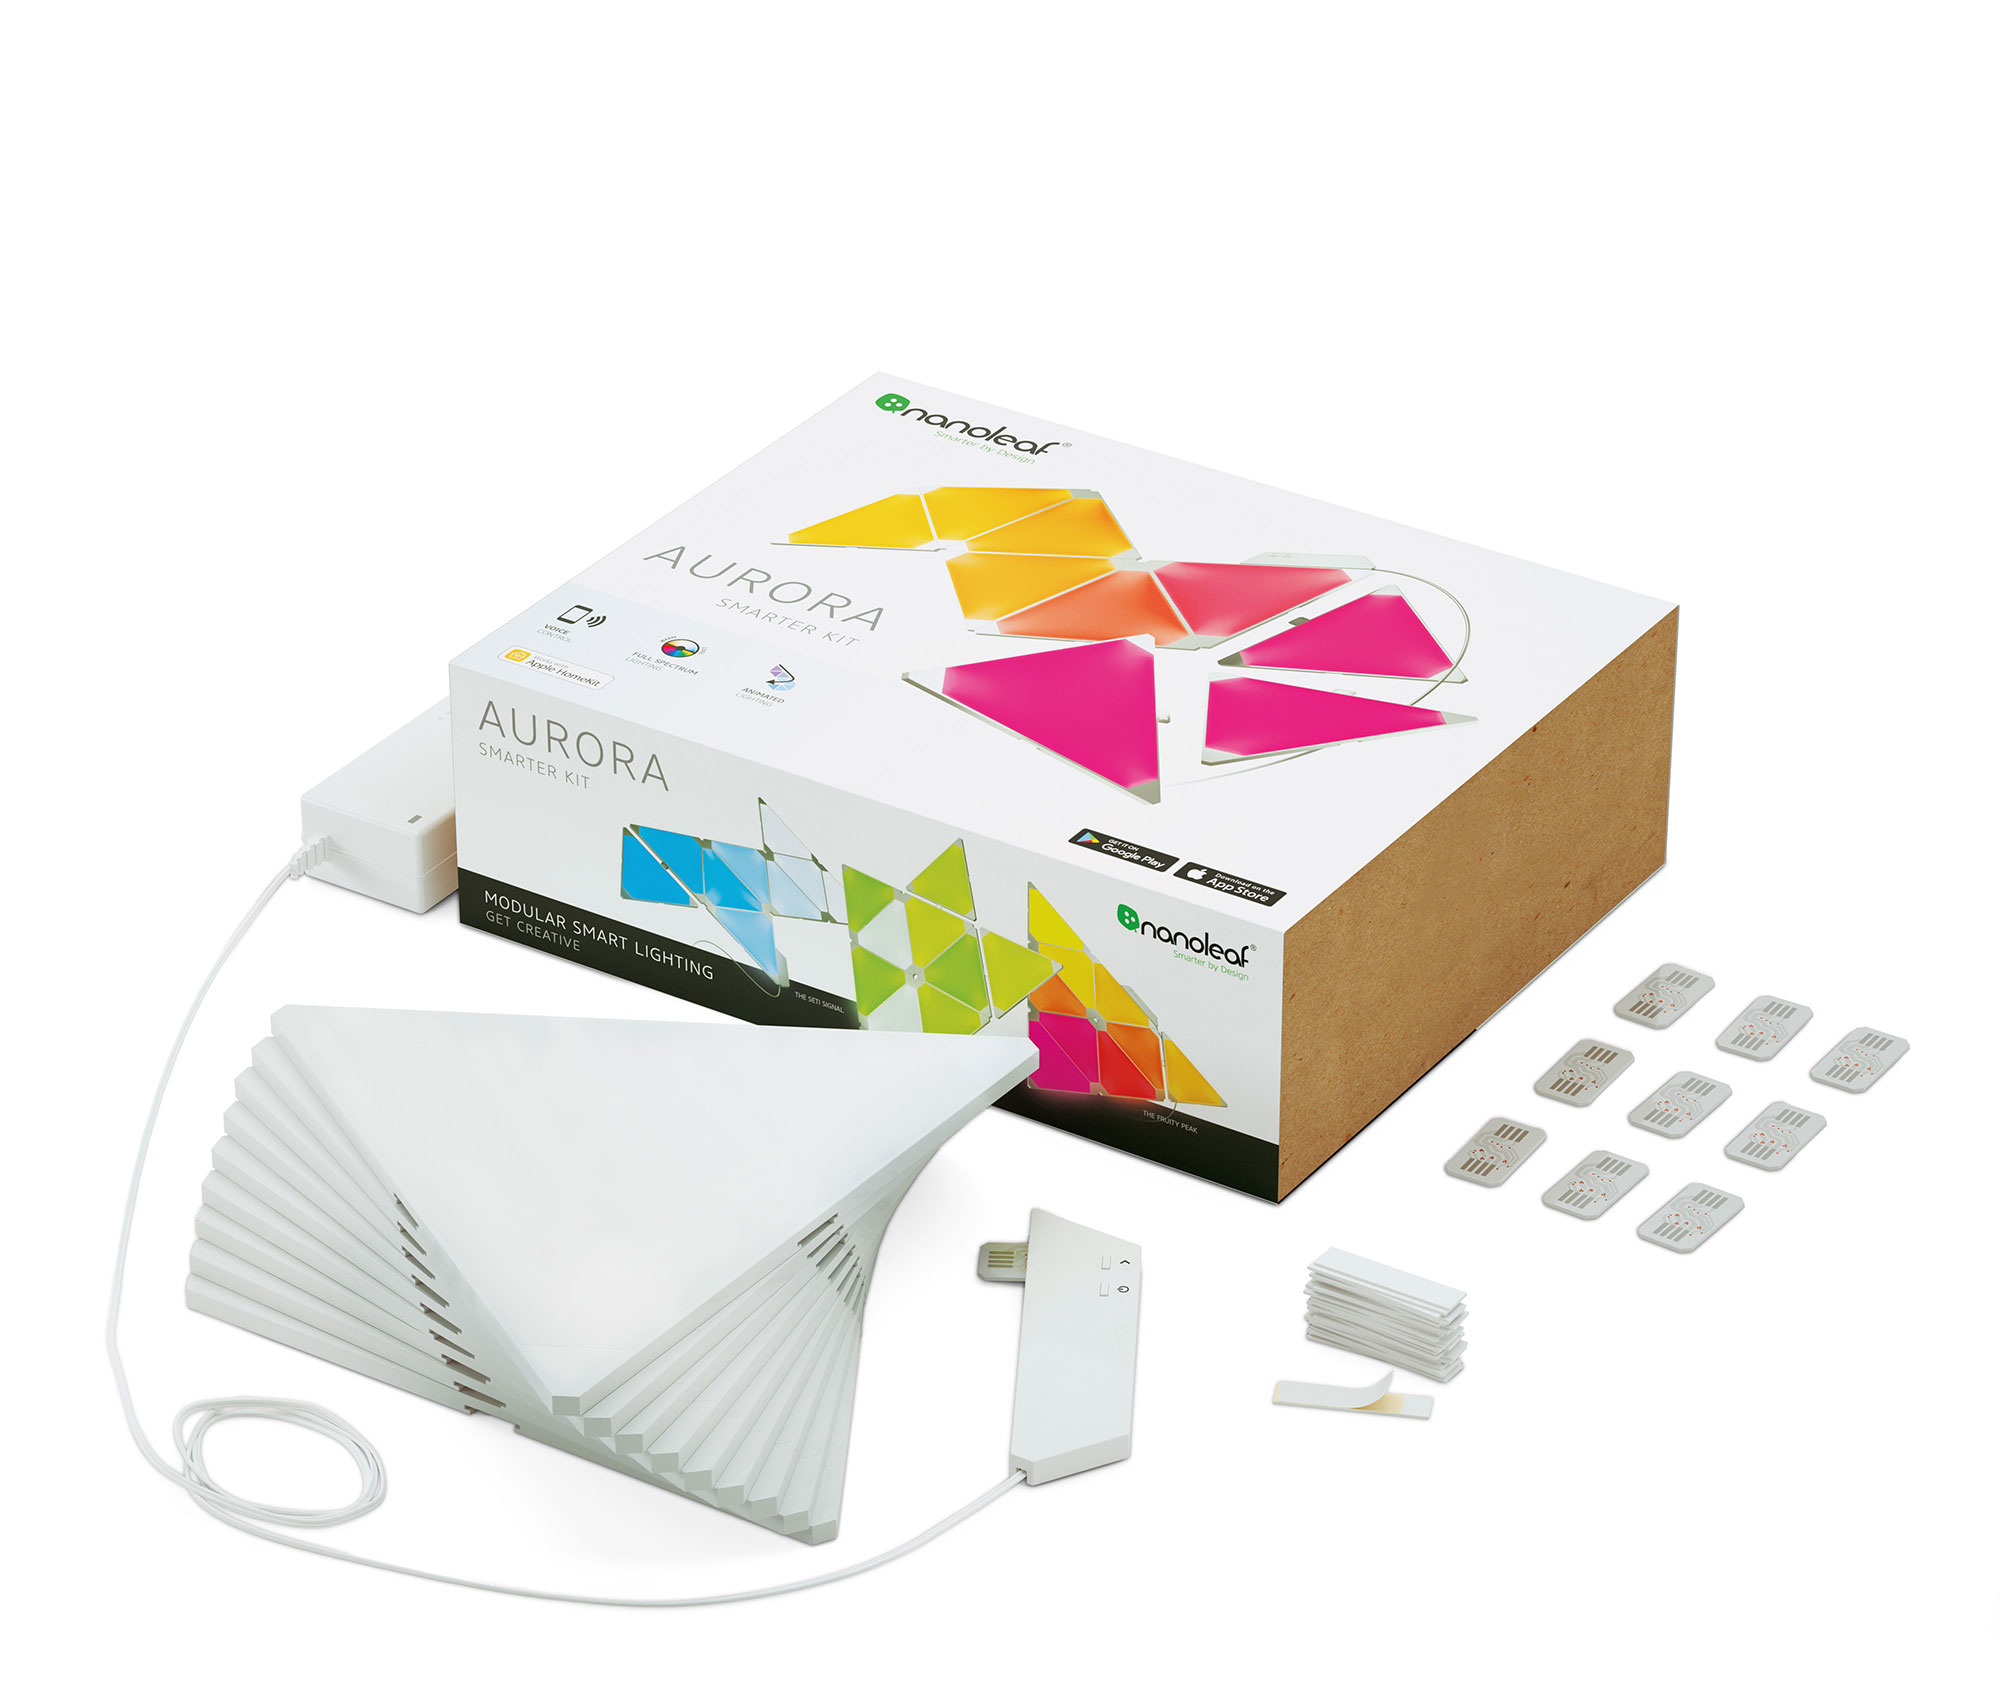
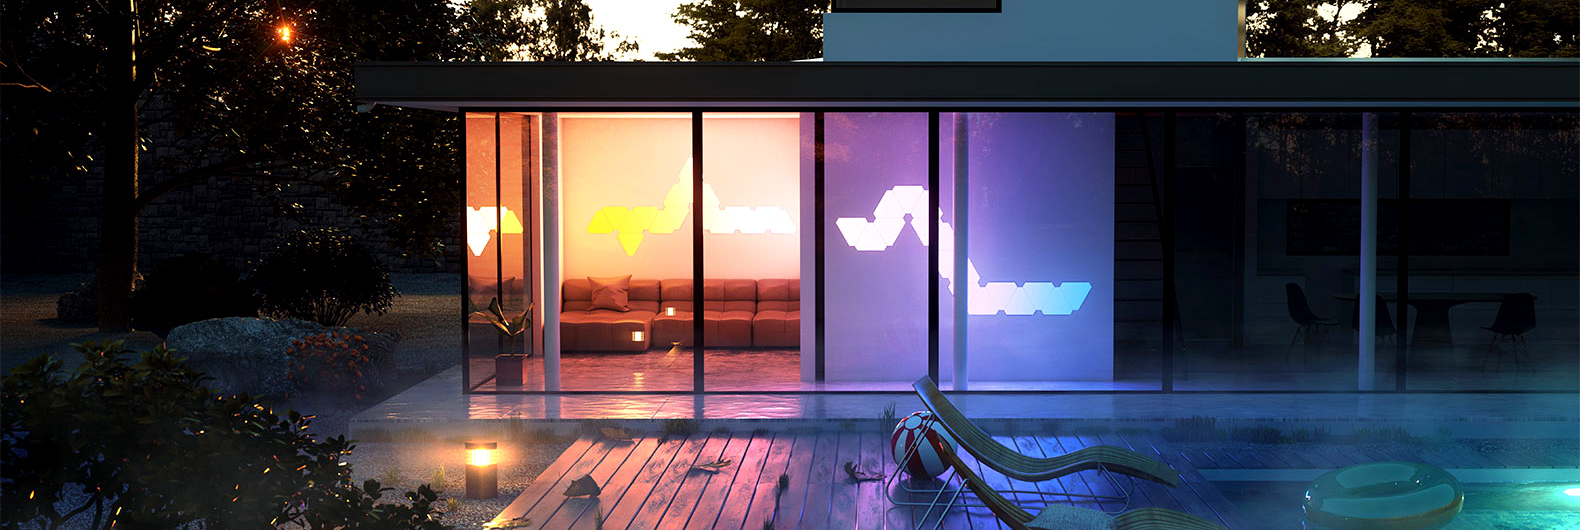
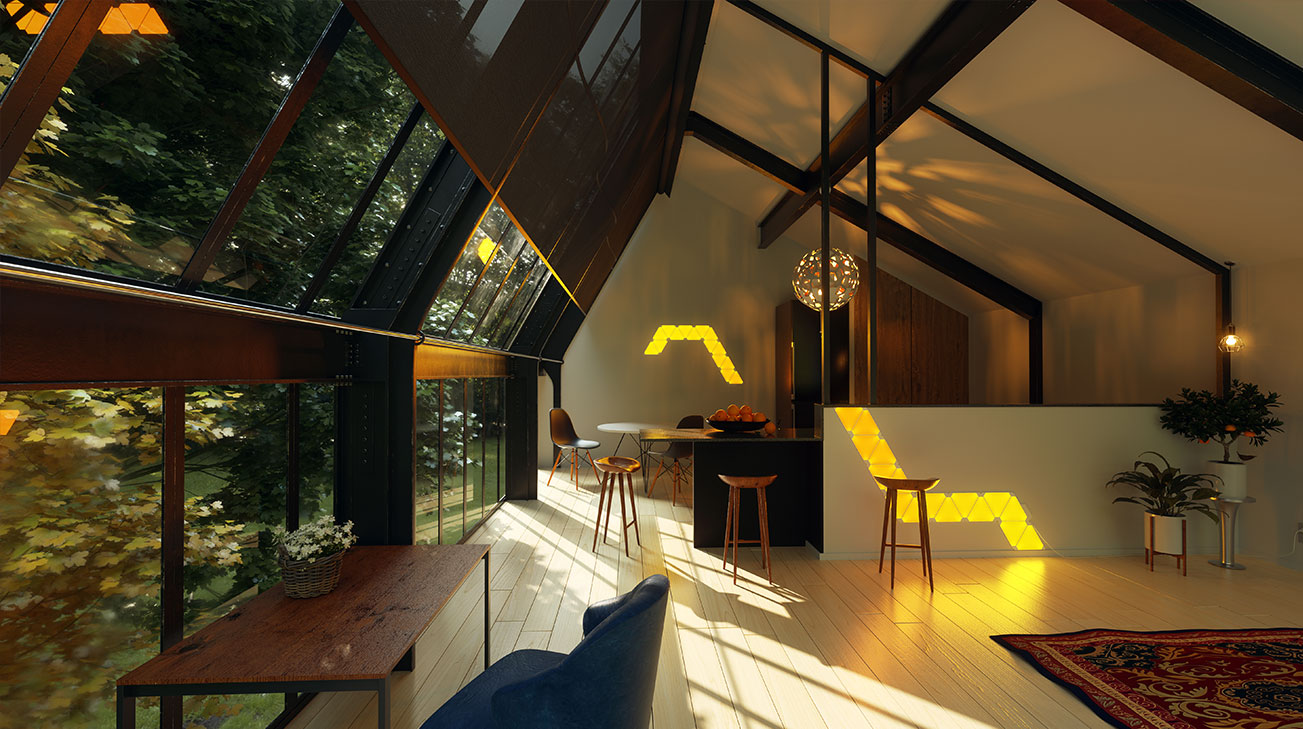
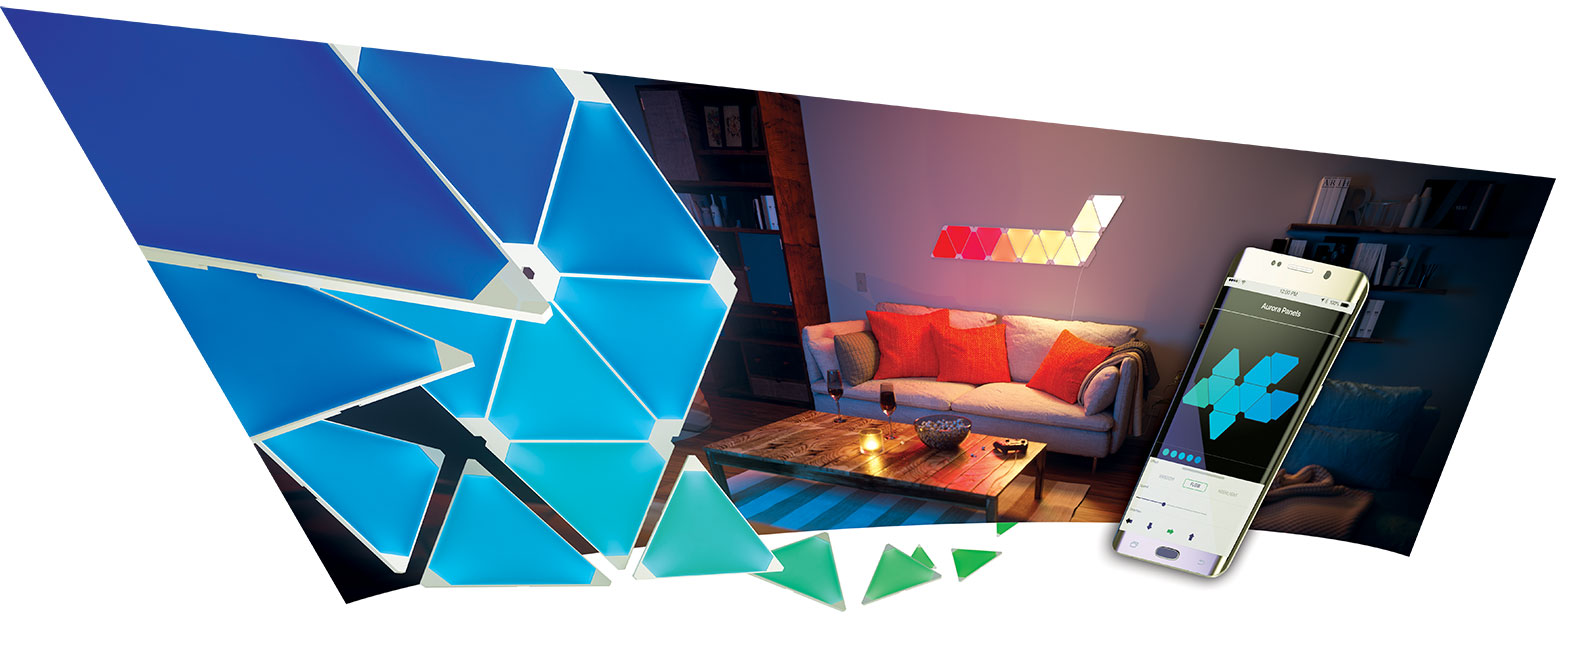
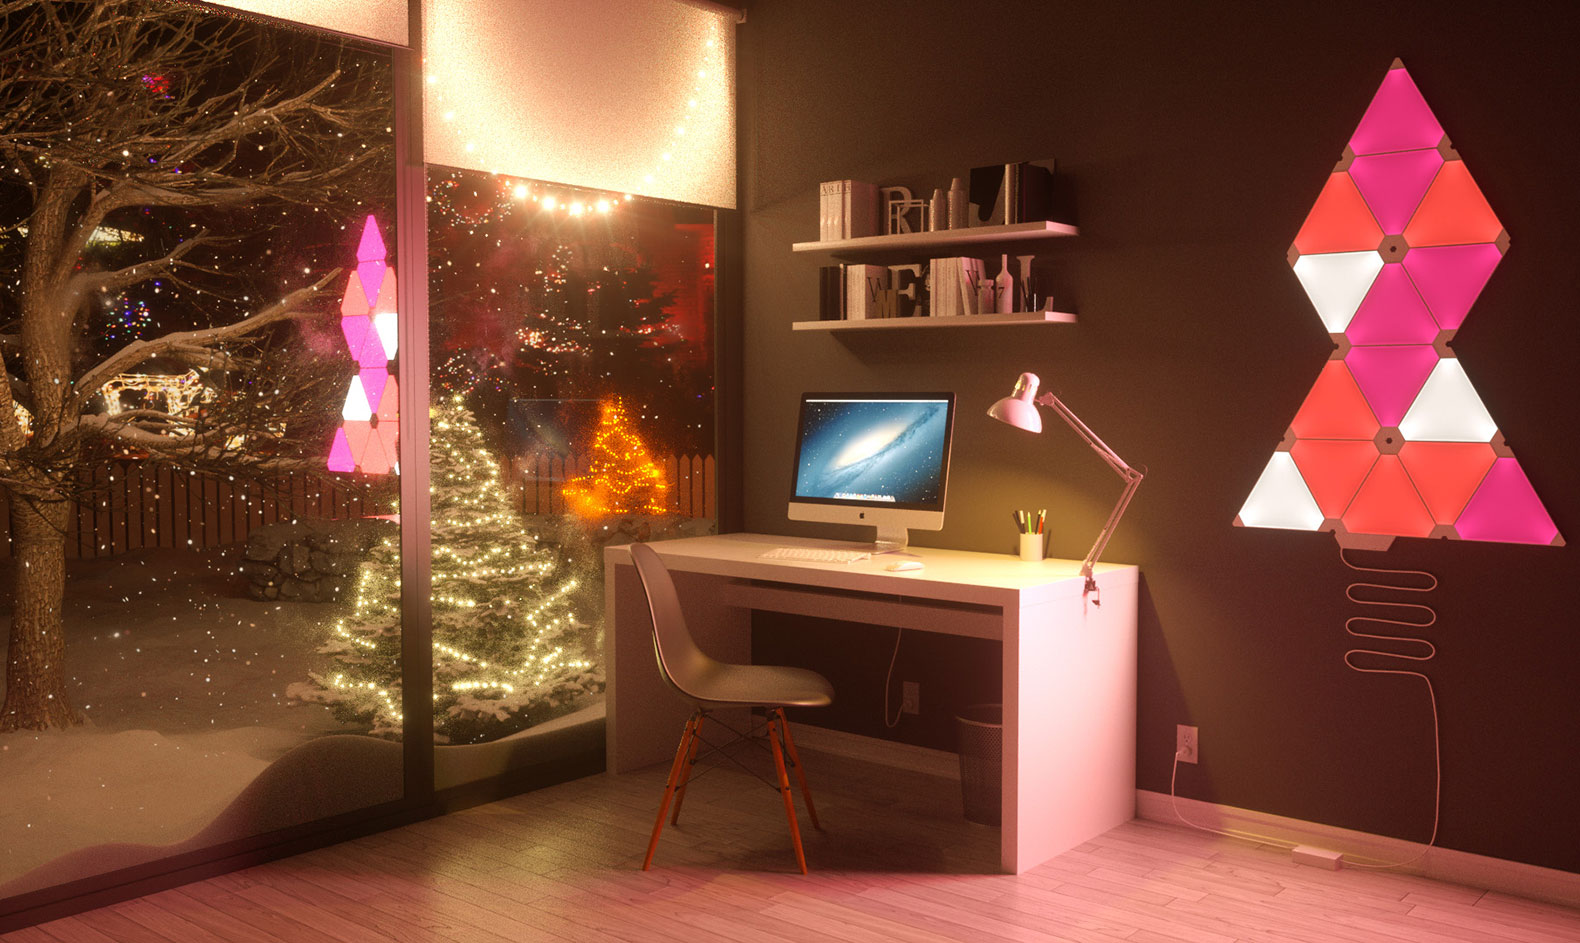
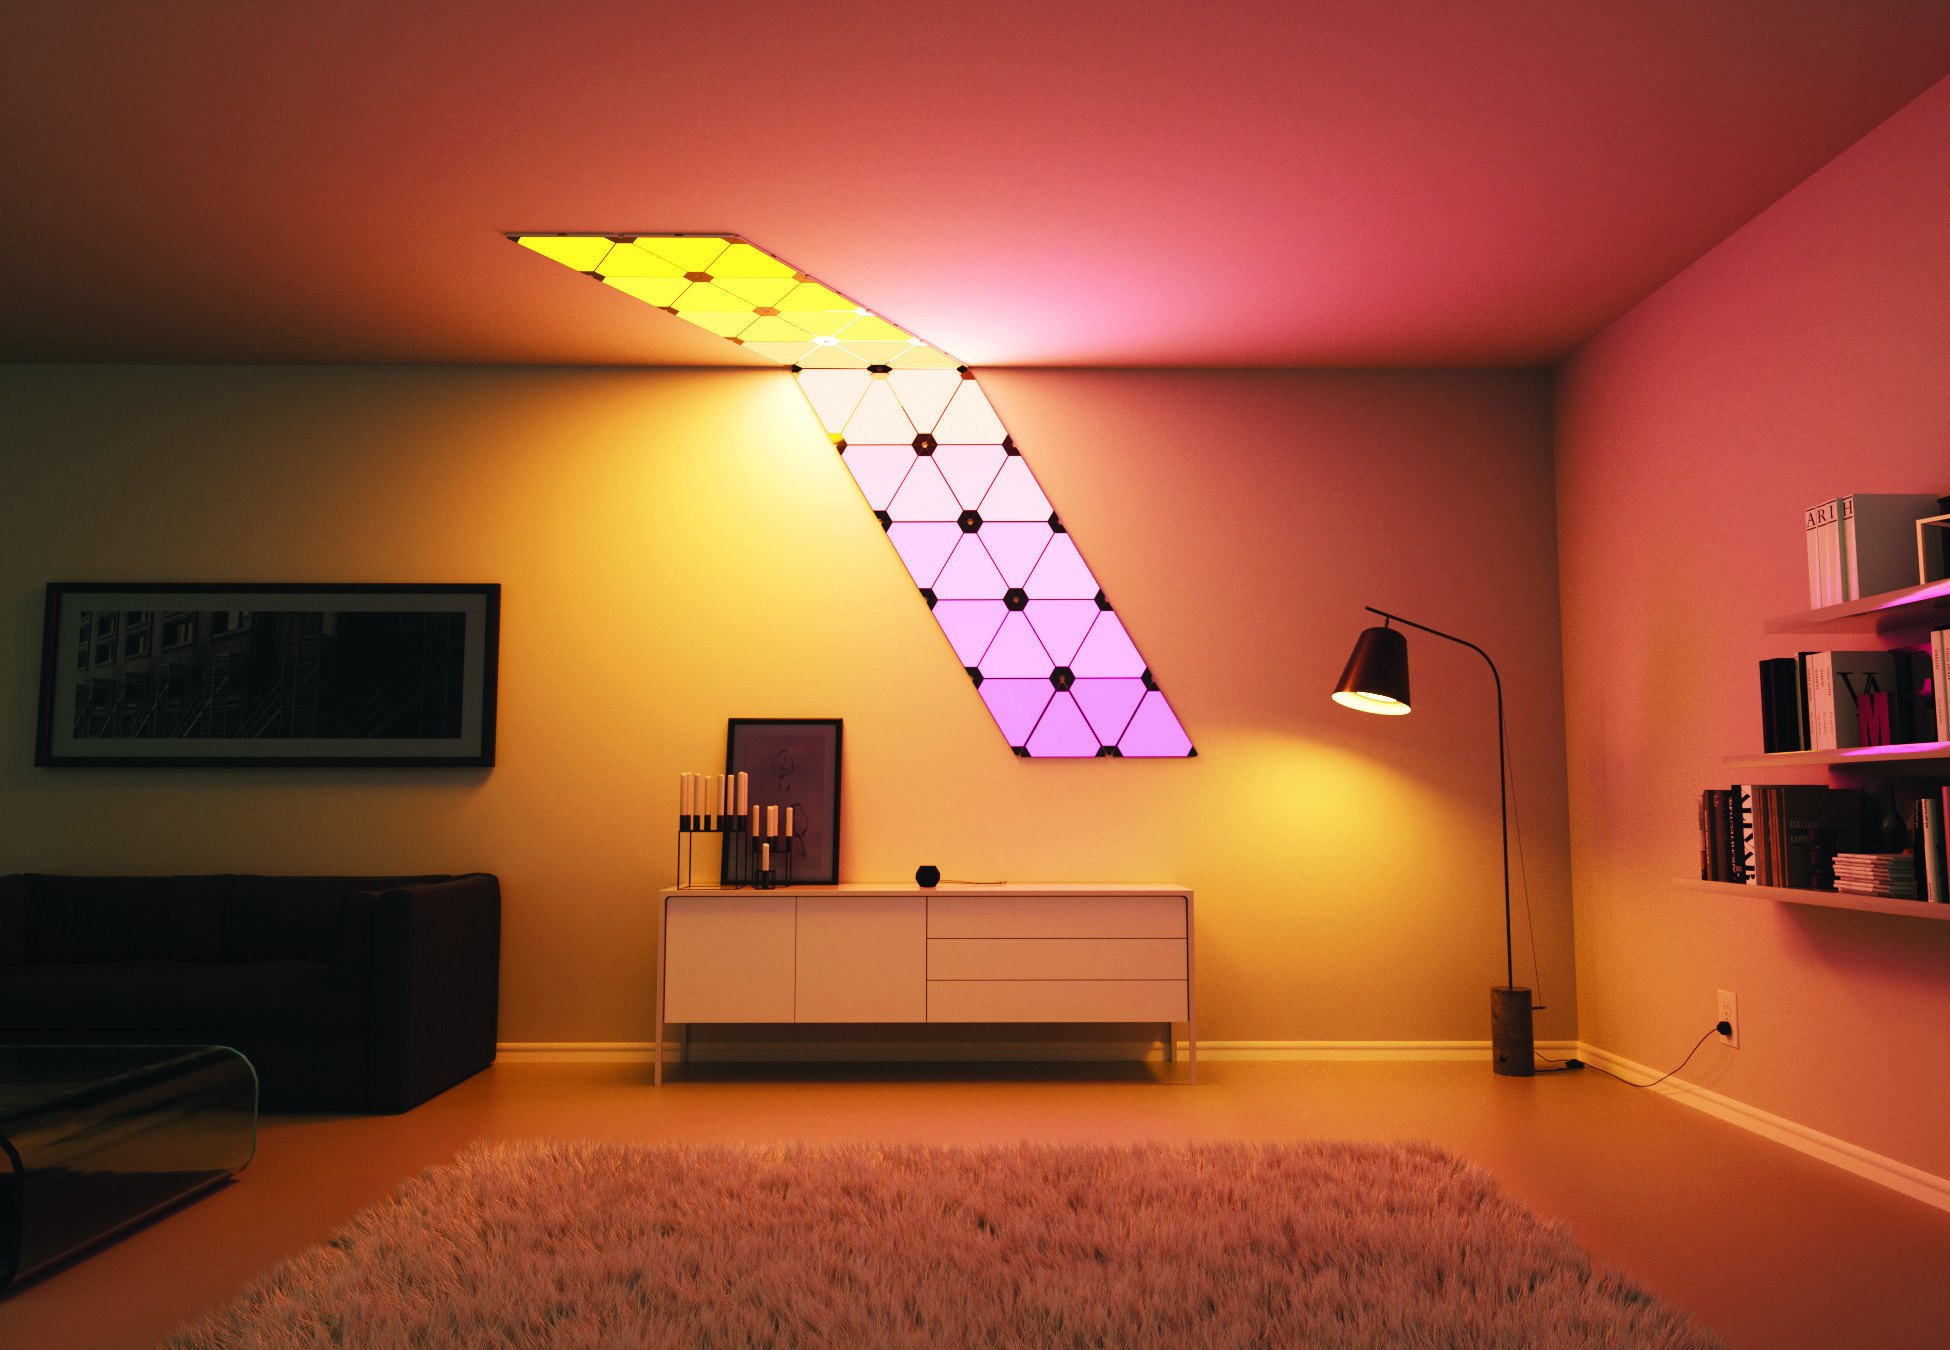
Assemble your panels to create the light ambiance of your choice Nanoleaf Aurora est un éclairage connecté sous forme de panneaux muraux design, capable de réaliser des ambiances lumineuses sur mesure Assemblez les panneaux triangulaires comme bon vous semble et créez ainsi une décoration lumineuse personnalisée et originale. C’est vous qui contrôlez la couleur, la luminosité et le mouvement de la lumière à travers les applications intuitives iOS et Android. Nanoleaf AURORA est le tout dernier bijou de la marque. Il est composé de 9 panneaux modulables. Adoptez Aurora, et vous allez impressionner tous vos invités en choisissant la couleur de la lumière dans votre salon ou dans n'importe quelle pièce de votre maison selon votre humeur. Les panneaux s'enclenchent comme des LEGO de sorte que vous pouvez organiser vos panneaux comme vous le souhaitez. Nanoleaf Aurora a été créé pour vous libérer des entraves de chaque appareil ennuyeux et des ampoules qui l'ont précédé. Aurora n'a pas été conçue comme un produit qui éclaire seulement, il a été créé pour être une toile qui vous permet de transformer la lumière en peinture vivante. Automatisez votre Aurora pour simuler le levé du soleil. Allumez les lumières vertes et bleues apaisantes quand vous avez besoin de relâcher la pression après une journée difficile. Quelle que soit l'ambiance dont vous avez besoin, il y a une scène de lumières Aurora pour cela. La modularité des panneaux LED Aurora peuvent vous baigner dans autant de couleurs qu'il y a d'habitants à New York. Les panneaux Aurora peuvent également recréer la lumière blanche parfaite pour vos besoins; le lever du soleil, un jour de pluie, ou encore la lumière du jour scintillante. Le luminaire fonctionne également avec le système homekit d’Apple. Vous pourrez donc demander à Siri de vous écouter et commander les actions que vous voulez. Demandez par exemple : « Je voudrais une lumière cool », et Aurora s'exécutera. Vous pouvez aussi créer une ambiance propice au visionnage d’un film, en disant : « Siri, je regarde un film ». Et hop, la lumière change ! LED RGBW panneaux-16.7M couleurs + blanc modulable (lever du soleil chaud à la lumière du jour brillante) Kit de montage (pas de trous nécessaires, pas de murs endommagés) Connexion WiFi Compatible avec iOS, Android, Amazon Alexa et IFTTT ( à venir début 2017) 3 façons de contrôler vos panneaux : avec votre voix (iOS et Amazon Alexa), avec le contrôleur inclus, ou avec l'application Smarter Series App Nanoleaf Puissance : possibilité d'assembler jusqu'à 30 panneaux pour chaque kit Nanoleaf Aurora Smarter Original: nanoleaf, noova
-

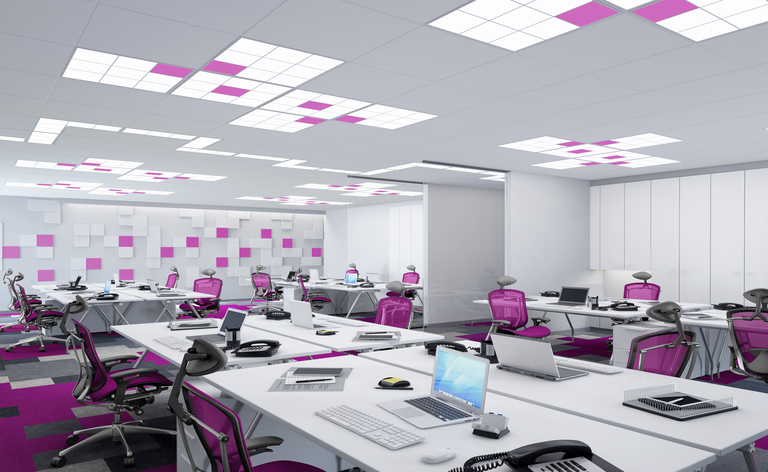
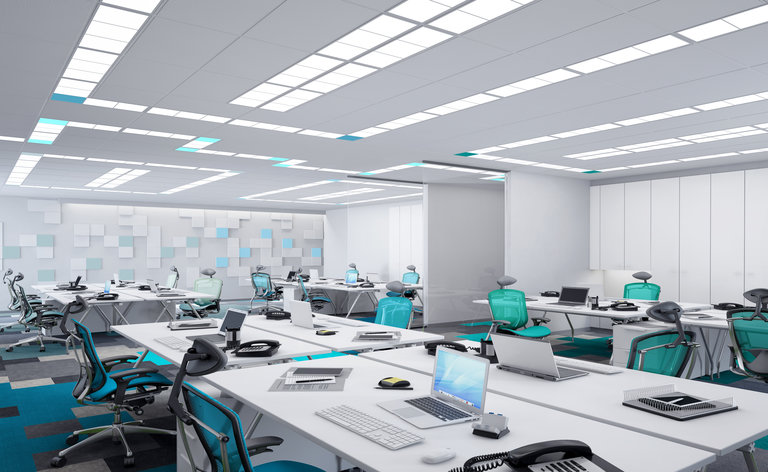
LED Panel Light For Ceiling or Wall - RGBW Smart LED Panels
THOMAS posted a topic in (EN) FORUM LIGHTING
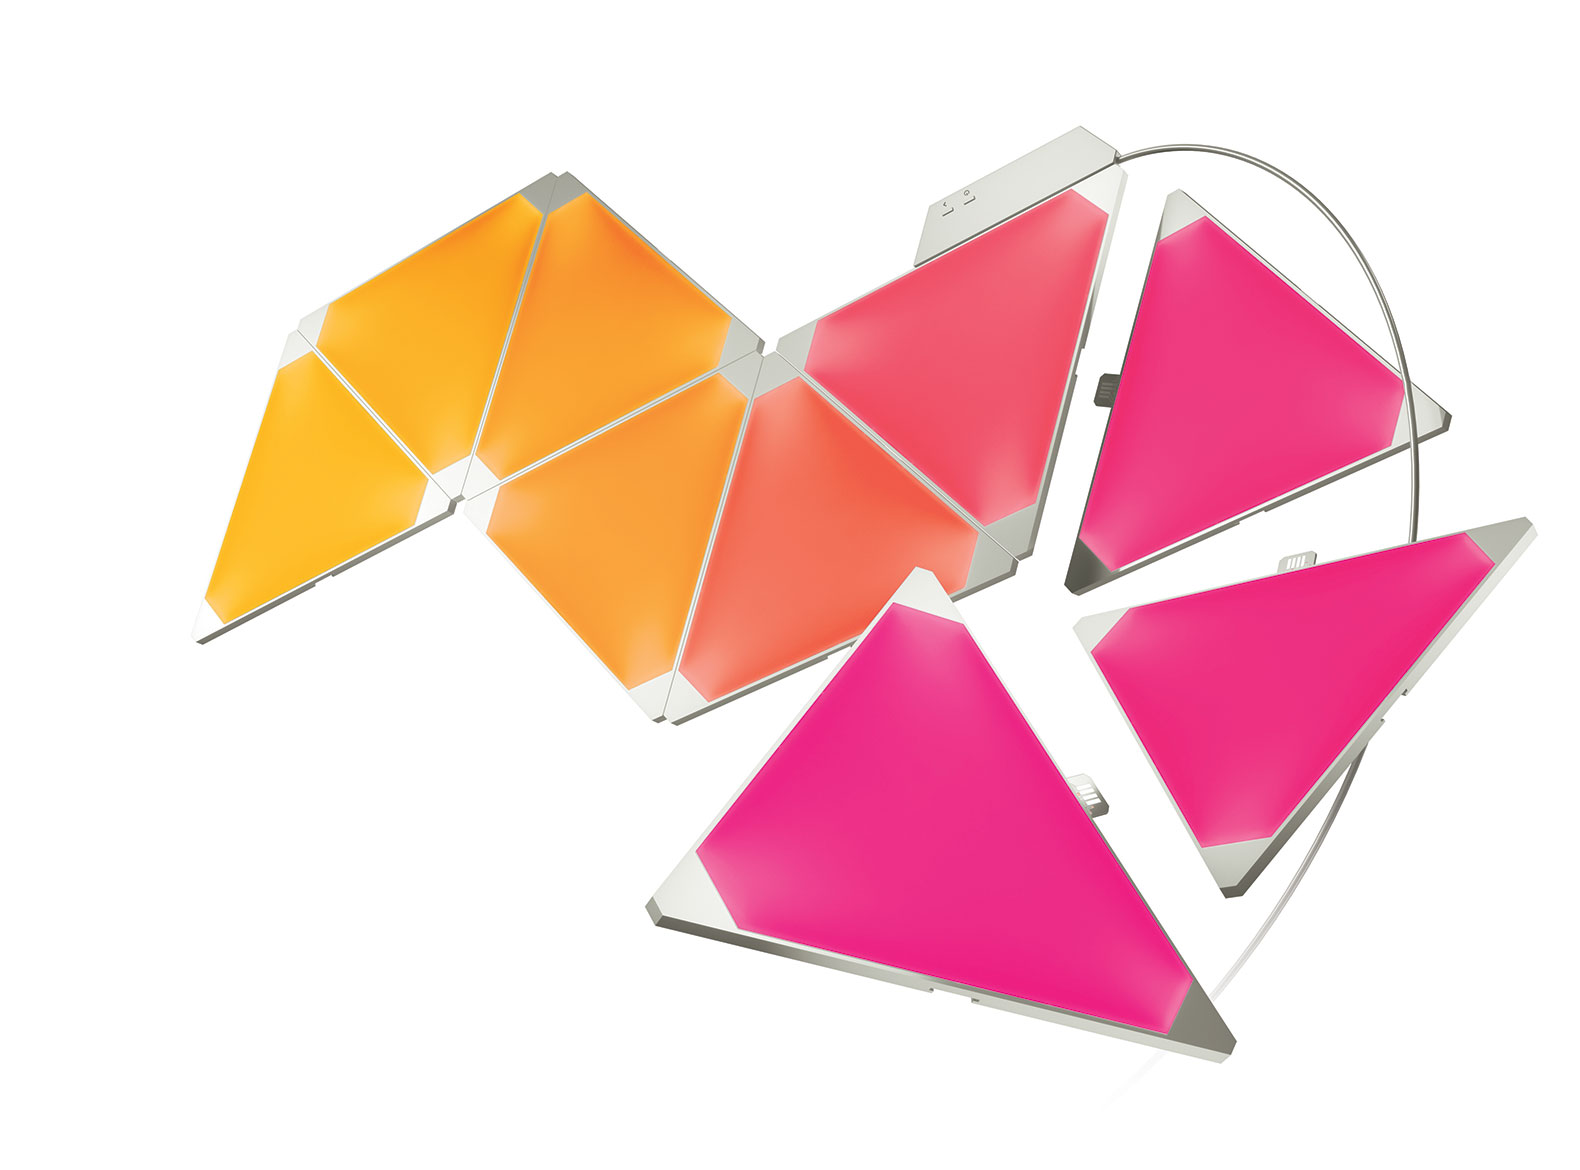
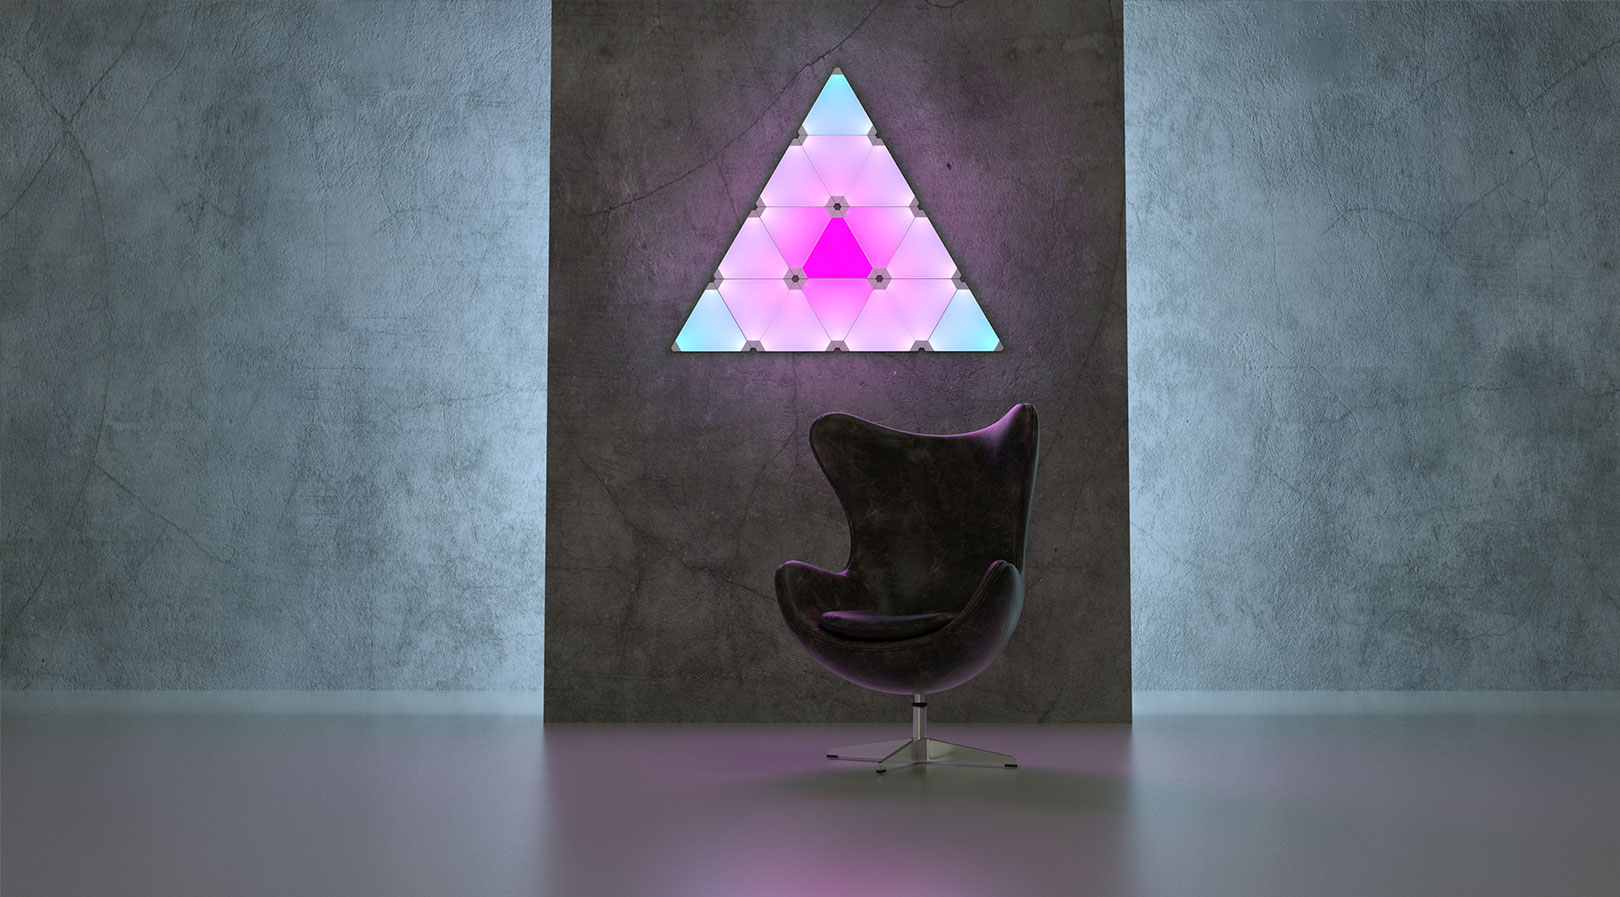
RGBW Smart LED Panels Aurora Siri Voice Control With so much visual stimuli passing by our eyes every day thanks to social media, many people are finding that committing to static pieces of artwork is more difficult than ever. If you're looking for something to spruce up your walls, but feel that a single painting or photo isn't enough to capture your ever-changing moods, the new Nanoleaf Aurora offers an interesting solution. Described as "living paint" by the Toronto-based lighting design company, this modular system of energy-efficient LED panels is fully customizable, and can be controlled by remote, smartphone app, or even your voice. Composed of nine lightweight, triangular LED lights that can be fit together in different configurations, the Nanoleaf Aurora can light up your wall (or any other flat surface in your home) using a palette of over 16 million colors. It can go from a soothing white light in the morning to a blaze of energizing purples, blues and greens during the day to a relaxing warm light in the evening–or pretty much any other type mood lighting you can imagine. The Nanoleaf Aurora Smarter lighting kit was made for DIY installation and includes 9 RGBW Smart LED Panels, 9 Panel Connectors, 9 Mounting Stencils, 28 Mounting Strips, 1 Power Supply Unit, and 1 Controller Unit. Because the panels weigh so little, there’s no need to drill any holes in your walls, making the Aurora ideal for renters as well. While the Aurora does come with a controller, the panels can also be configured using the Nanoleaf Smarter Series app or with your voice through Siri and Apple HomeKit. Because the Aurora is tunable white, it can also be used to mimic daylight, meaning it can double as a mood-enhancing light for those who suffer from seasonal affective disorder (SAD), or for anyone who could use a bit more natural light in their lives. Nanoleaf says they also plan on releasing a ‘sunrise’ function soon that will allow the Aurora to gradually get brighter each morning as a gentle way to help people wake up. Original: nanoleaf, inhabitat
- 1 reply
-
- 2
-

-

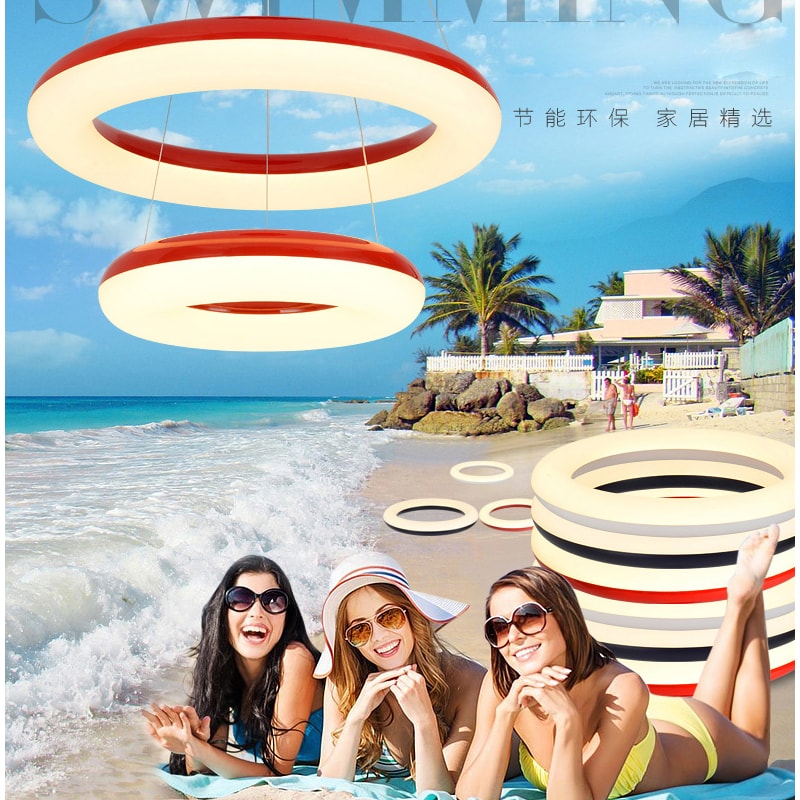
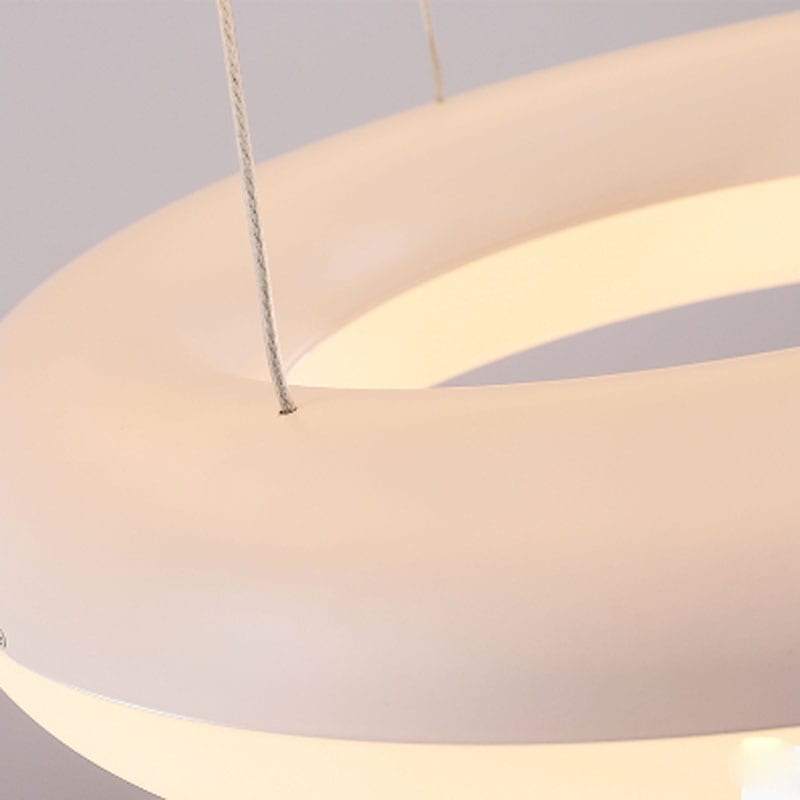
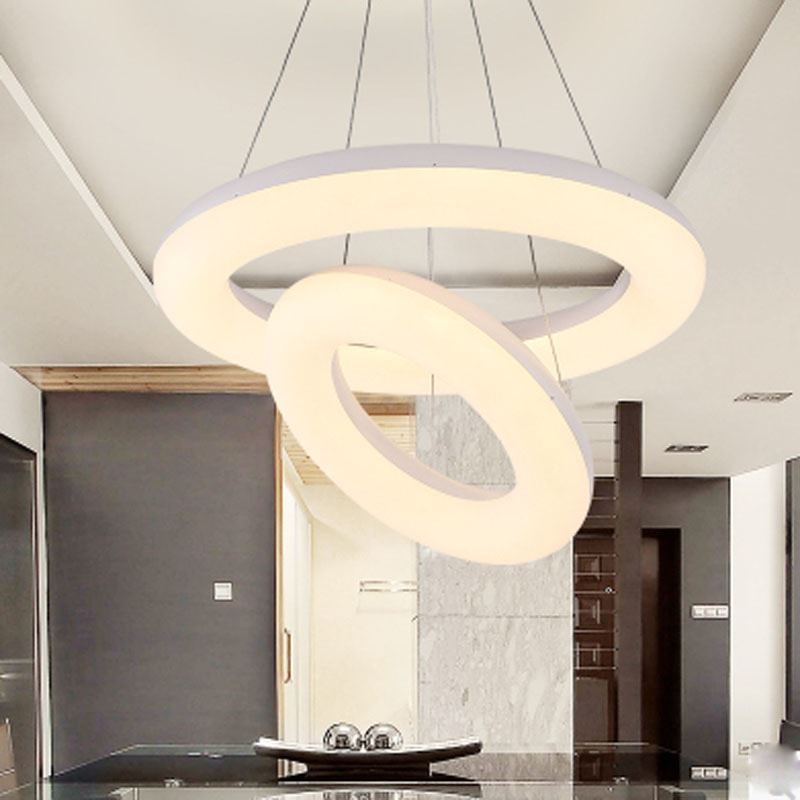
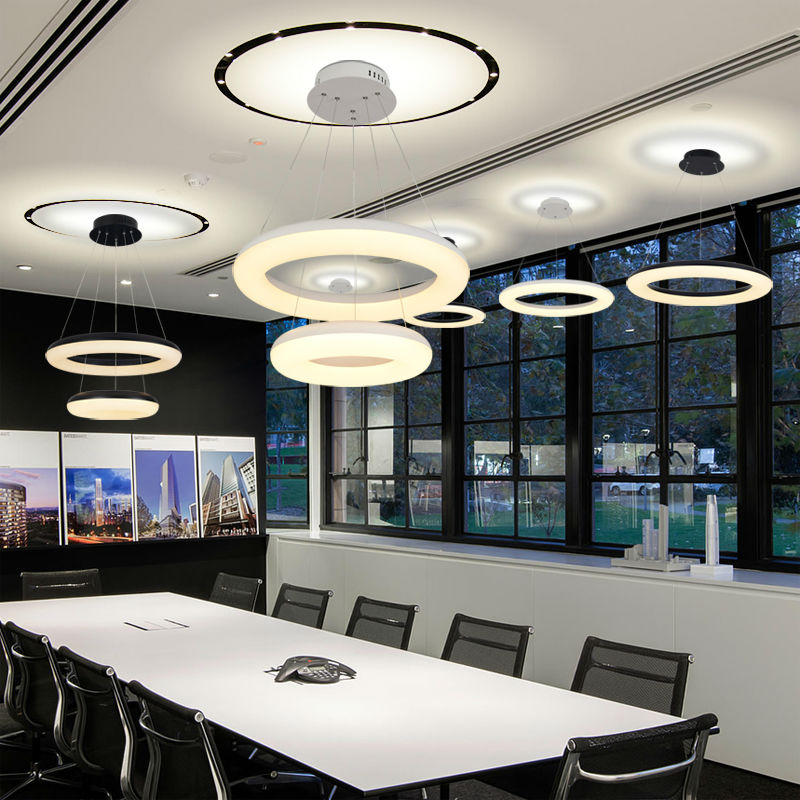
 [ $9.30 - 9.86 ] PRODUCT [Click&Buy]: https://aliexpress.com/item/225580320826402.html foroureyes Indoor Lightingled Official Store AliExpress Coupon/Code Retro Lamp: https://aliexpress.ru/wholesale?SearchText=retro+lamp
 -
 [ $9.30 - 9.86 ] PRODUCT [Click&Buy]: https://aliexpress.com/item/225580320826402.html foroureyes Indoor Lightingled Official Store AliExpress Coupon/Code Retro Lamp: https://aliexpress.ru/wholesale?SearchText=retro+lamp
 -

 [ $212.00 - 380.00 ] PRODUCT [Click&Buy]: https://aliexpress.com/item/325680100206925.html Light your future Lighting Store AliExpress Coupon/Code
 -

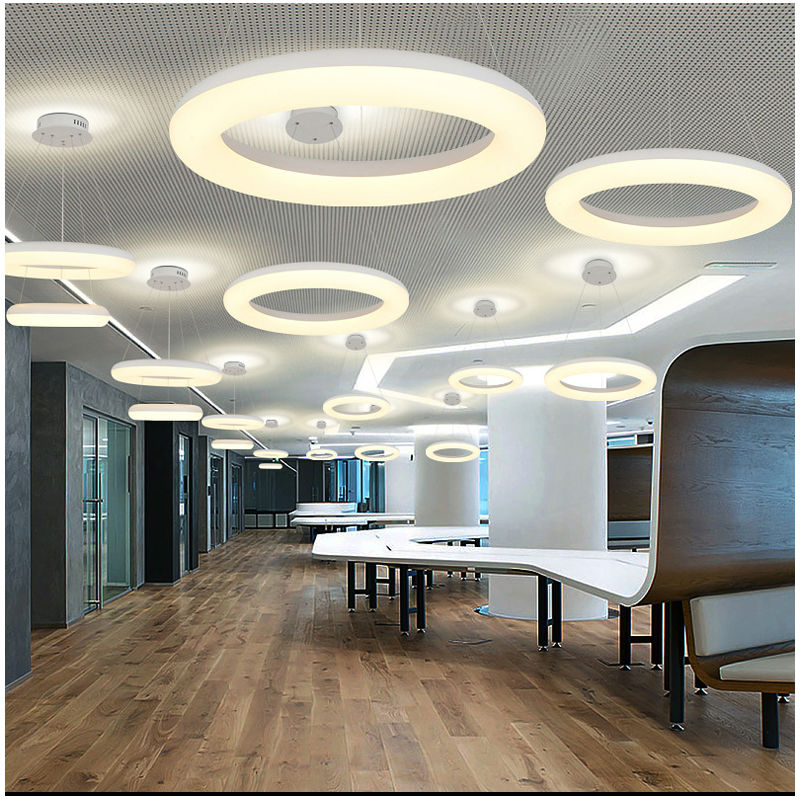
Retail Lighting: intu Victoria Centre, Nottingham
Jamie A. replied to Jamie A.'s topic in (EN) FORUM LIGHTING
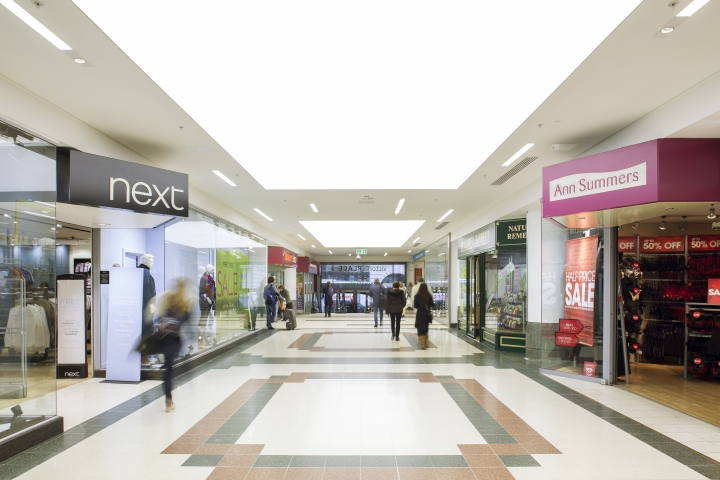
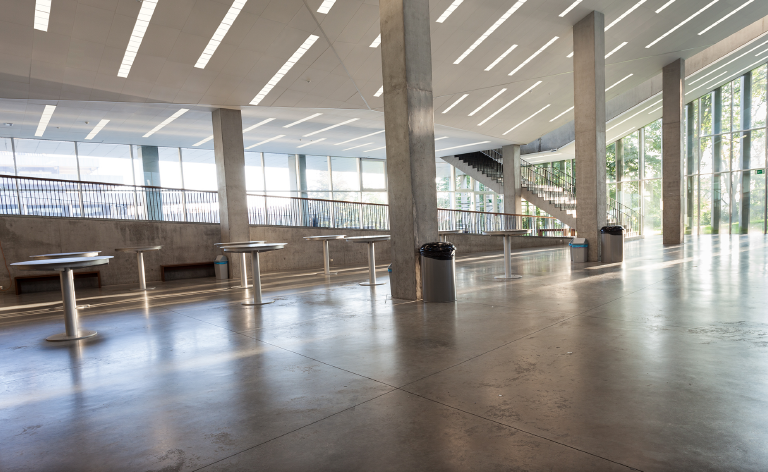
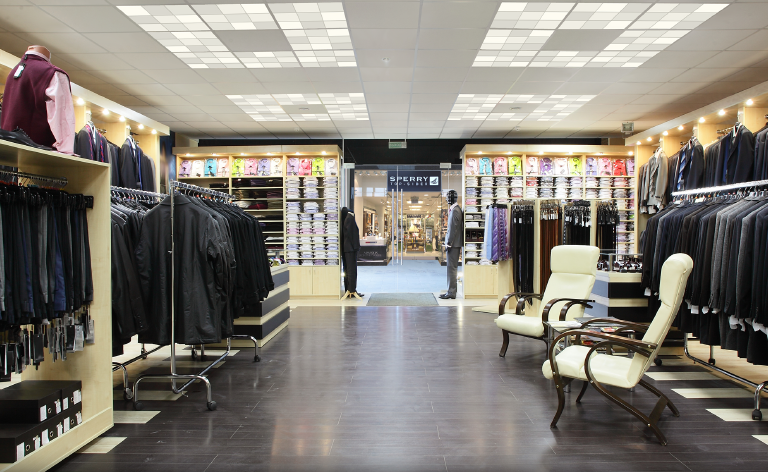
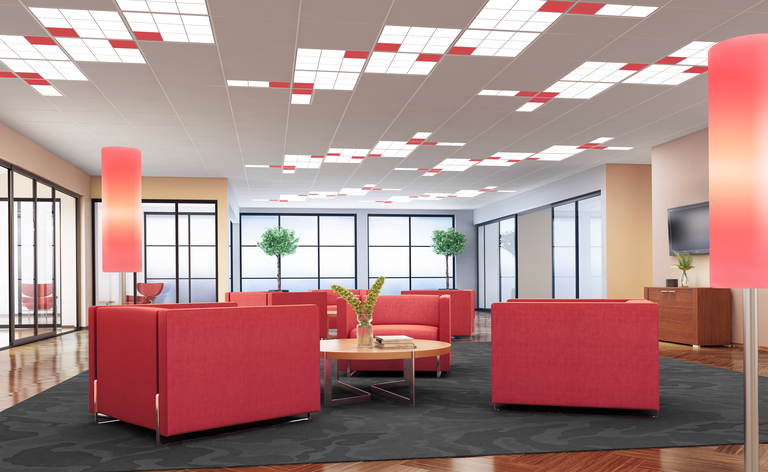
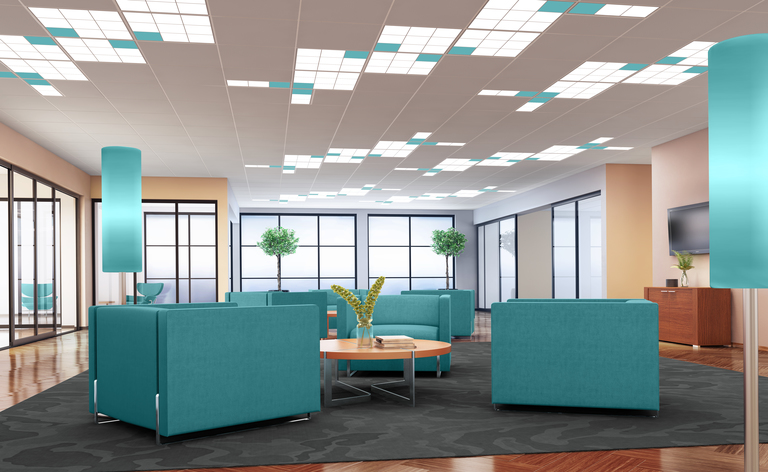
Victoria Place Lighting by Hoare Lea Lighting, London – UK, 2015 Working with Haskoll Architects, Hoare Lea Lighting developed the lighting solution for Victoria Place Shopping Centre, the newly refurbished retail and food and beverage destination in Victoria Train Station, London. The centre now hosts a number of popular retailers including, Holland & Barrett, David Clulow and Next and a selection of restaurants, casual eateries, coffee shops and convenience food stores. The brief presented to Haskoll was to refurbish the shopping centre and food court with the aim of re-launching Victoria Place as a retail and food and beverage location that would attract a greater proportion of the flow of visitors to the station (around 120m each year) and from surrounding areas. Hoare Lea Lighting worked with Haskoll to create a bright environment with a vibrant lighting design for the 9000m2, two-storey space. Ambient lighting is provided by linear recessed and surface mounted luminaires and LED downlights, which create a comfortable visual environment, assisting wayfinding and navigation. An impression of natural light is generated through the large Barrisol ceiling, backlit by an array of Osram LED modules. This creates the illusion of daylight, which encourages visitors to linger, especially in the restaurant areas on the second floor balcony. Feature elements include Optelma’s ‘Conico’ cone-shaped luminaire. This bespoke pendant adds drama, while providing general illumination to the floor of the mall. It incorporates a subtle colour-change element, which discreetly adds interest to the scene. Pardip Kaur, Architect, Haskoll said ‘Haskoll’s concept for the lighting scheme was designed to create a dramatic and uplifting interior that would transform the previously dark and uninviting space. The various lighting solutions work together to create a vibrant environment for both retailers and end-users. The lighting design has successfully reinvigorated the mall and foodcourt areas whilst adding value to the development and refocusing it as a retail destination.’ Source: retaildesignblog, hoarelealighting
-
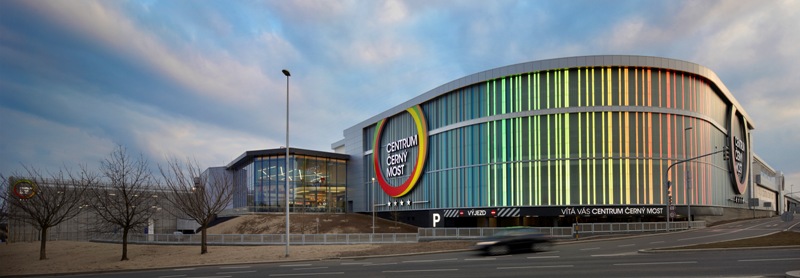
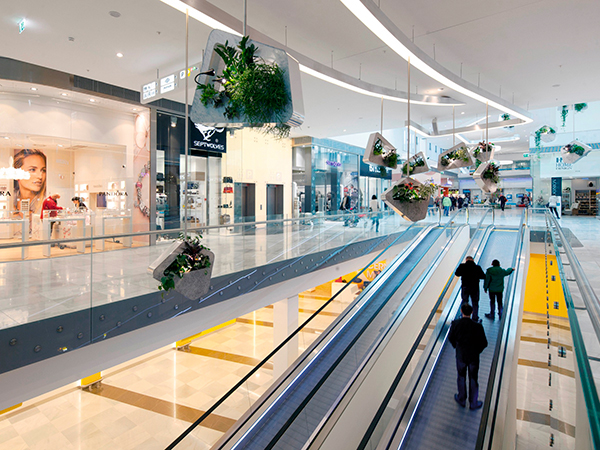
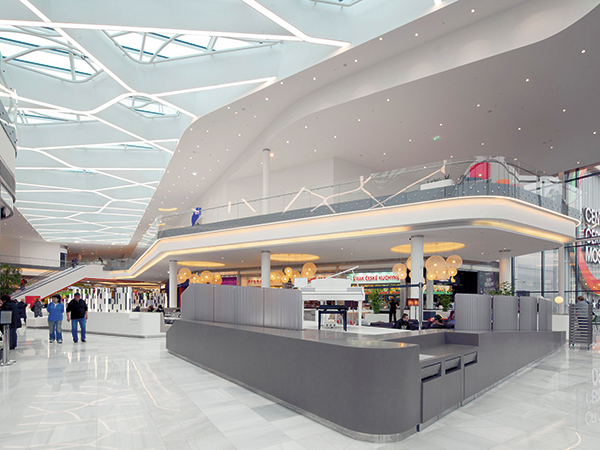
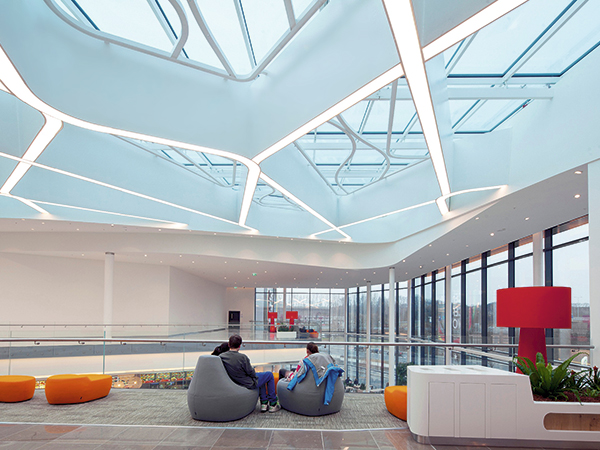
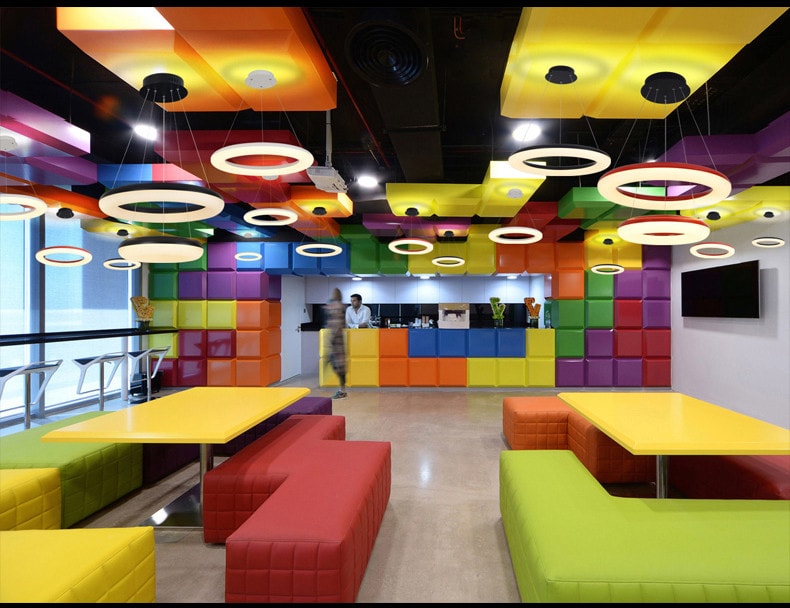
Led Lighting Shopping Mall, Retail - Centrum Černý Most
Jamie A. posted a topic in (EN) FORUM LIGHTING
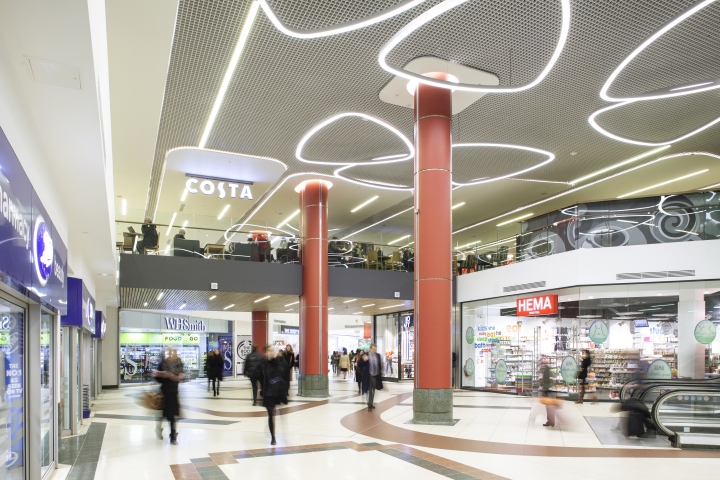
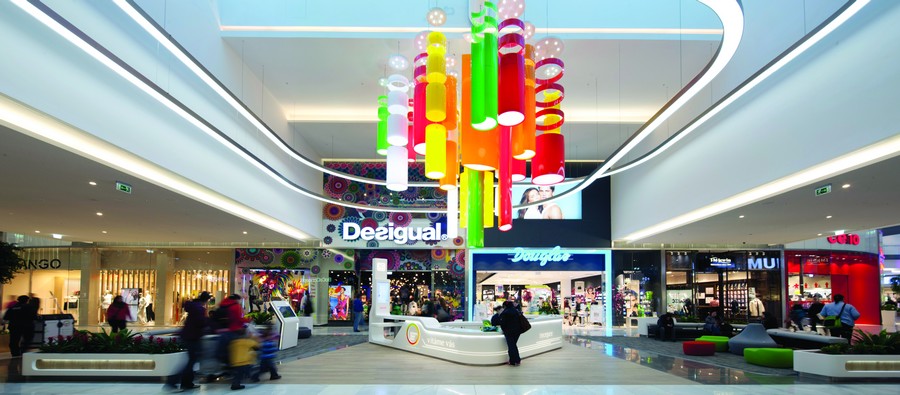
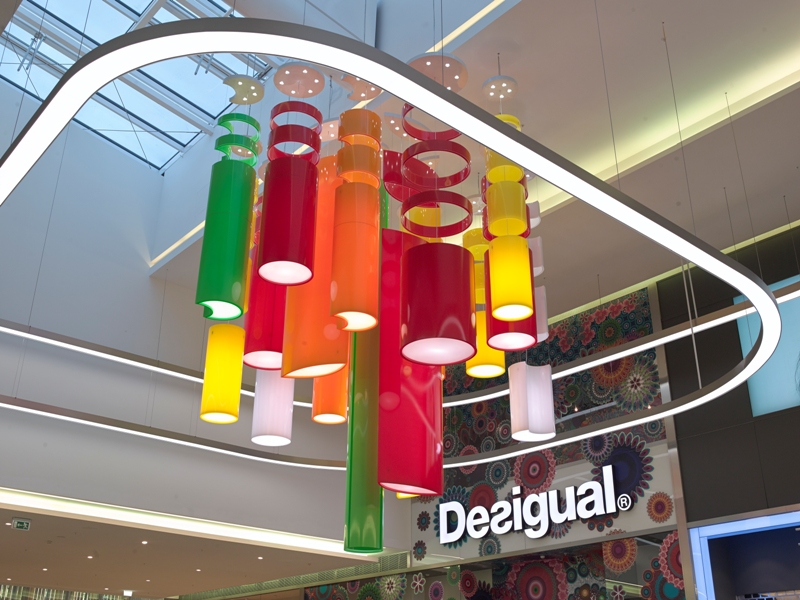
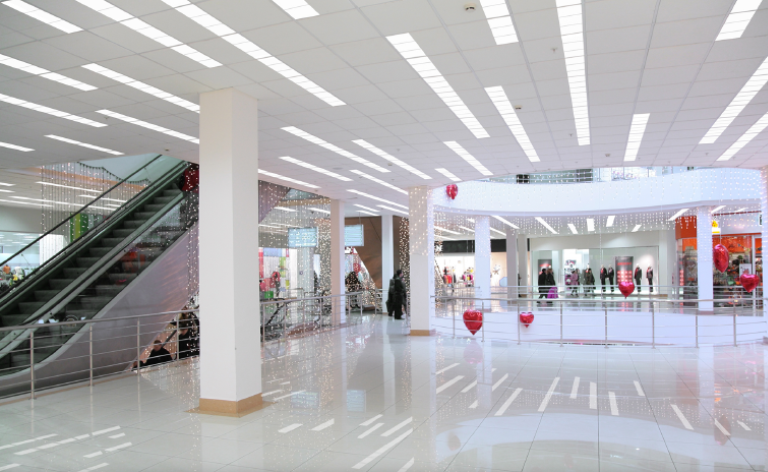
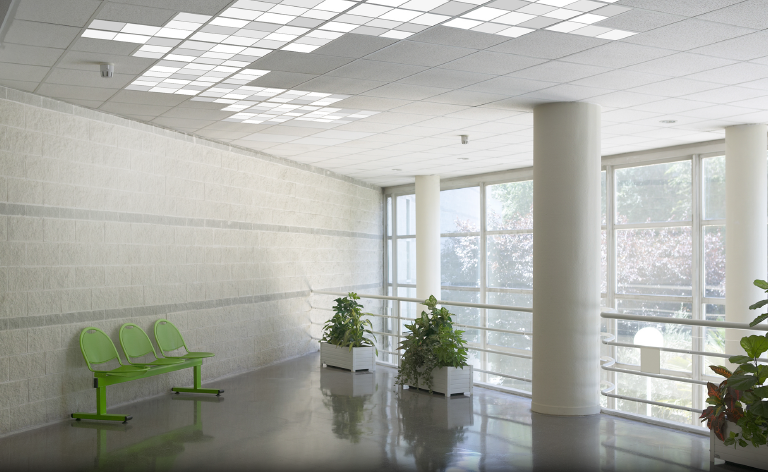
Centrum Černý Most, Prague, Czech Republic Centrum Černý Most is a major new retail project in Prague, delivering the developer’s vision of an iconic and luxurious retail destination. The design concept emphasized the use of light, making it a key driver in creating a luxury and indulgent experience for shoppers. Key views and entry points were defined using lighting and structures. These included illumination of the floating canopies, glowing goal posts which frame the vehicle entrance ramps, and an interactive and dynamic LED colour-changing cinema corner, providing a defining statement to the entire site. The existing mall received a comprehensive overhaul and was given an entirely fresh design approach. Large circular features maximise the qualities of height, luxury and airiness within the space. Low glare lighting was designed to supplement this and maintain visual comfort to those navigating through the space. Within the new mall extension, flexible, dynamic twin runs of cold cathode are hidden delicately within carefully designed coves. These change during the day from a cool colour temperature, mimicking daylight, whilst slowly transitioning into a warm and luxurious environment towards dusk. Source: ndylight
-
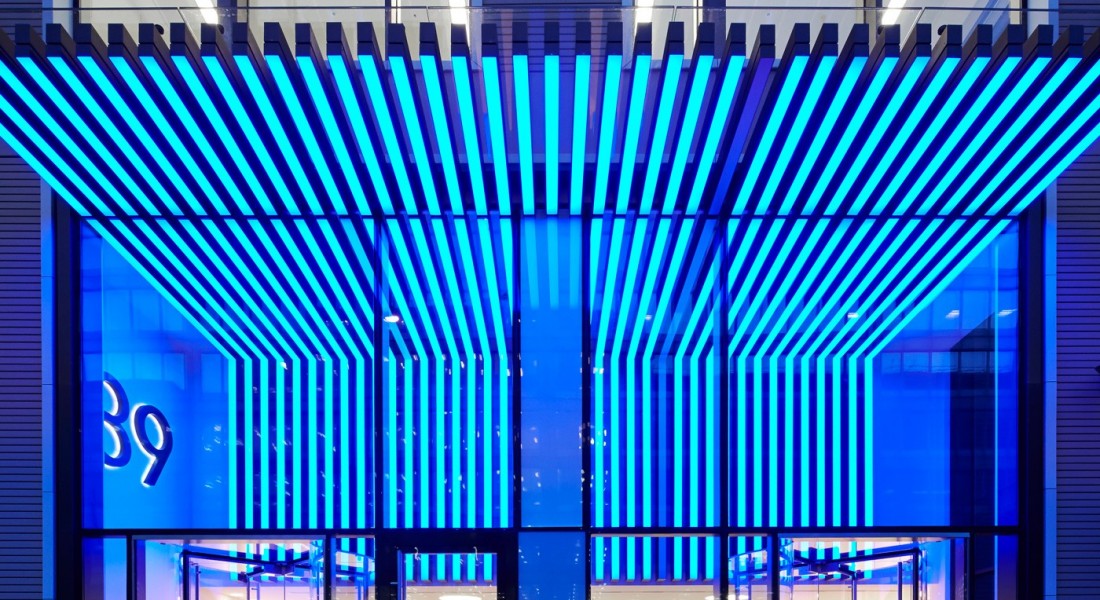
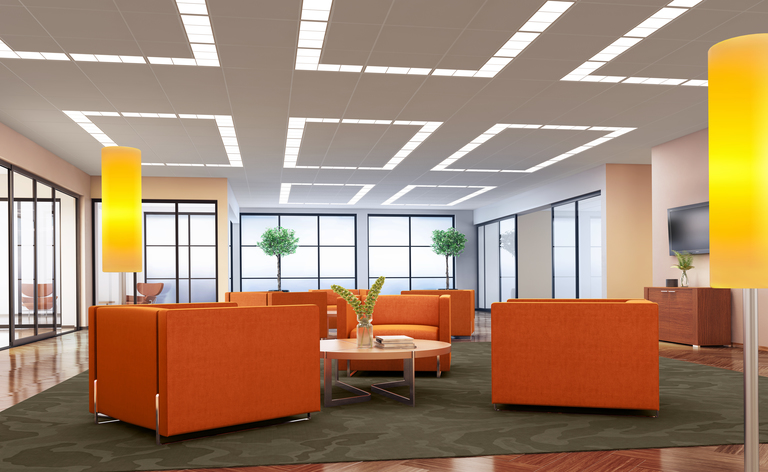
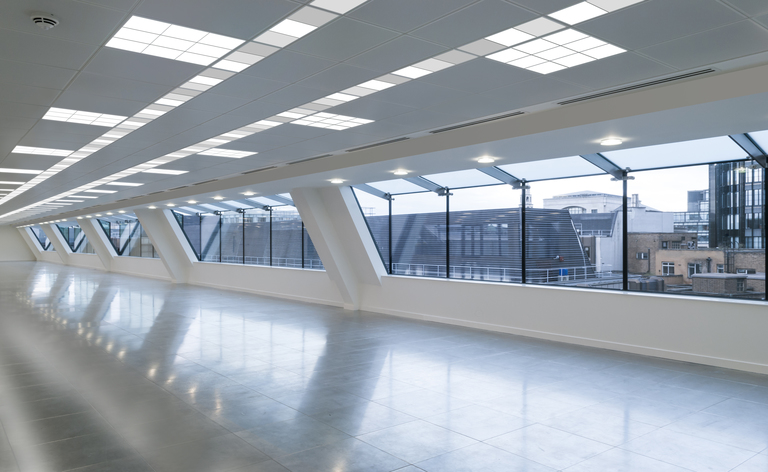
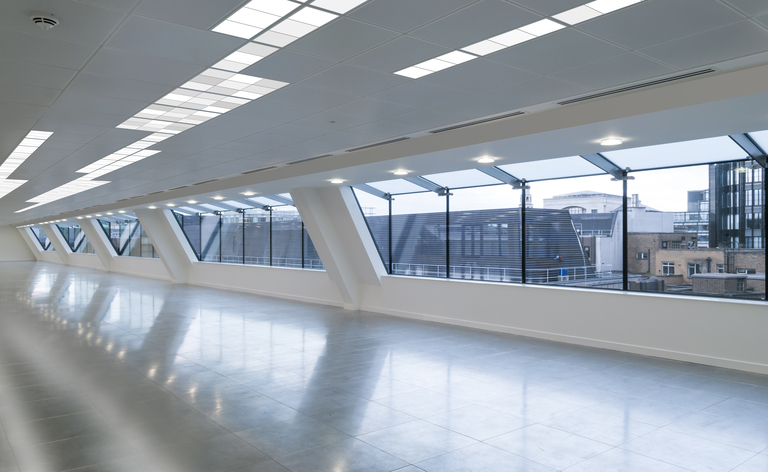
39 Victoria Street, London, United Kingdom The refurbishment of this key building in Victoria involved the relighting of the main office floors with low energy lighting and the creation of an impressive new entry experience. A special canopy feature was developed with integrated lighting built-in to visually link the interior spaces to the external streetscape. A series of canter-lever arms extend through the interior lobby and are brought together to form a canopy at the entry point on the streetscape. Adjustable lighting offers the facility for varying coloured presentations. Whilst a set colour balance is used at most times in a static mode, for special occasions the colours, tone and brightness can be set to different levels. The lighting controls utilise the DMX protocol which in this project is on a wireless network, due to the complex nature of the building and the tight voids which precluded traditional cable ways to be threaded through the structure. Source: ndylight
-
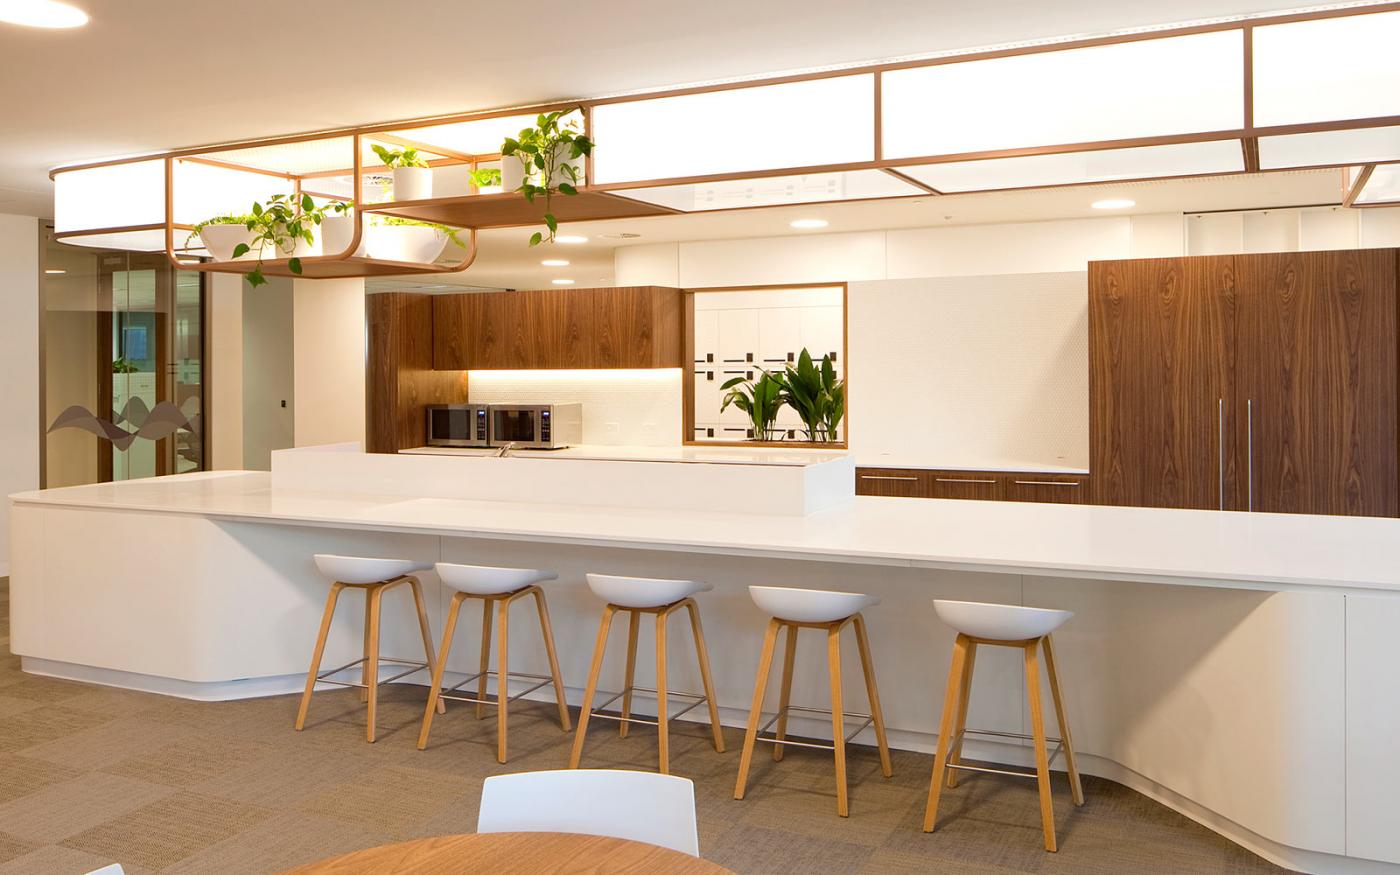
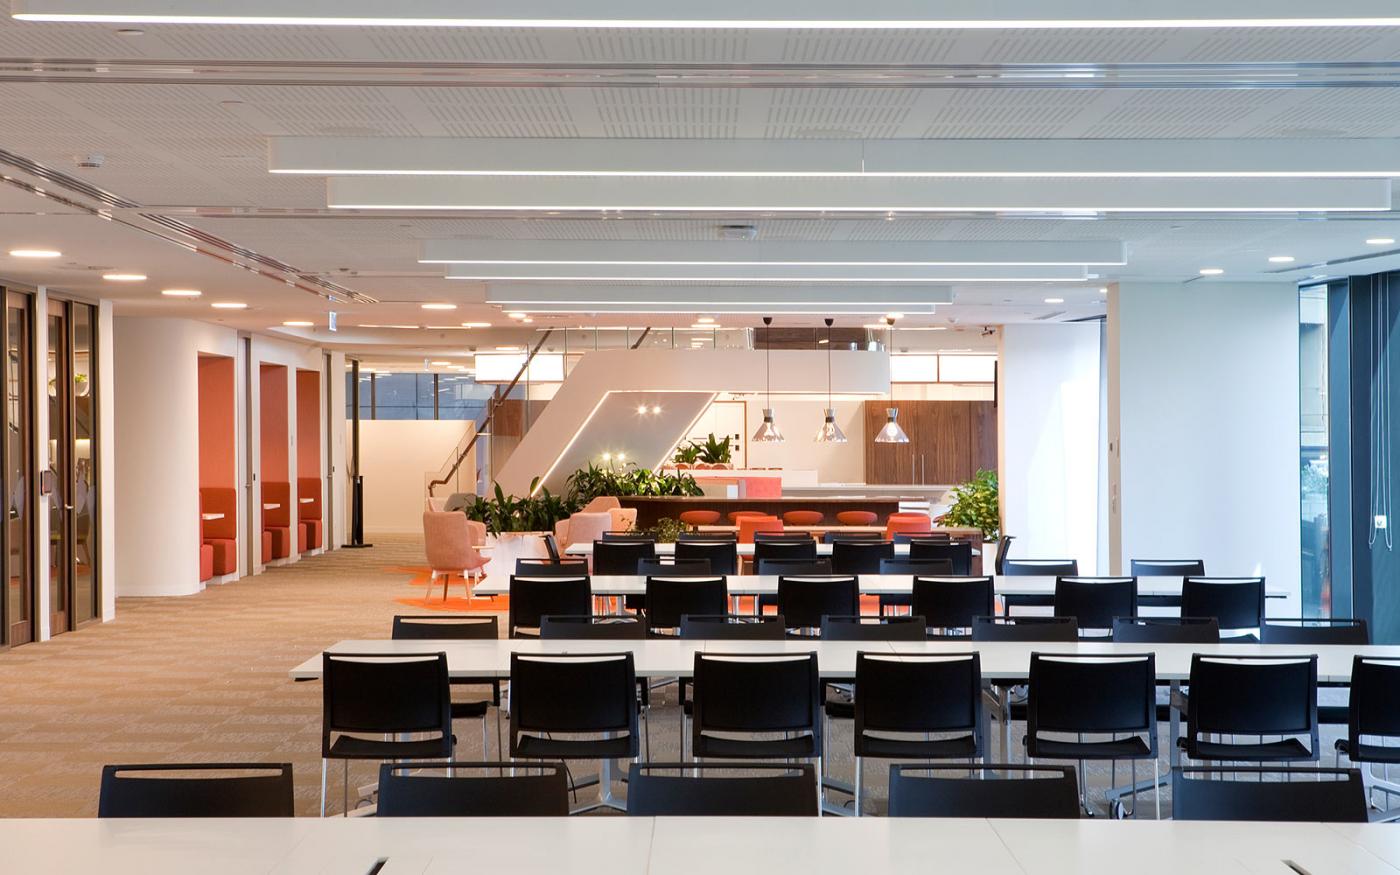
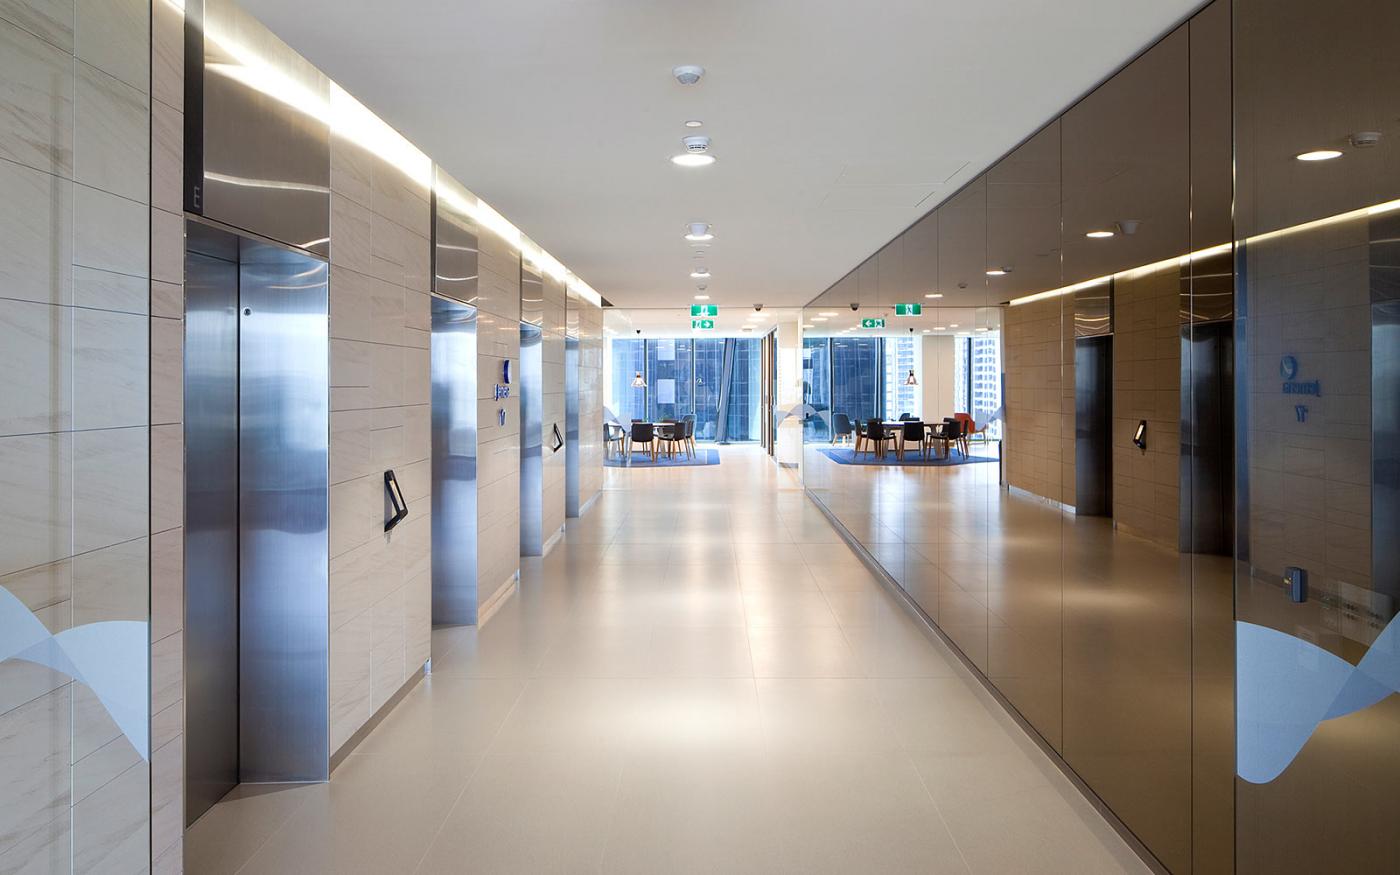
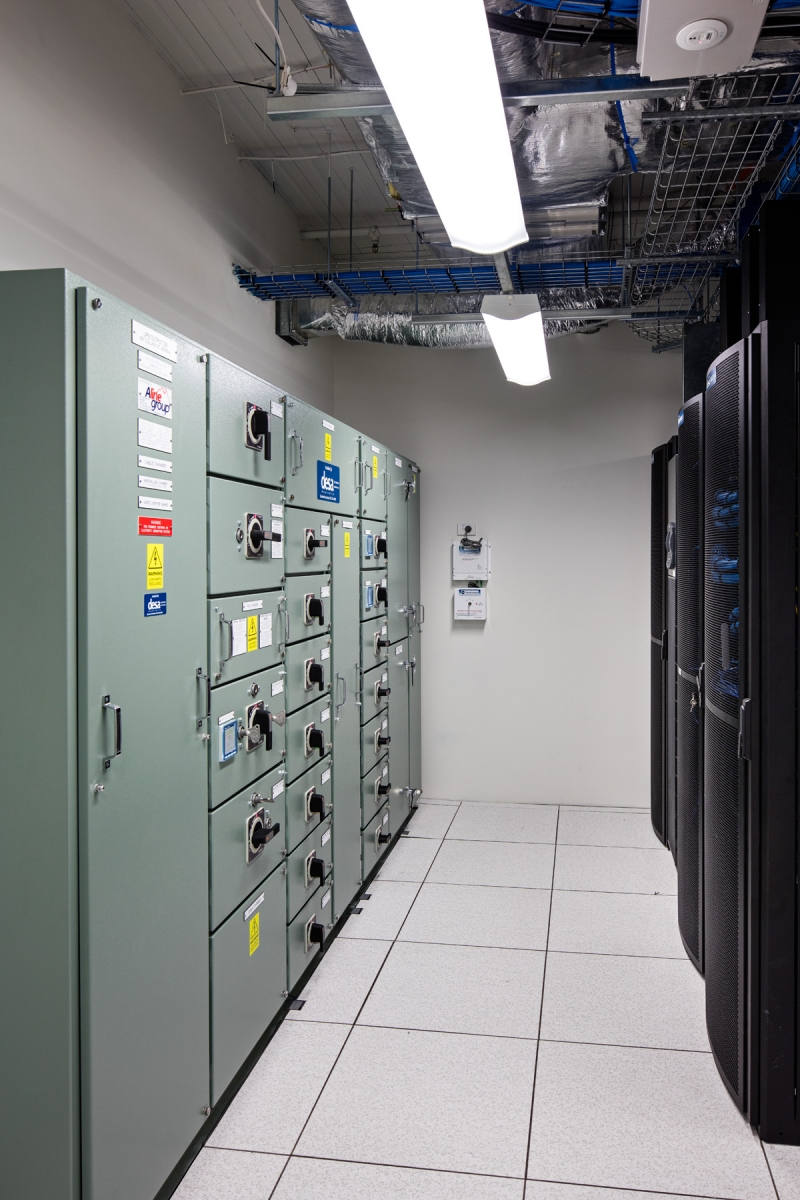
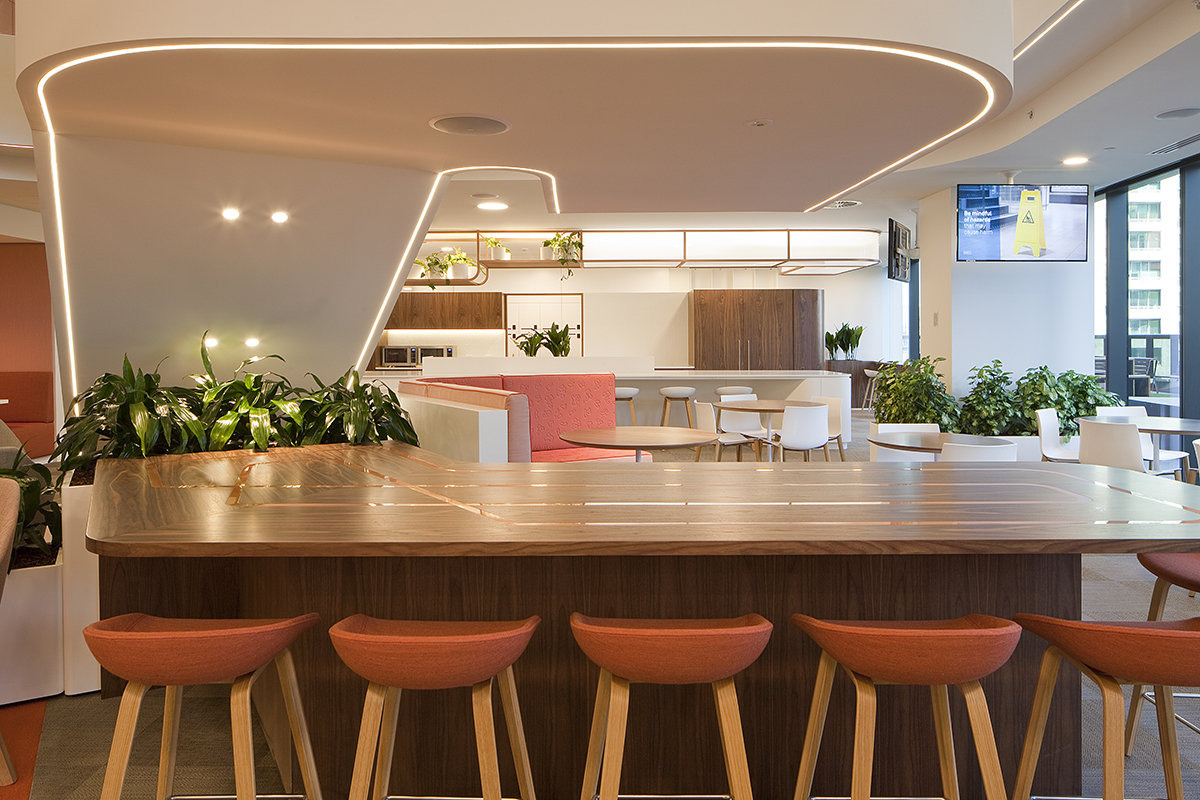
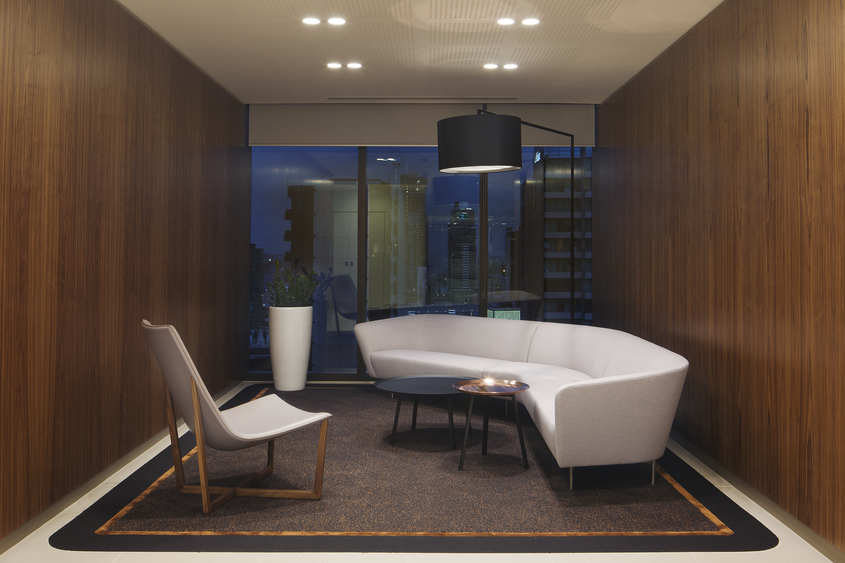
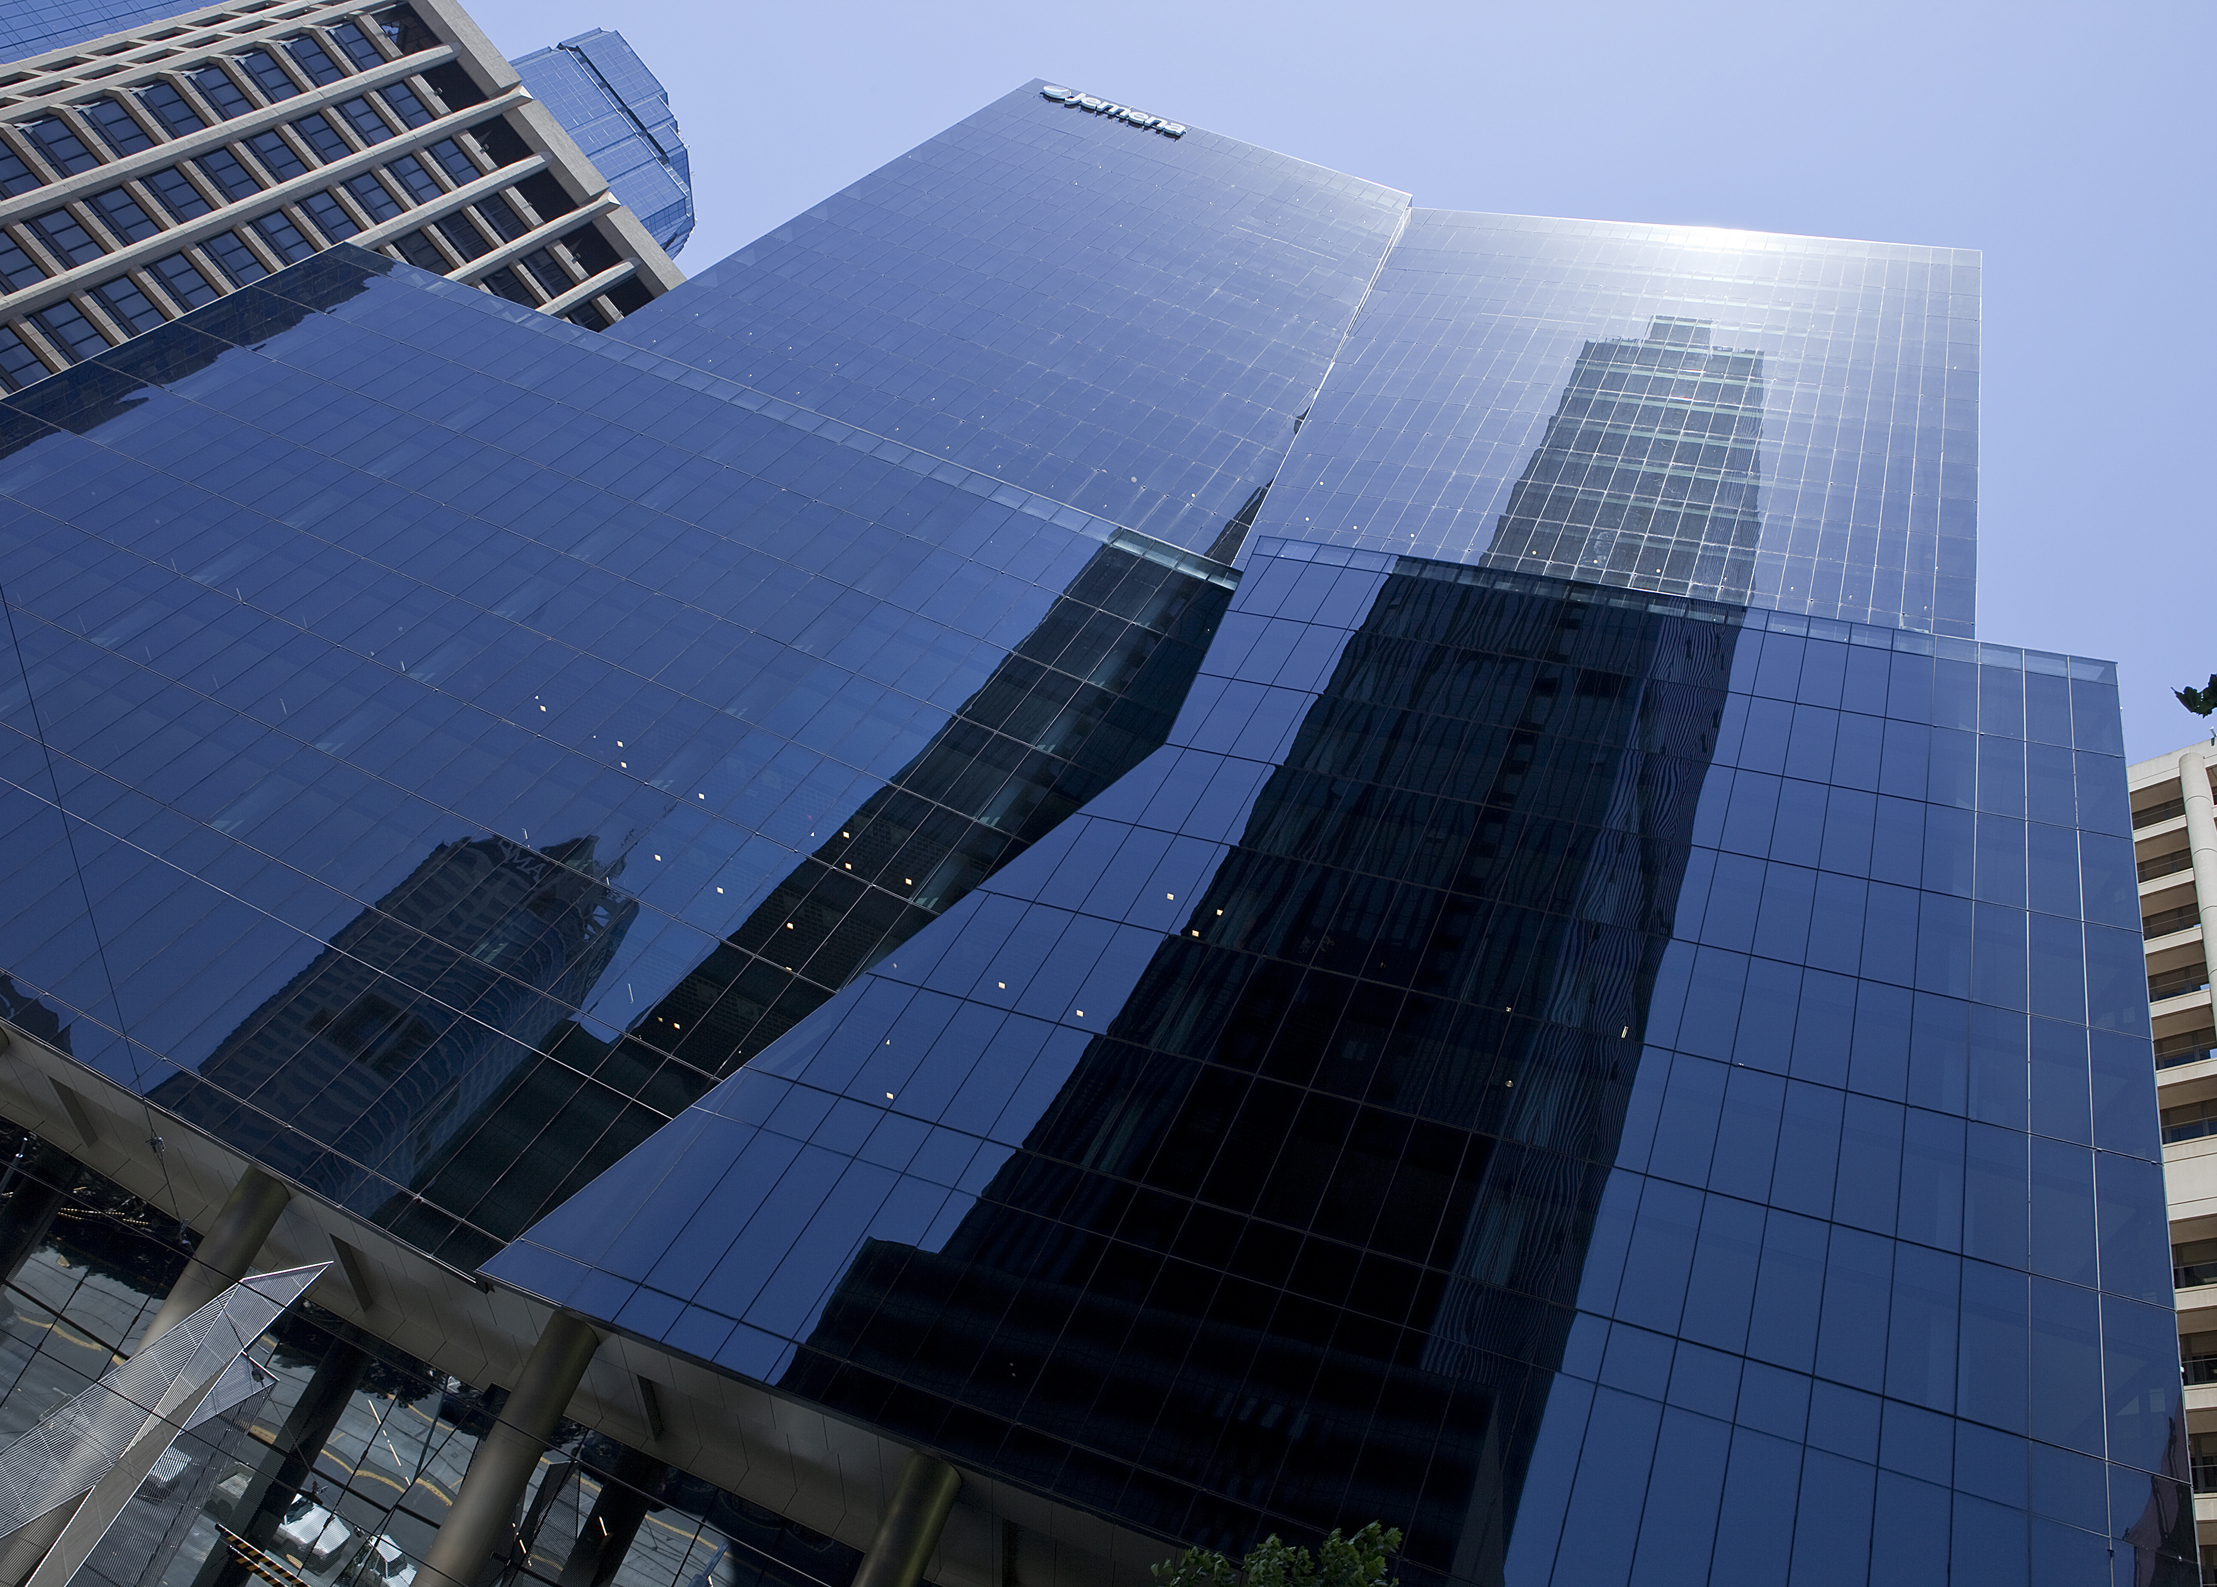
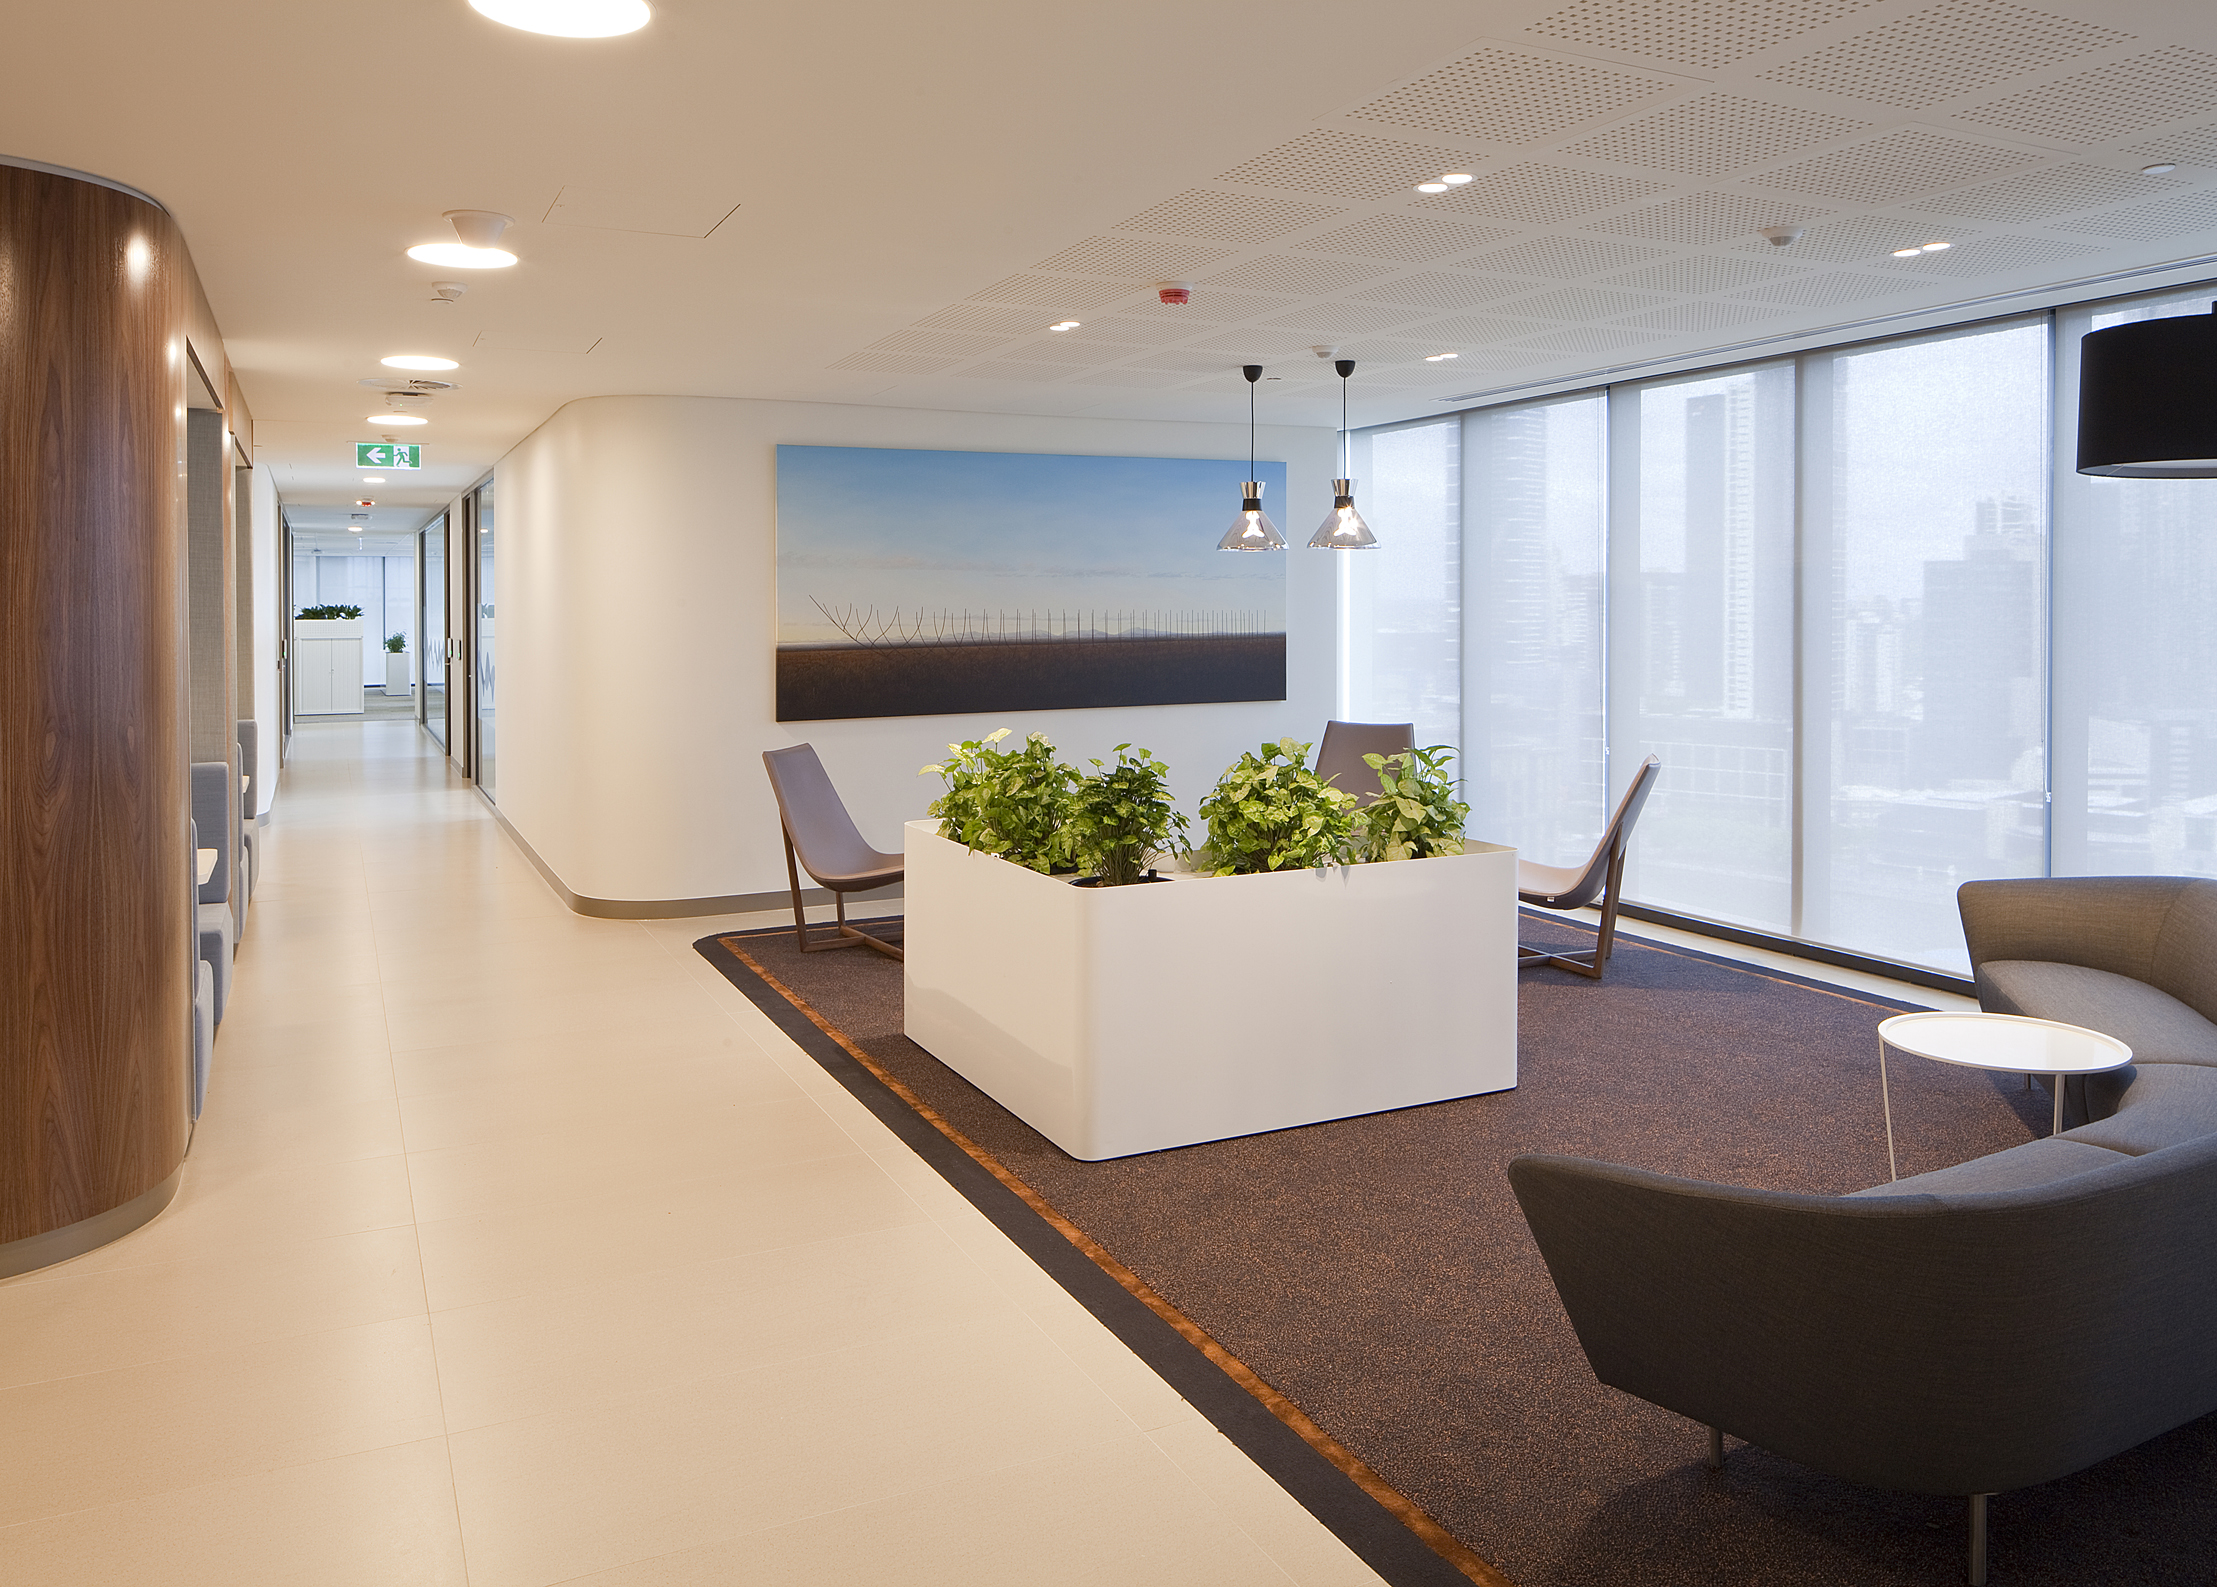
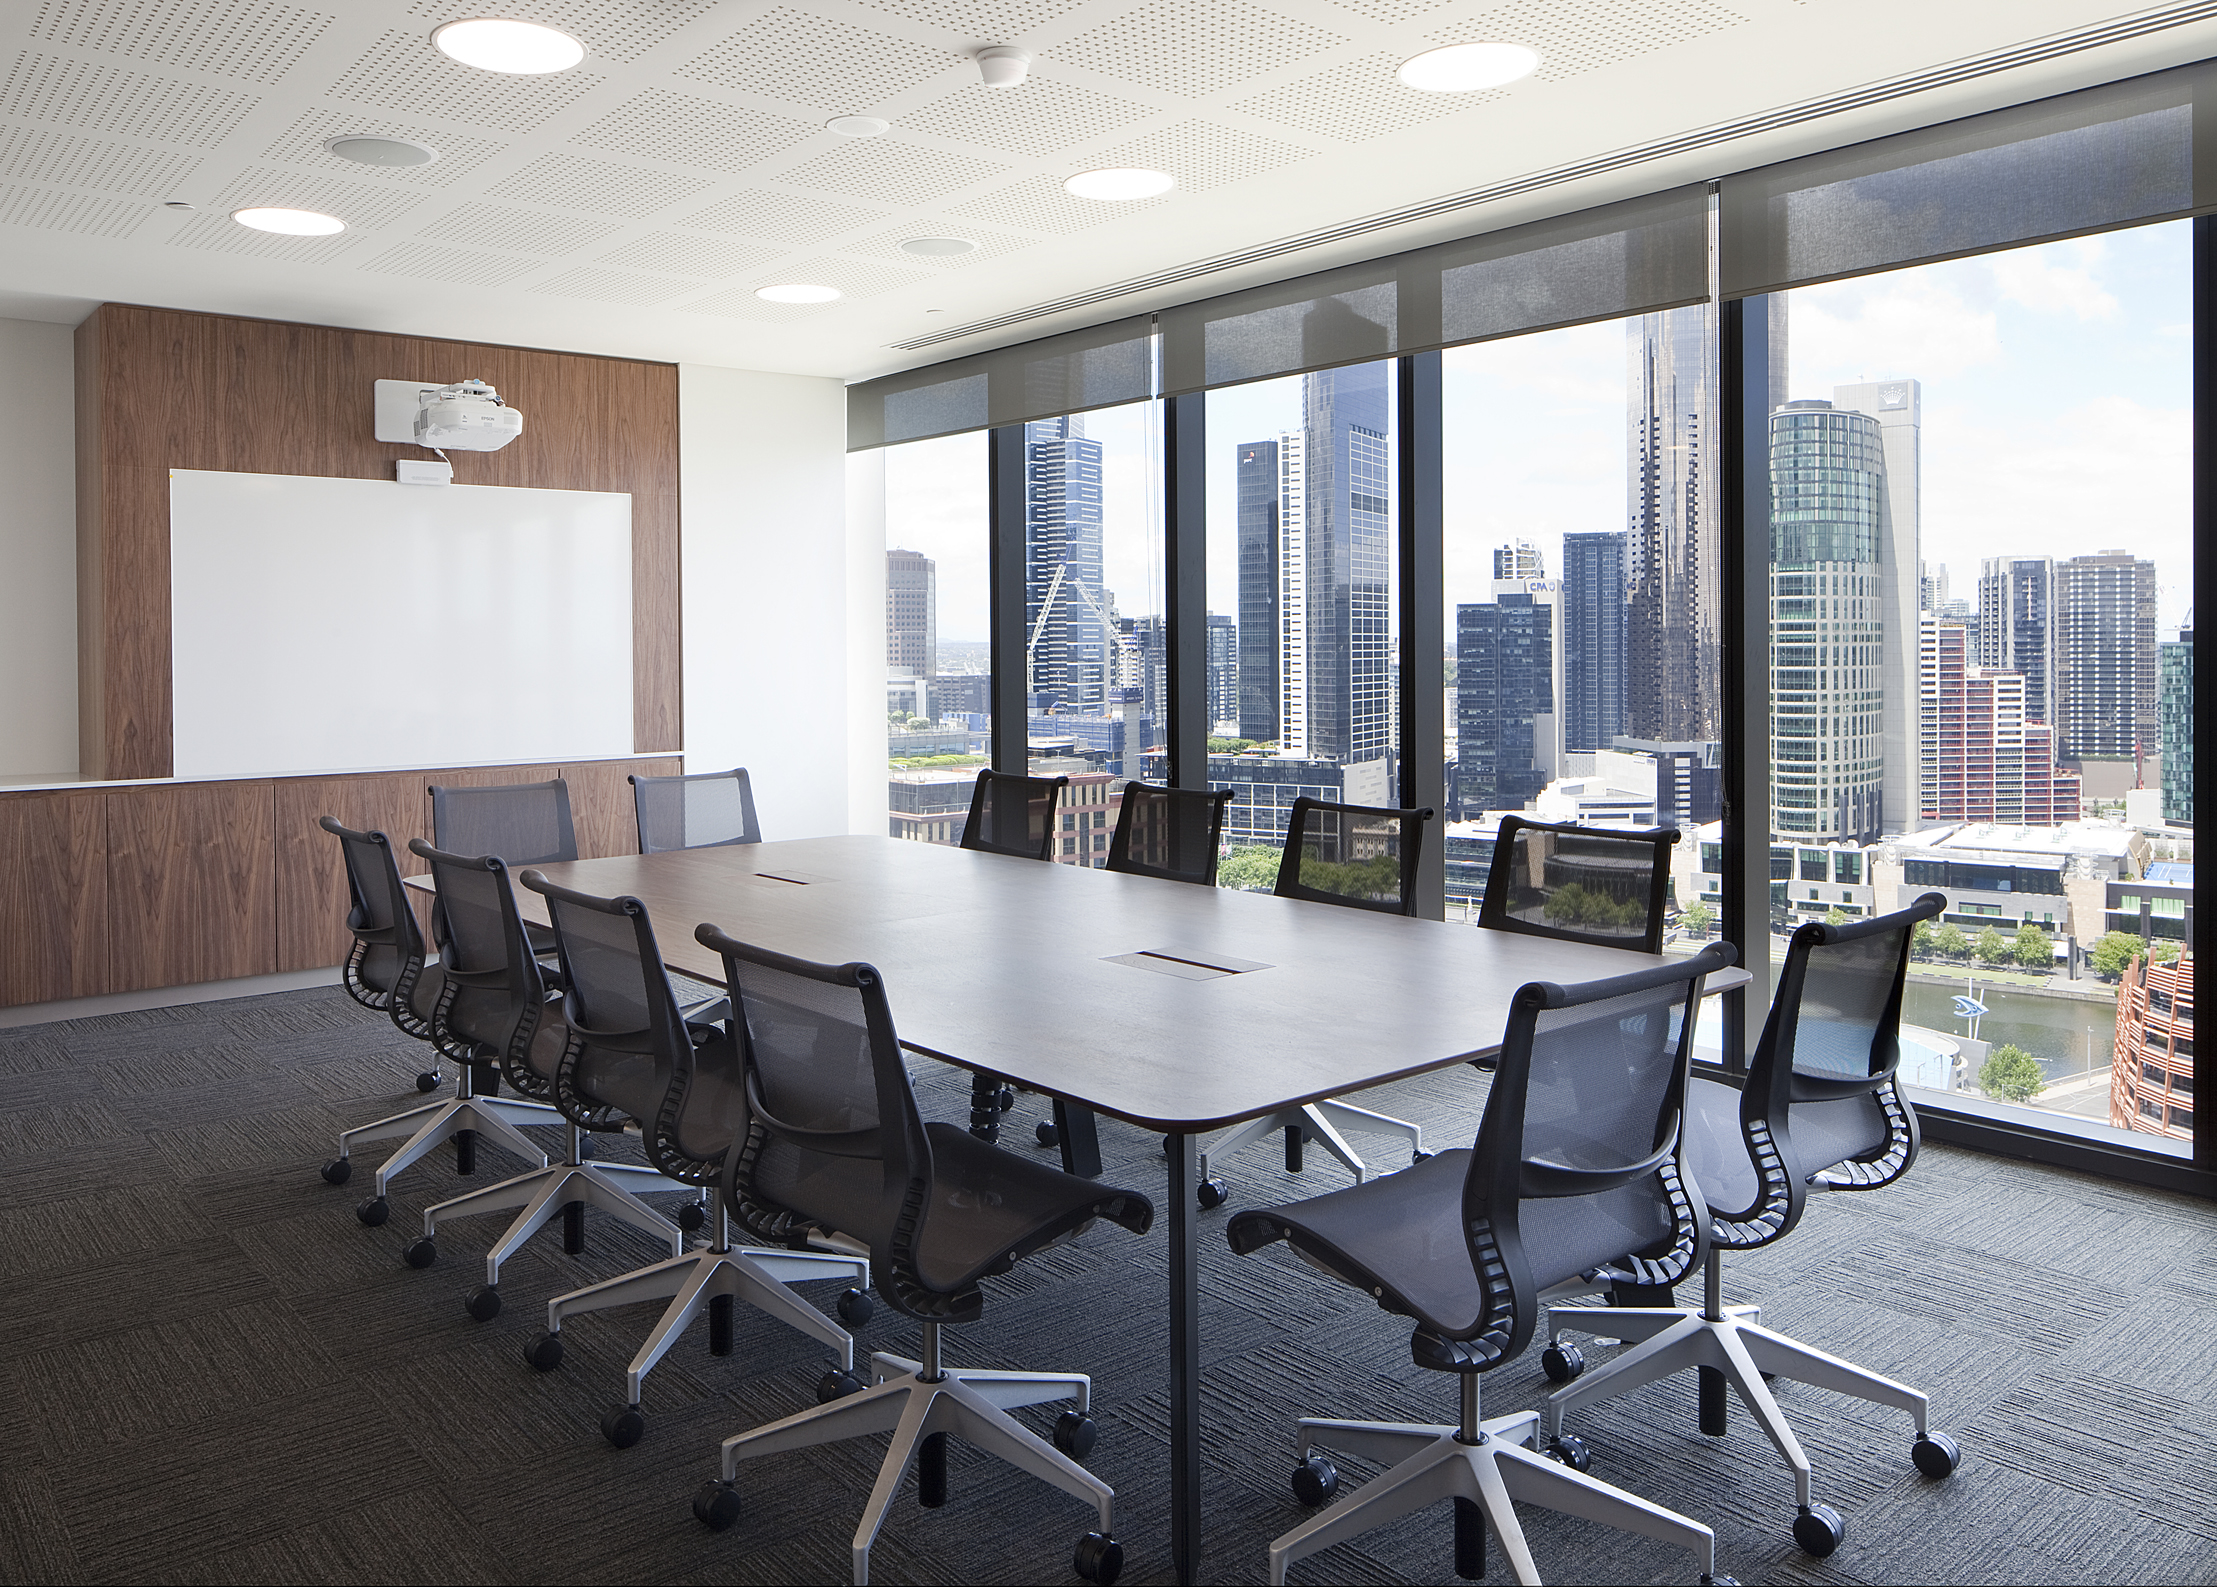
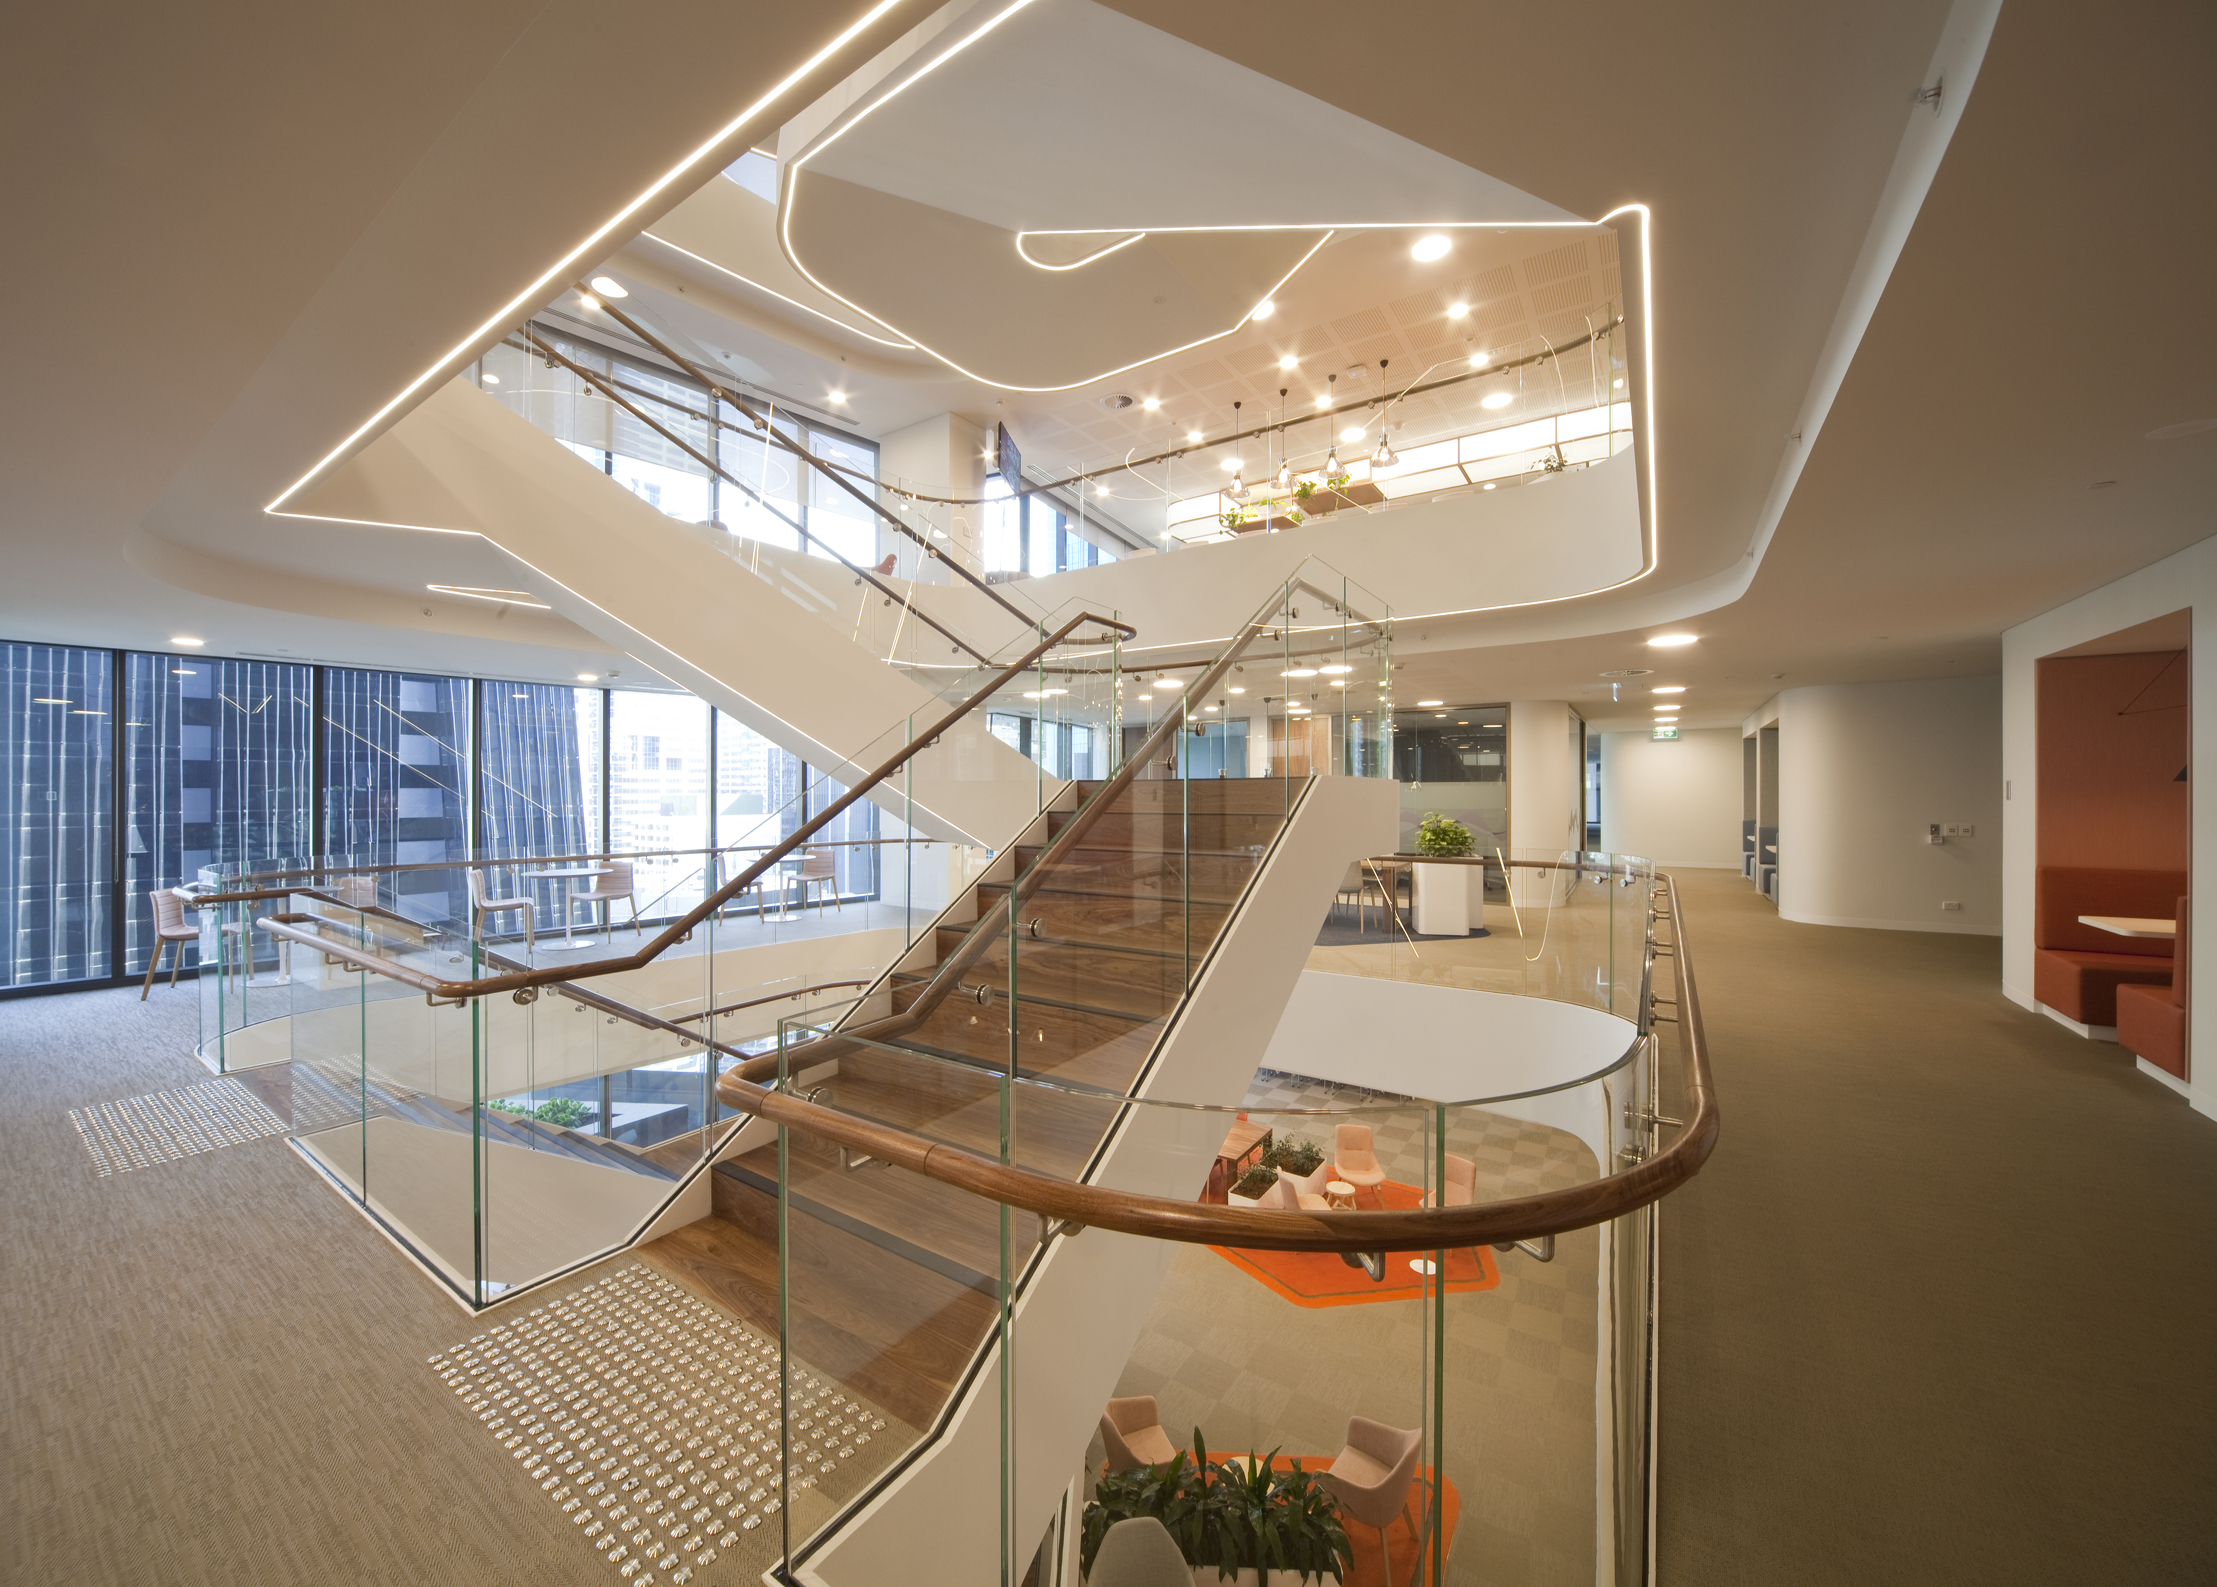
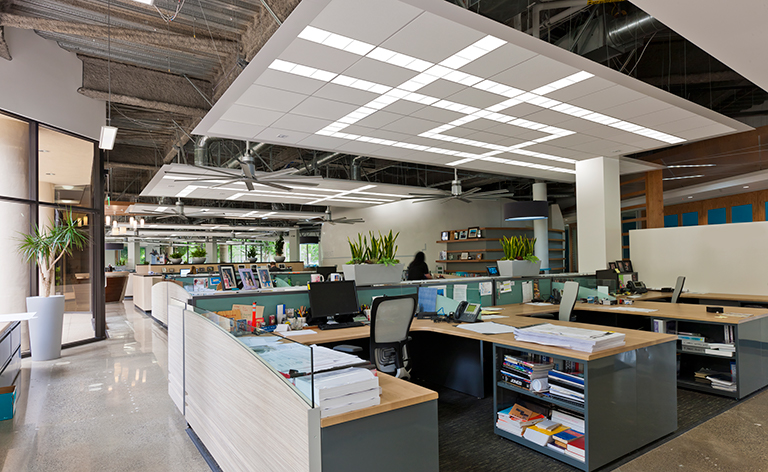
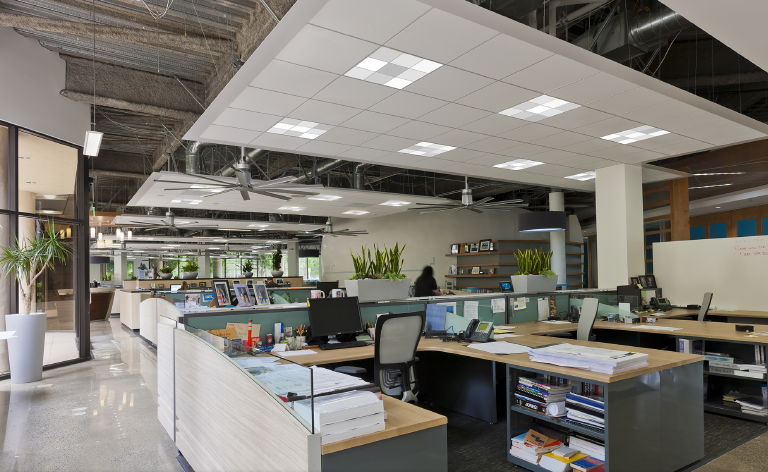
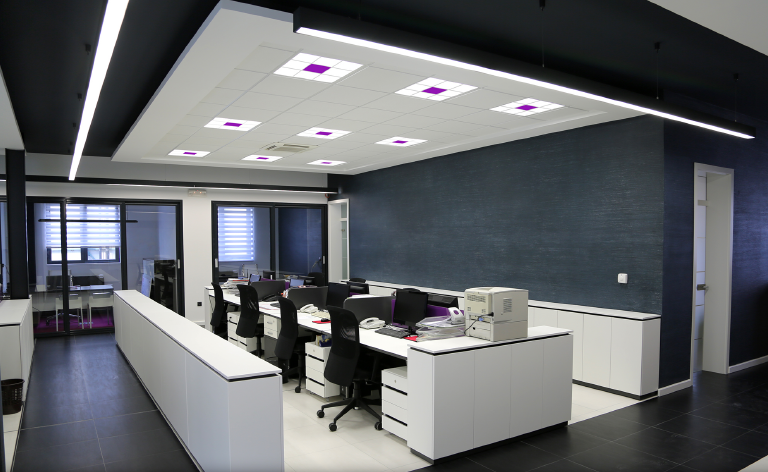
Jemena is an Australian infrastructure company that builds, owns and maintains a combination of major electricity, gas and water assets. The 15,000sqm project was delivered in 30 weeks and included the fitout of seven floors of internal connecting stairs, balcony landscaping, premium executive occupied floors including a commercial kitchen and dining room. Other key features of the project include a boardroom that can accommodate 24 people and 17 interpreters, meeting rooms, collaboration spaces, a roof top backup generator, fuel tank and pump room, main server room with sub server rooms on every floor and over 900 workstations. The project was executed in conjunction with Woods Bagot, NDY, Montlaur, Cinni Little, MBM, Philip Chun and WSP. Project Features Seven floors of internal connecting stairs Balcony landscaping Premium executive occupied floors Commercial kitchen Dining room Boardroom that can accommodate 24 people and 17 interpreters 900 workstations Specific details of the installation included: 1,000m of LED Strip and extrusion 30 new switchboards 120,000m of cat6 cabling 21 x 47RU Communications Racks 4,468 x Cat6 Outlets 99 x 48port patch panels 2,352 System ties Source: fdcbuilding.com.au
-

Как сделать пои для фаер шоу: светящиеся пои, шары своими руками
ColorPlay replied to ColorPlay's topic in (RU) ФОРУМ ОСВЕЩЕНИЕ
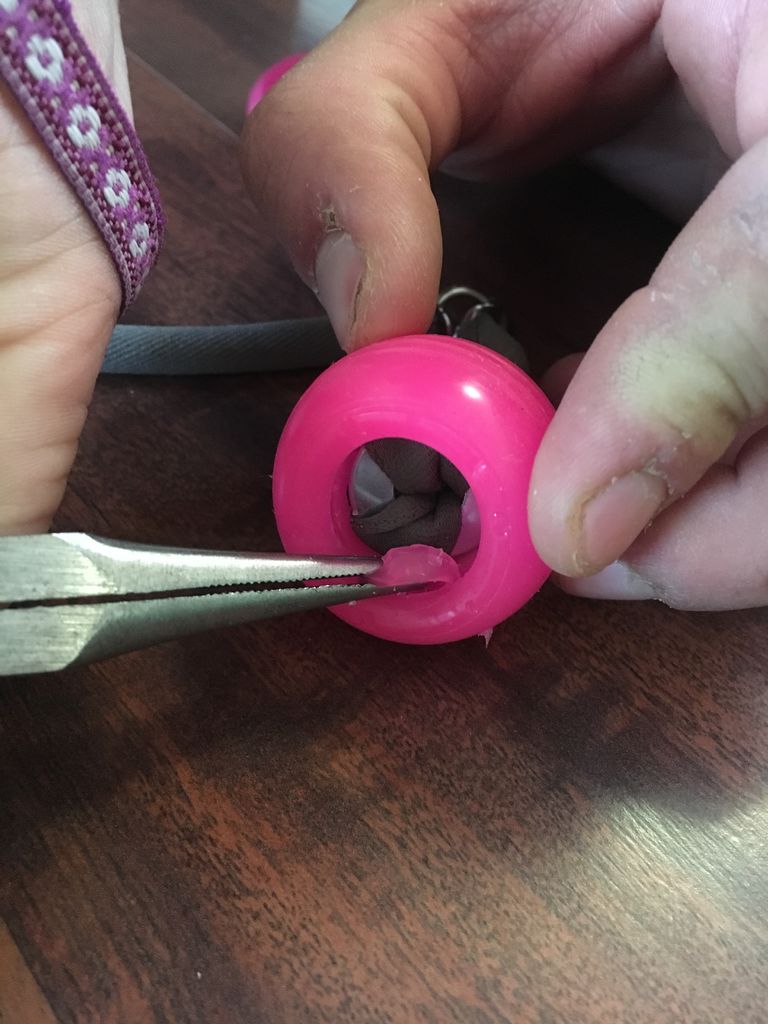
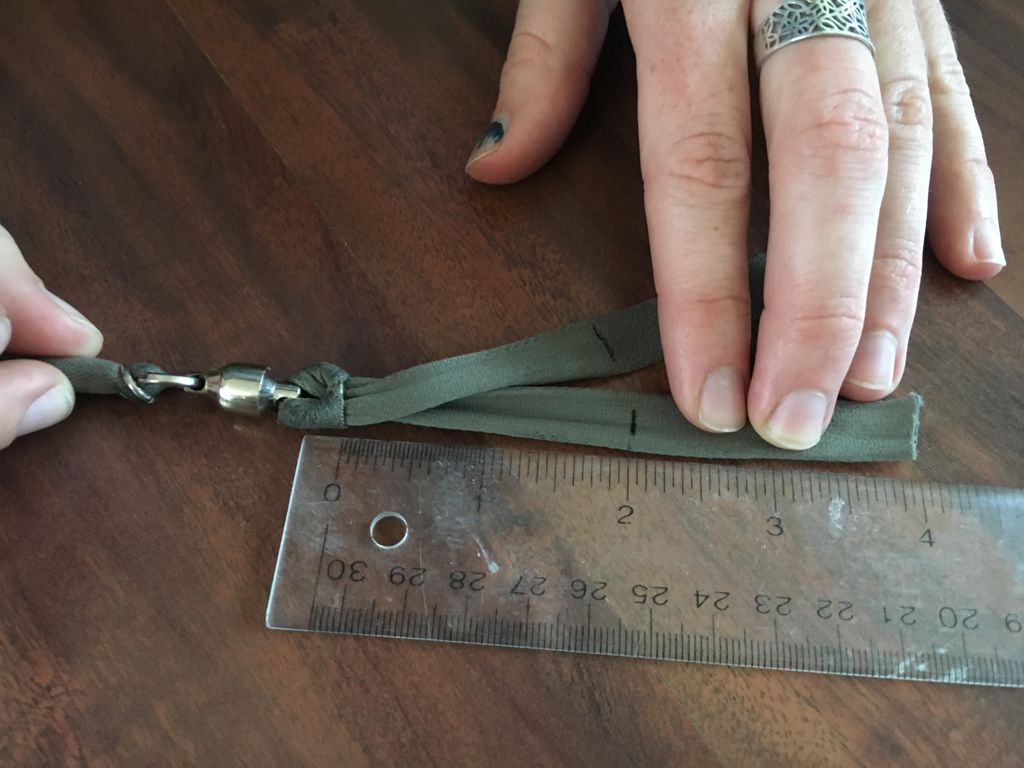
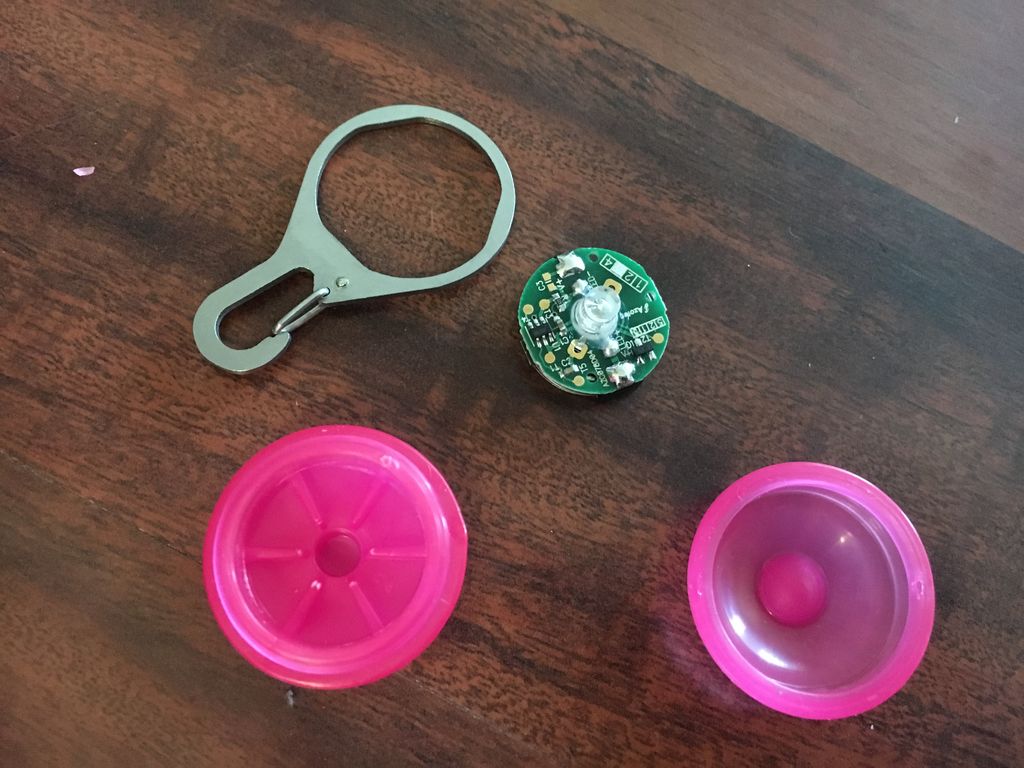
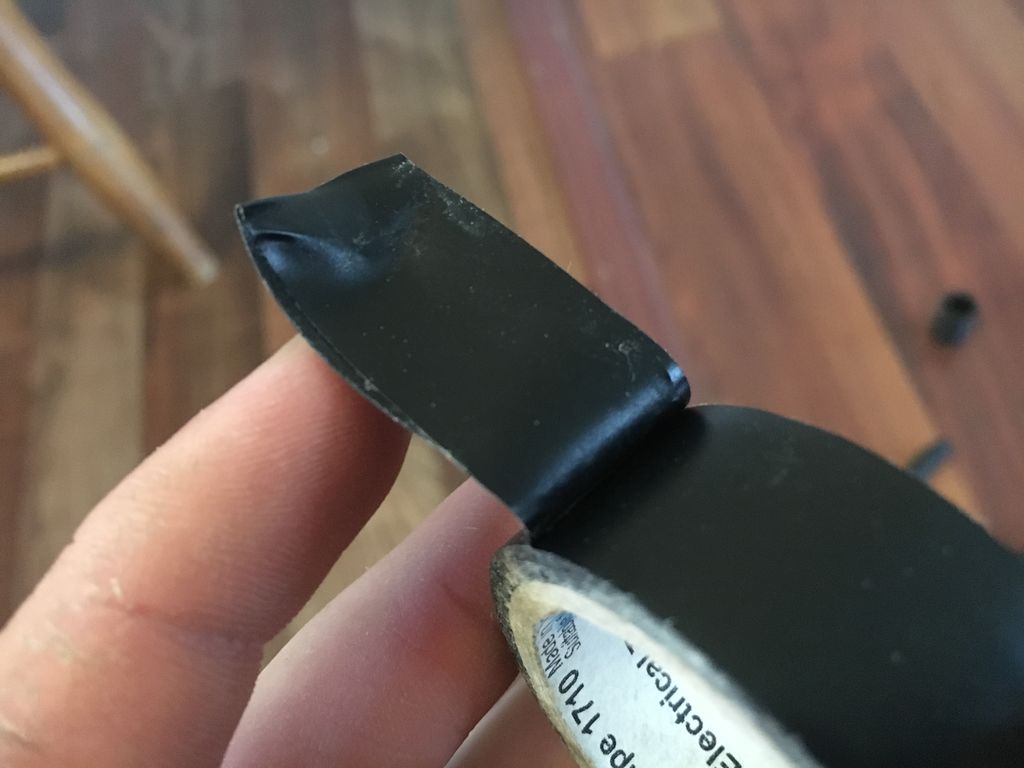
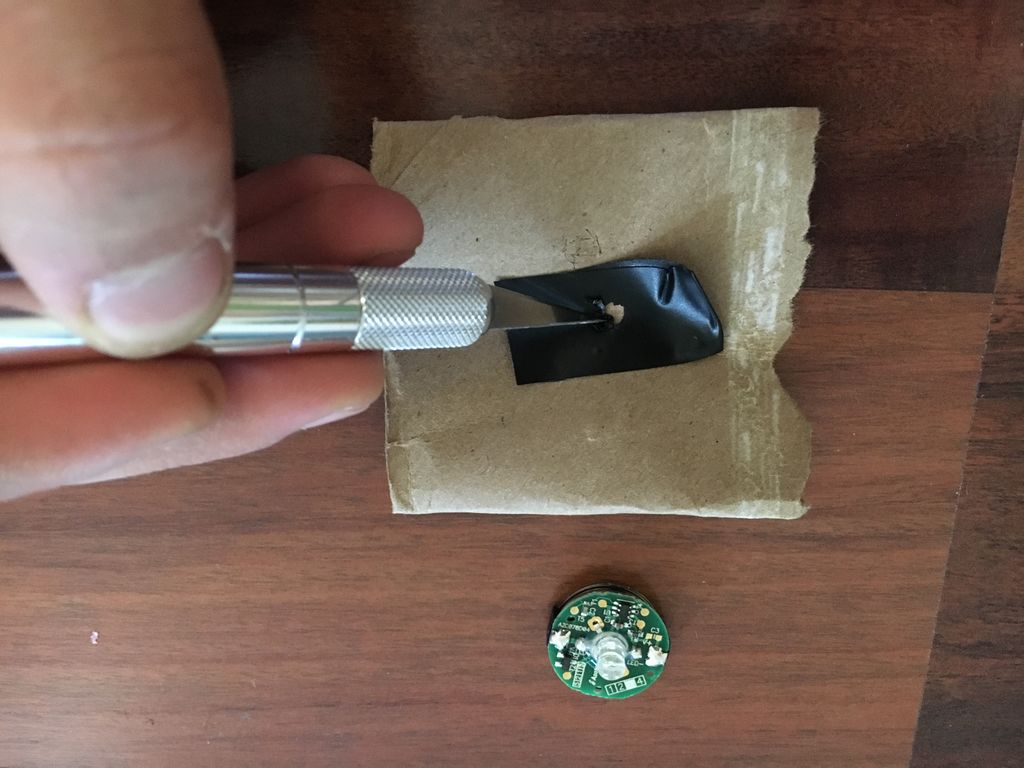
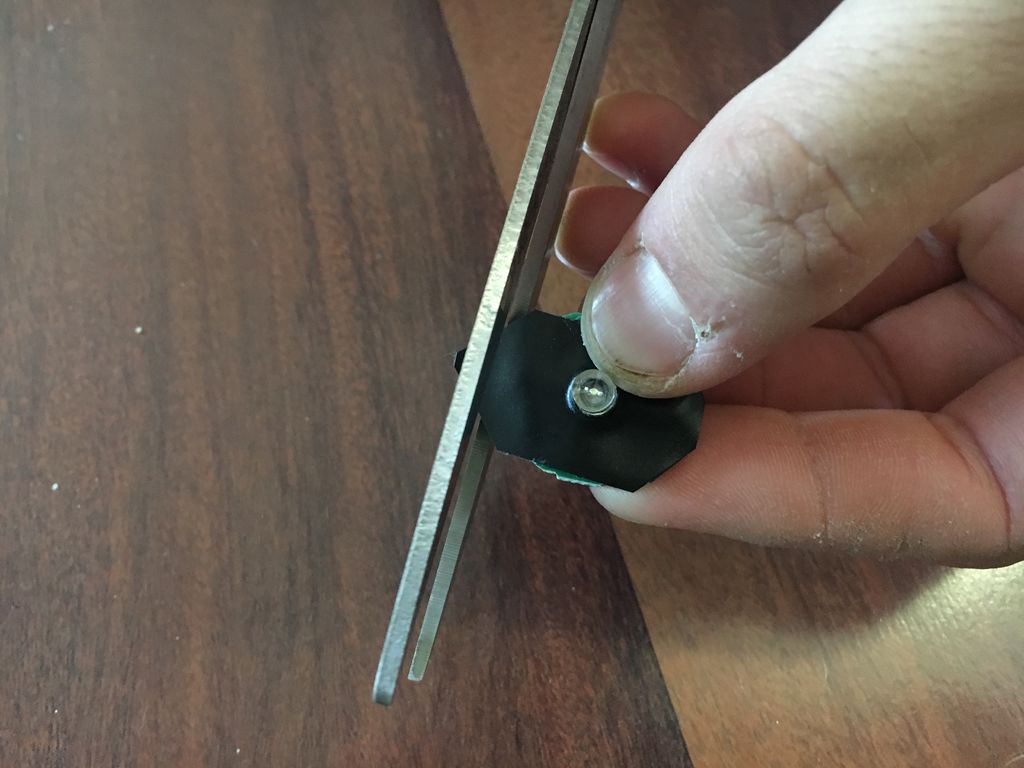
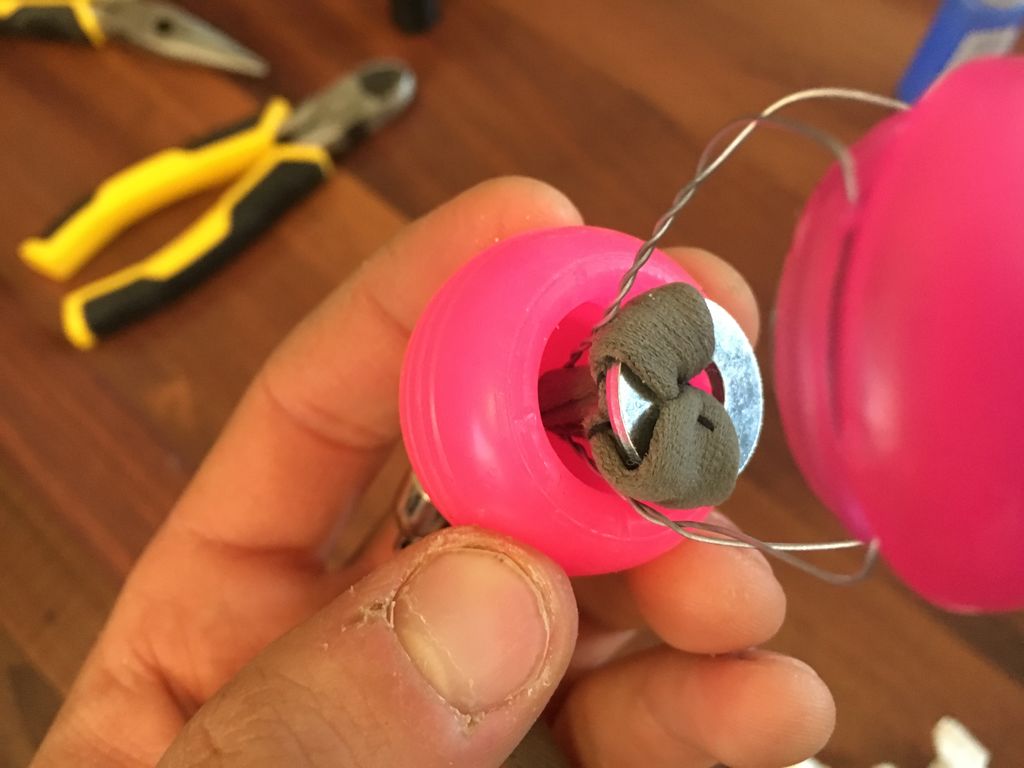
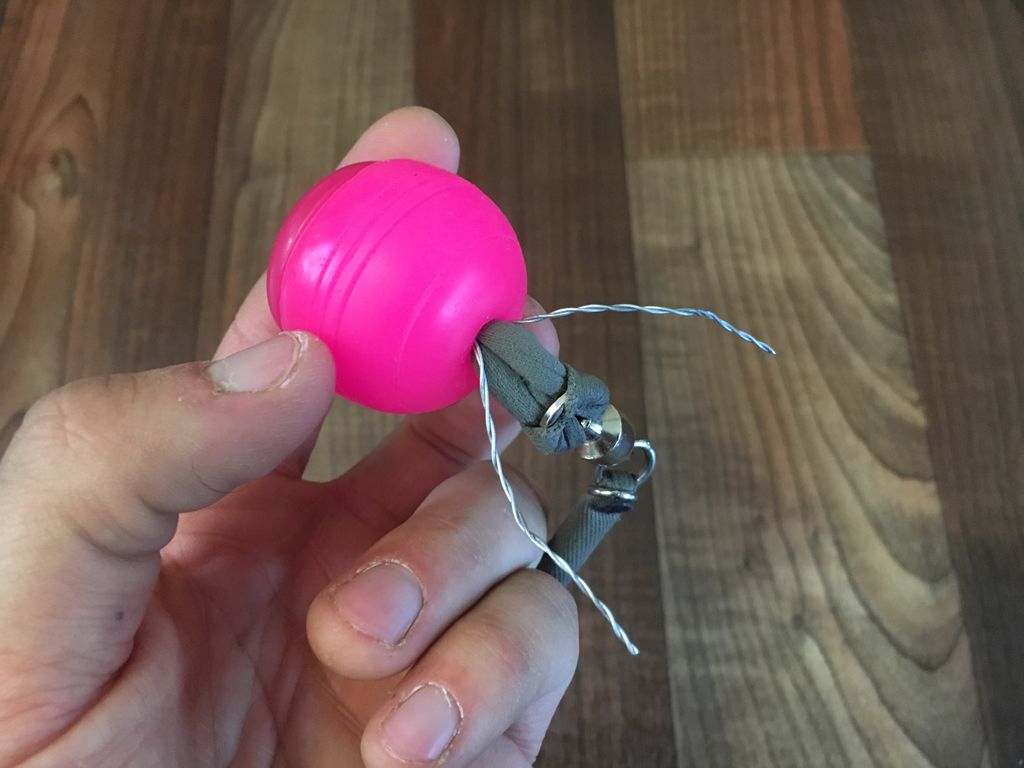
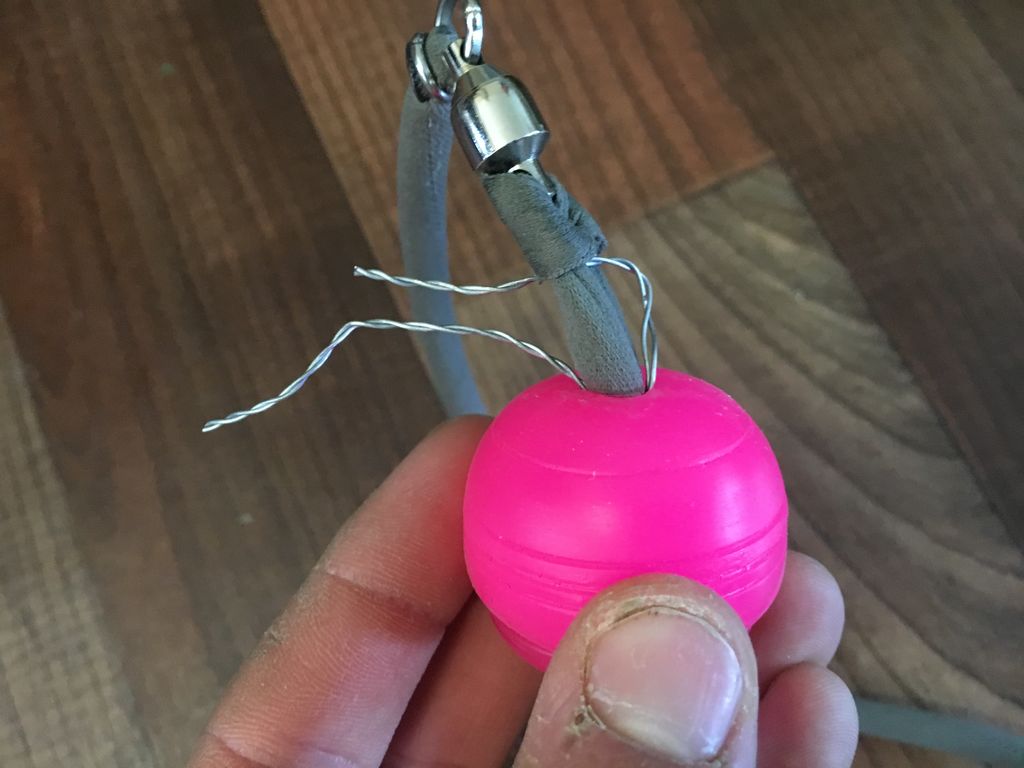
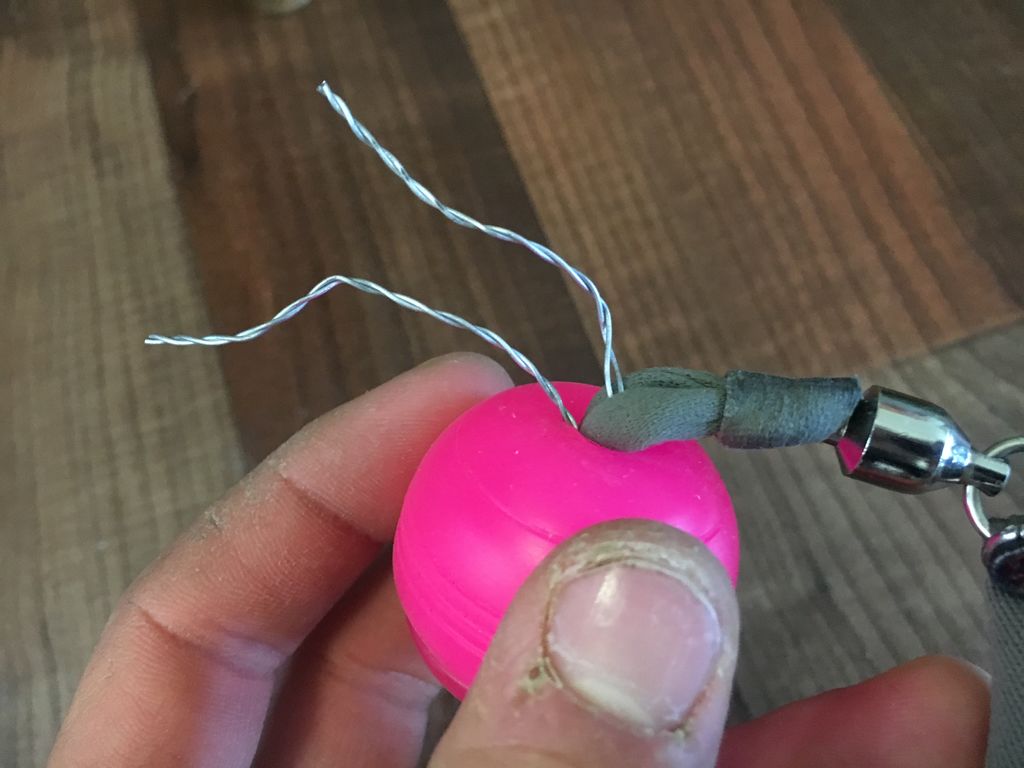
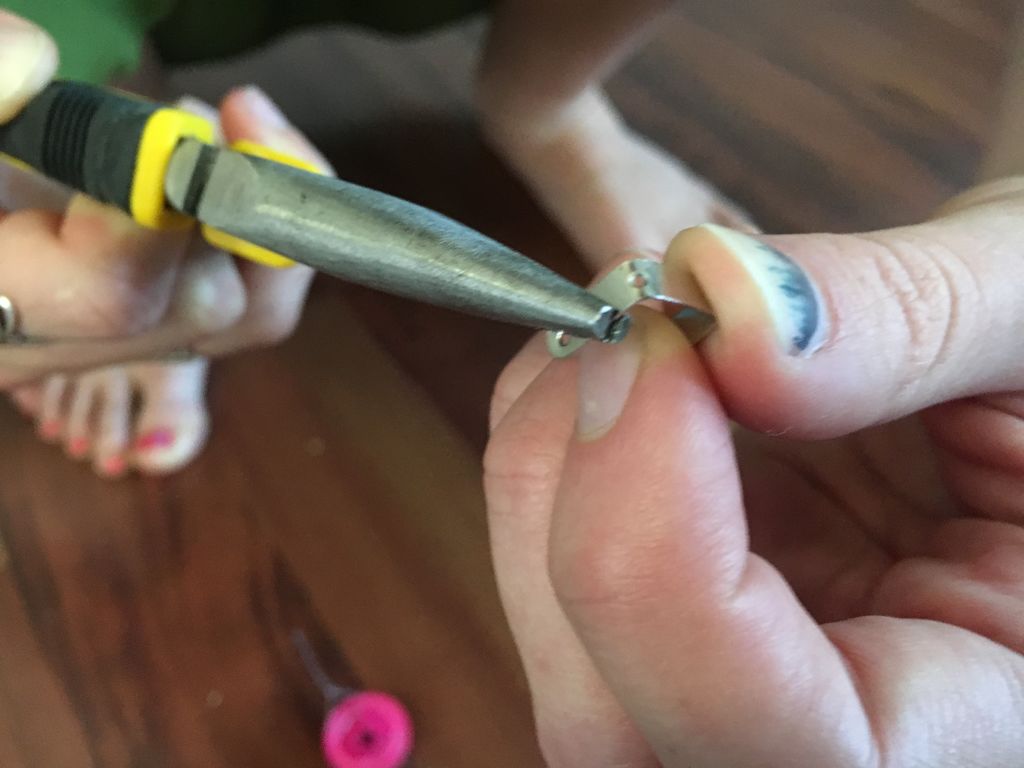
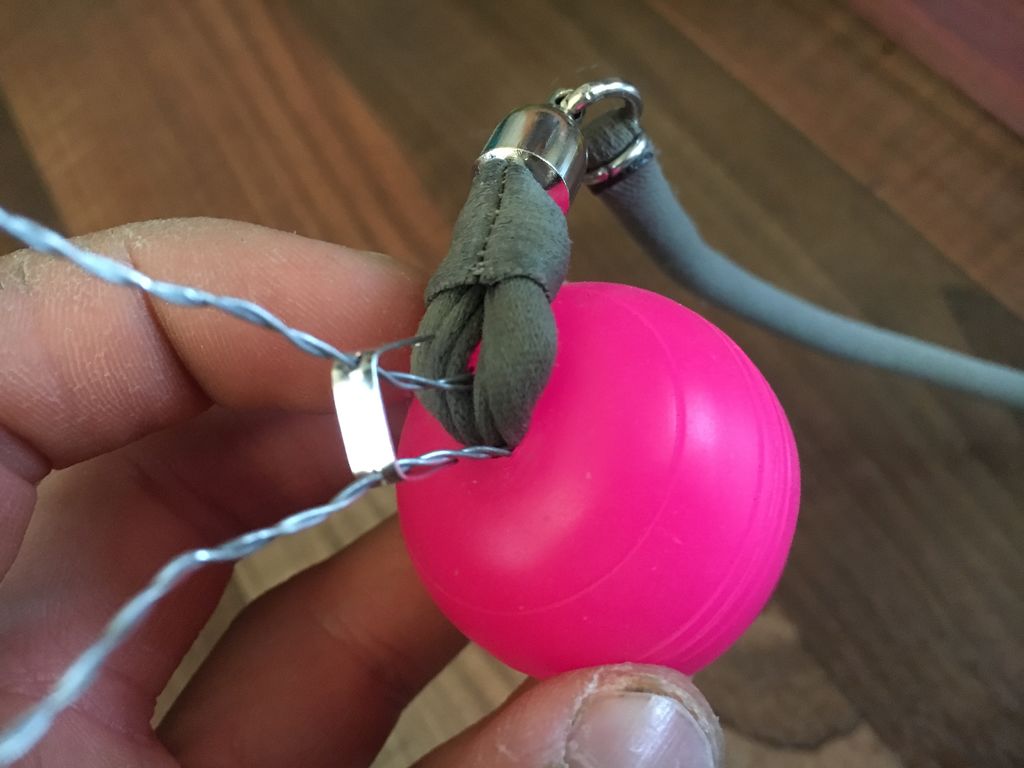
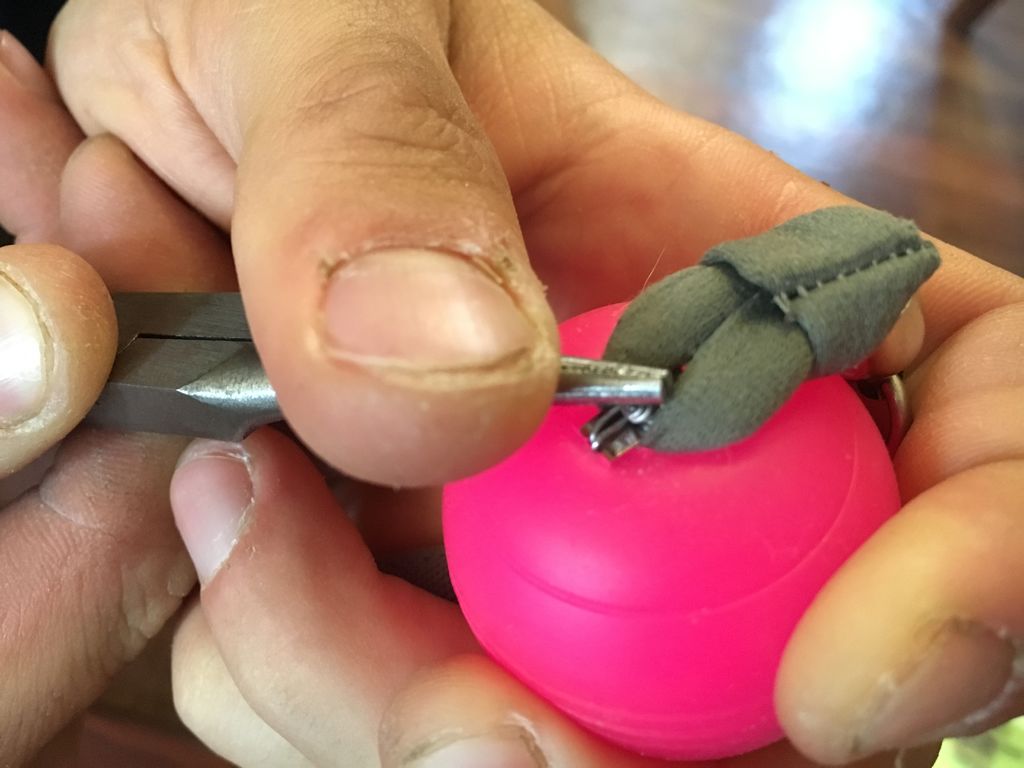
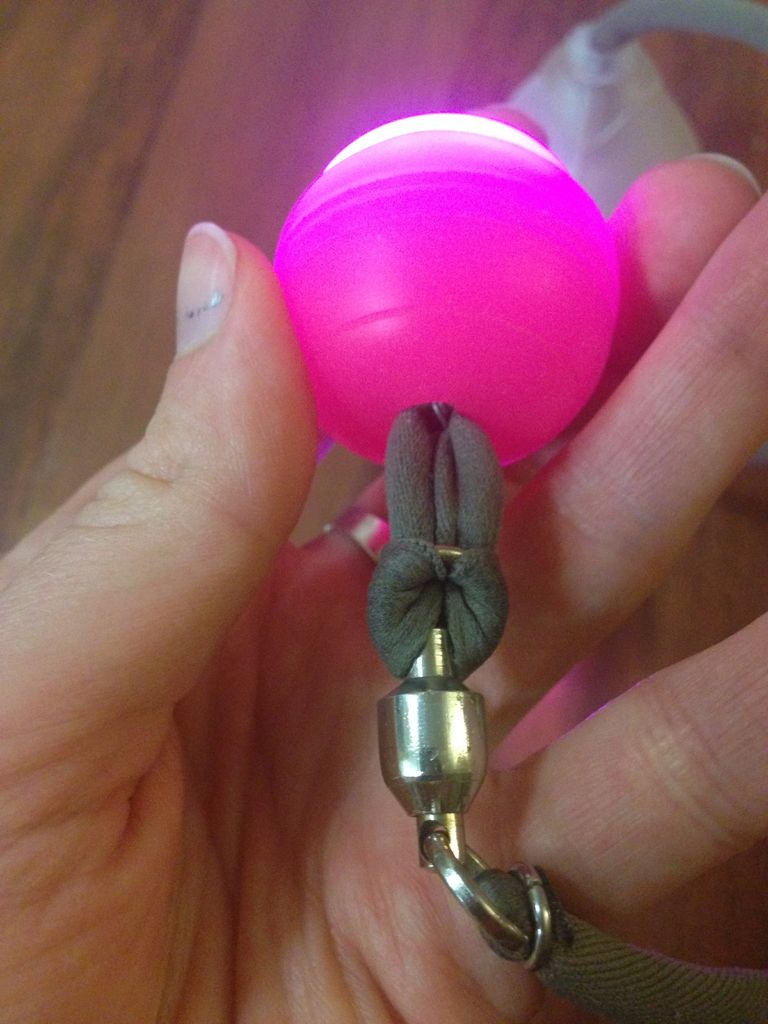
Светодиодные ручки для пои своими руками Разнообразьте свои показы жонглирования с этими удобными светодиодными ручками для пои, которые вы можете изготовить самостоятельно. В этой инструкции описывается, как изменить ручные петли для Pod Poi, но эти знания можно применить и для большинства других наборов пои. Шаг 1: Необходимые материалы Набор Pod Poi, или набор в котором уже прилагаются ручки для рук PomGrips http://www.flowtoys.com/podpoi/ Ручки для рук PomGrip – 2 шт. http://www.lanternsmith.com/pomgrip-handles-sold-individually/ Светодиодные брелоки NITEIZE - 2 шт. https://www.amazon.com/gp/product/B00K66BP6G Проволока для ювелирных изделий 24 калибра http://www.joann.com/24-gauge-wire-25-yards-pkg-silver/12257978.html Распорные вставки 2,5 см для ювелирных изделий – 2 шт. Поставляются комплектом, остальные, более короткие, можно выбросить http://www.joann.com/blue-moon-findings-spacer-bar-metal-multi-pack-plain-shiny-silver/14150726.html Шайбы 7,93 х 19,0 мм – 2 шт. Это стандартные шайбы, которые приходят в комплекте с ручками PomGrips Изолента Иголка с ниткой Линейка Канцелярский нож или скальпель Кусачки Плоскогубцы с зауженными губками Длинные острые щипчики, или другой подходящий инструмент (нет на фото) Шаг 2: Вырезание внутренней части ручек для рук PomGrips Светящийся элемент брелока слишком велик, чтобы поместиться в стандартной ручке PomGrip, поэтому надо немного изменить саму ручку. Для этого надо вырезать круговой паз в ее внутренней части с помощью канцелярского ножа или скальпеля. Этот процесс требует большой аккуратности, вы же не хотите искромсать вашу ручку, поэтому вырезать паз начинайте медленно и не глубоко, а потом постепенно углубляйте, если это потребуется. Когда вы закончите, у вас должен получиться паз около 1,6 мм в ширину по всей внутренней окружности обеих ручек. Светящийся элемент брелока NITEIZE должен красиво встать в этот паз позже. Шаг 3: Сшить петли для рук и одеть шайбы Обрежьте петли для рук до нужной длинны, а затем снова сшейте концы петель, при этом учтите, что петли примерно на 2,5 см будут находиться внутри ручки. После этого, оберните петли вокруг шайбы как показано на рисунке. Позже, было обнаружено, что петли выходящие на 2,5 см из нижней части ручки отлично себя ведут при выполнении вертлюга, удерживая пои при вращении. Поэтому, в этом примере, длина петель была сокращена до 5 см. Вы можете оставить стандартную длину петель, но это не всегда удобно при выполнении различных элементов вращения. Затем, расцепите замок петли, и протяните ее через ручку PomGrip, так, чтобы шайба зафиксировалась внутри ручки. Если вы видите, что она может соскользнуть, то можно дополнительно зафиксировать ее с помощью иголки с ниткой. Шаг 4: Разборка брелка NITEIZE и подготовка светодиода С помощью отвертки, отделите элементы брелока NITEIZE друг от друга, а затем осторожно извлеките небольшой светодиодный модуль из пластикового корпуса. Будьте как можно нежнее при обращении со светодиодом – можно легко устроить короткое замыкание или нарушить пайку контактов. Для того чтобы защитить светодиодный модуль от короткого замыкания, надо взять кусочек изоленты длиной около 5 см, сложить его пополам клейкой стороной внутрь и прорезать небольшое отверстие по середине. Затем вставить в отверстие светодиод и обрезать излишки изоленты по краям светодиодного модуля. Шаг 5: Отрезать и пропустить проволоку через пластиковый корпус Единственным найденным способом, гарантирующим, что светодиод не вывалится из ручки PomGrip когда вы уроните пои, это зафиксировать его крышкой с проволокой. Это, пожалуй, самый большой недостаток этой конструкции. Для этого, надо отрезать 4 кусочка ювелирной проволоки длиной 20 см. С помощью подходящего инструмента, сделайте четыре отверстия в пластиковой крышке от ранее оставшегося корпуса светодиода. Пропустите через них проволоку, хорошенько подтяните плоскогубцами и скрутите ее. У вас должен получиться небольшой треугольник, высотой примерно 1,25 см между внешней стороной крышки и началом скрутки проволоки. Повторите эти действия для второй половины пластикового корпуса. Сложите концы скрученной проволоки вместе и сделайте их одинаковой длины. Шаг 6: Установка пластиковых крышек в ручки PomGrip Аккуратно вставьте светодиодный модуль в пластиковый корпус до упора. Проверьте его работоспособность, надавив на его нижнюю часть до щелчка, если все нормально, то можете продолжить дальше. Возьмите ручку PomGrip, используя плоскогубцы, вытащите петлю с шайбой обратно. Возьмите пластиковый корпус с установленным светодиодом и пропустите проволоку через маленькое отверстие в центре ручки, шайба должна остаться в стороне. Затем подтяните петлю обратно, одновременно подтягивая проволоку. Когда светодиод приблизится к корпусу ручки, осторожными, массирующими движениями вставьте его в ранее вырезанный паз внутри ручки. После этого, еще раз подтяните проволоку, чтобы убедится, что она не собралась внутри ручки. Шаг 7: Изгибание распорных вставок и их установка Возьмите распорные вставки и согните их концы под углом 90 градусов. Места сгибов как раз проходят по готовым отверстиям. Так как отверстия немного узковатые для скрученной проволоки, предварительно надо их немного расширить. После этого, пропустите концы скрученной проволоки через отверстия и опустите распорную вставку к основанию ручки, так, чтобы загнутые концы смотрели вниз. Это на изображениях не показано, но ширина распорной вставки в согнутом виде больше чем диаметр отверстия, поэтому надо сделать небольшие прорези в ручке. Используя канцелярский нож, сделайте две небольшие прорези в ручке напротив загнутых концов. Загнутые концы распорной вставки должны утопиться в эти прорези. Установите распорную вставку в сделанные прорези, при этом поддерживайте петлю и проволоку плоскогубцами. Шаг 8: Скручивание проволоки после распорной вставки С помощью плоскогубцев, скрутите концы скрученной проволоки, так, чтобы образовался плотный узел как можно ближе к распорной вставке. Кусачками откусите лишнюю проволоку и аккуратно загните острые концы, так, чтобы они не за что не цеплялись. Шаг 9: Готово! Вуаля! Теперь ваши светодиодные ручки готовы к ослепительному шоу, и возможно, теперь вы еще больше сблизитесь с вашими пои. Источник: instructables Смотрите также: >> недорогие светодиодные пои c бесплатной доставкой: https://ru.aliexpress.com/premium/LED-POI.html >> программируемые светодиодные пои: https://ru.aliexpress.com/premium/pixel-poi.html >> пиксельные светодиодные нунчаки: https://ru.aliexpress.com/premium/LED-Pixels-Nunchakus.html
-
LED Grow Light: blue & red, multi white • Best full spectrum
Jamie A. posted a topic in (EN) FORUM LIGHTING
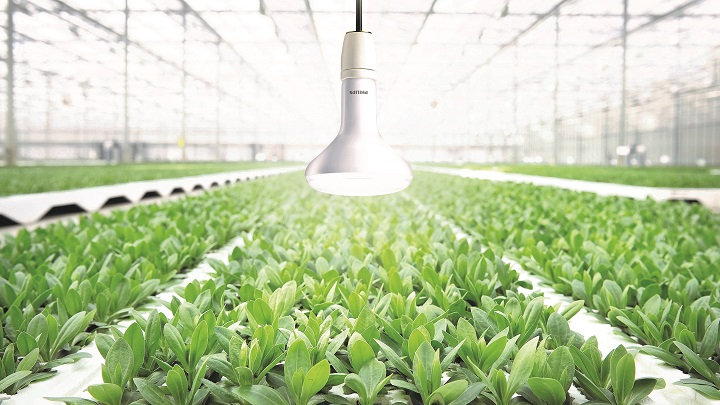
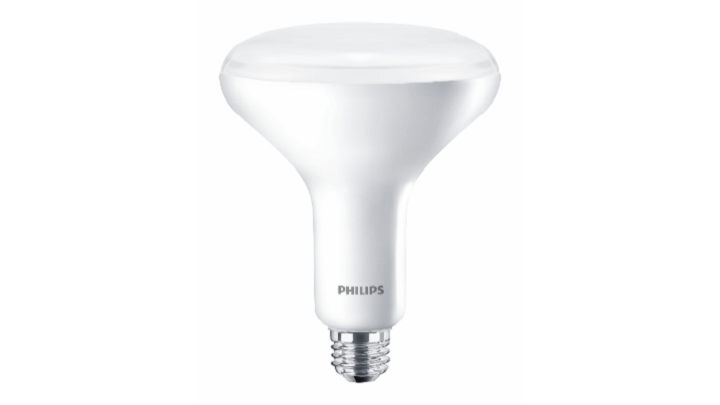
Introducing the most energy-efficient flowering lamp ever Eindhoven, The Netherlands – Philips Lighting (Euronext Amsterdam ticker: LIGHT), a global leader in lighting, today announced the launch of the Philips GreenPower LED flowering lamp 2.0, an even more energy efficient way to extend daylight or interrupt the night growing cycle in greenhouses for growers that cultivate strawberries, cut flowers, bedding plants and cuttings. The new Philips GreenPower LED flowering lamp 2.0 builds on the first generation of Philips GreenPower LED flowering lamp and comes in two different spectral versions with light recipes for growing cut flowers and soft fruit. The new highly energy-efficient lamp is designed to increase the yield, quality and consistency of crops and accelerate flowering. Its design draws upon over twenty years’ experience that Philips Lighting has in horticultural lighting to serve the needs of growers. The first generation of the Philips GreenPower flowering lamp provided an important benchmark for energy efficiency following trials in 2014 and 2015 at the Research Centre Hoogstraten in Belgium, an independent horticultural research center. The next generation lamp provides an optimum spectrum and high light output and allows growers to save electricity costs by being 90% more energy efficient than conventional incandescent lamps. The lamps have a standard E27 or E26 fitting allowing them to be used in existing installations, avoiding unnecessary modifications and reducing set-up costs. Source: lighting.philips
-
Nieuwe generatie LED flowering lampen 2.0 Philips Lighting kondigde gisteren de introductie aan van de Philips GreenPower LED flowering lamp 2.0, een nog energiezuinigere manier om het daglicht te verlengen of de nachtcyclus te onderbreken in kassen waar aardbeien, snijbloemen, tuinplanten en stekken worden gekweekt. De nieuwe Philips GreenPower LED flowering lamp bouwt voort op het succes van de eerste generatie en verschijnt in twee verschillende spectrale versies, met lichtrecepten voor de groei van snijbloemen en zachtfruit. De nieuwe lamp is ontworpen om opbrengst, kwaliteit en consistentie te verhogen en bloei te stimuleren. De eerste generatie van de GreenPower LED flowering lamp is een bewezen referentieproduct voor teeltresultaat en energie-efficiëntie, zoals ondervonden in proeven die in 2014 en 2015 werden uitgevoerd door Onderzoekscentrum Hoogstraten. De nieuwe generatie levert het optimale spectrum en een hoge lichtopbrengst en biedt een nog hogere energie-efficiëntie. Dit stelt telers in staat tot wel 90% te besparen op de energiekosten in vergelijking met gloeilampen. De lampen hebben een standaard lampvoet (fitting) en kunnen dus zonder enige aanpassing gebruikt worden in bestaande gloeilampinstallaties, wat de initiële kosten verlaagt. Effectief voor gewassen Om telers te helpen effectieve resultaten te behalen voor hun gewassen zijn lichtrecepten ontwikkeld die een combinatie zijn van de volgende elementen: lichtspectrum, intensiteit, timing, gelijkmatigheid en positionering. De nieuwe lamp is verkrijgbaar in twee verschillende spectrale uitvoeringen: één biedt een combinatie van dieprood en wit (DR/W) en de andere een combinatie van dieprood, wit en ver rood (DR/W/FR). De uitvoering met DR/W-licht onderdrukt de bloei van korte dag planten en is bijvoorbeeld zeer effectief voor chrysanten. De uitvoering met DR/W/FR-licht is ideaal voor foto periodische belichting van perkplanten en vaste planten om de dag te verlengen, of de nachtcyclus te onderbreken om het strekken van de stengels van aardbeienplanten te bevorderen en de bloei te stimuleren. Lagere onderhoudskosten De LED flowering lamp 2.0 ziet eruit als een gloeilamp, maar is gemaakt van robuust kunststof dat het risico van glasschade elimineert. bron: floranews
-
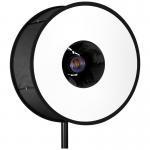
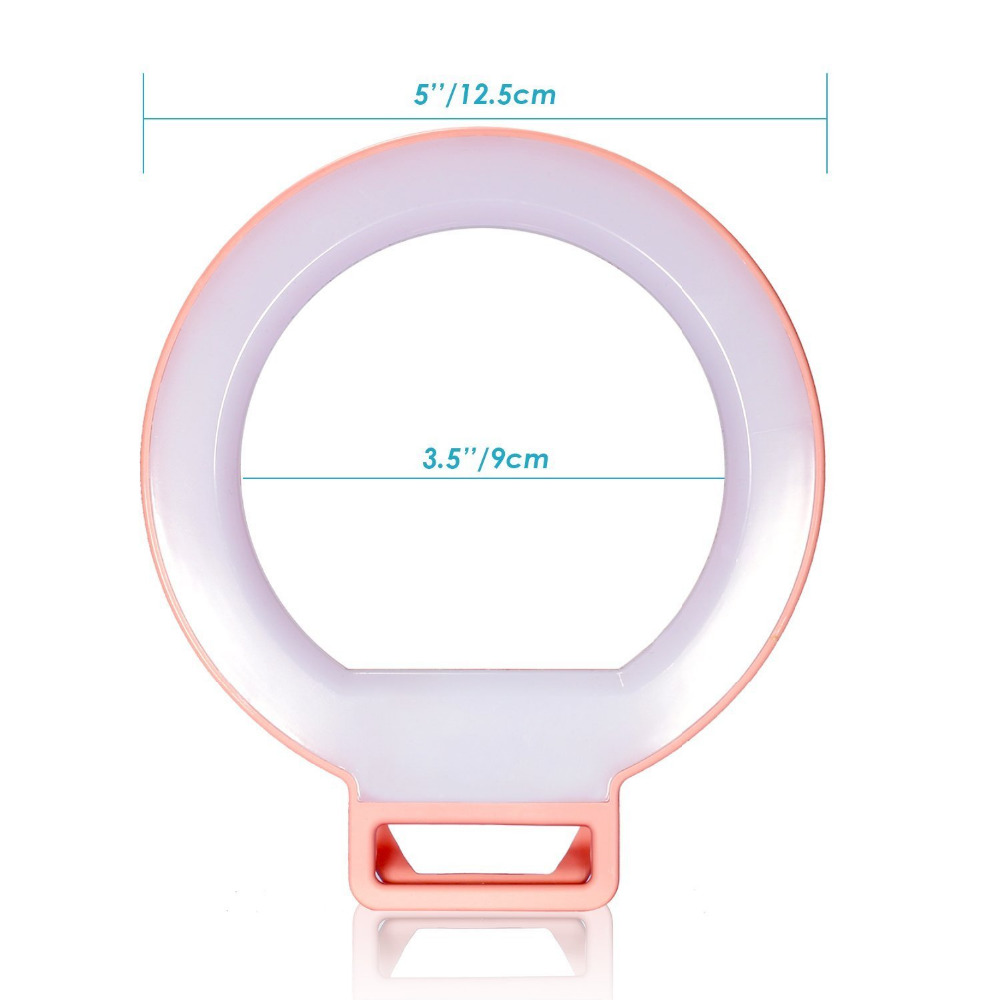
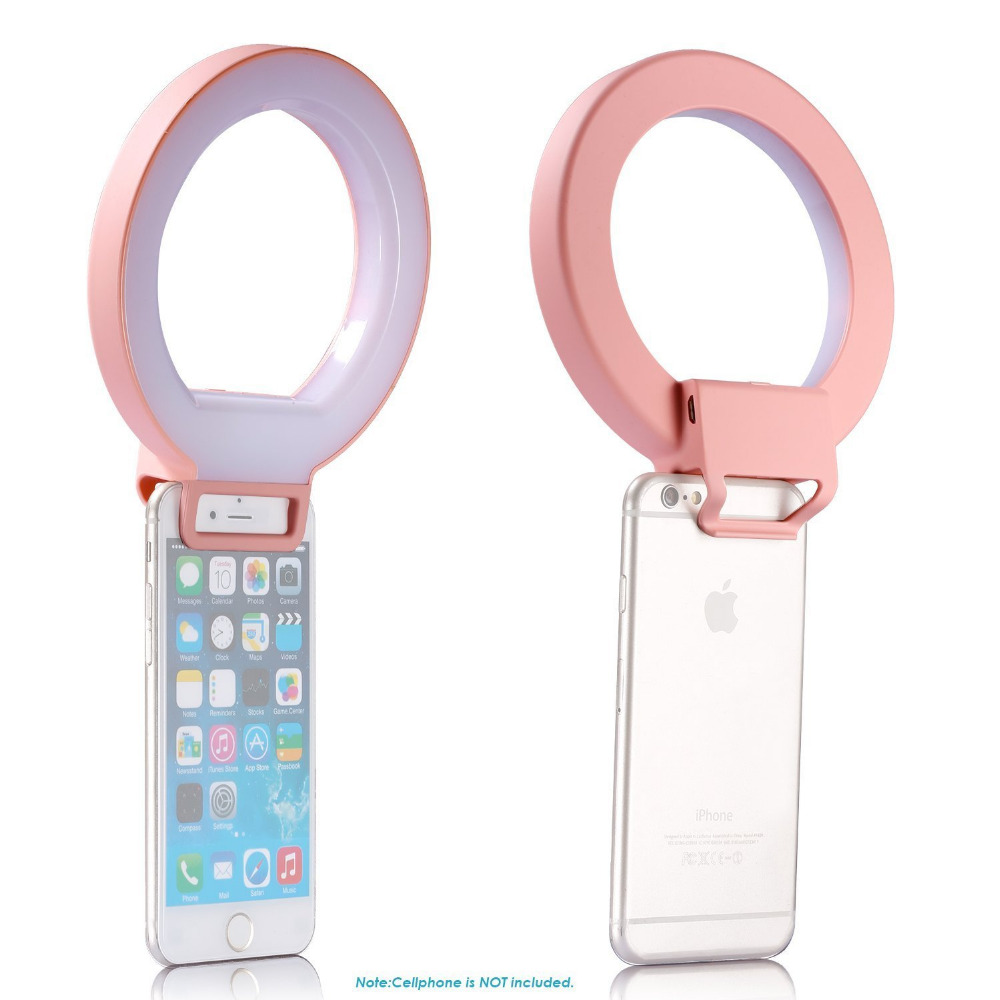
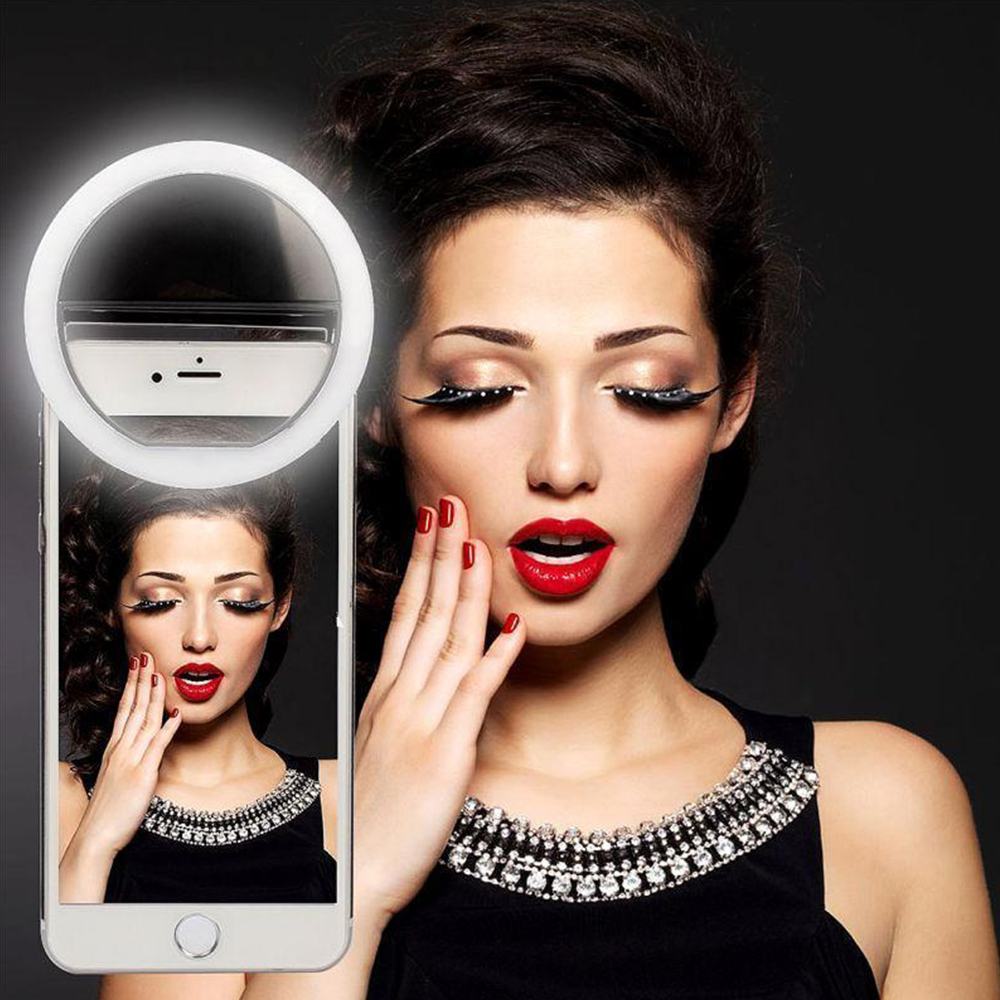
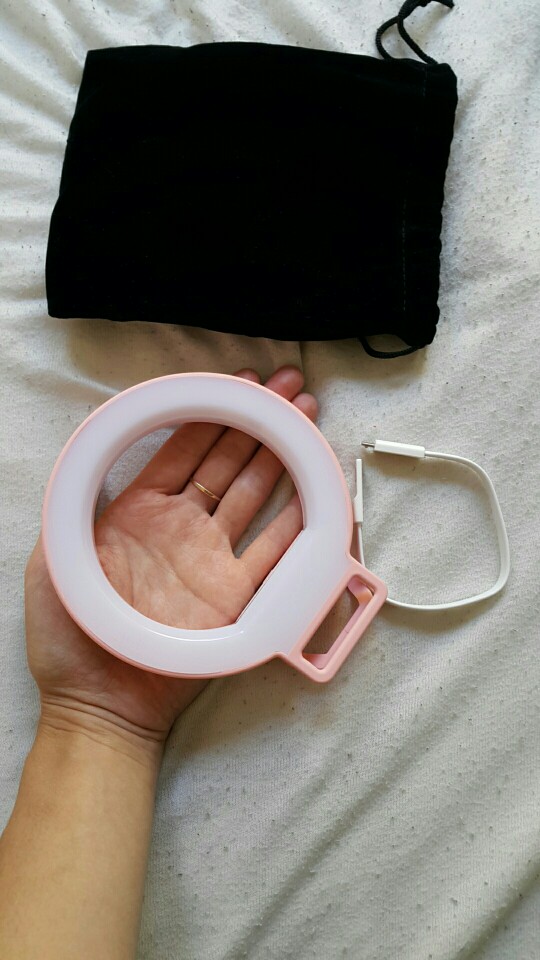
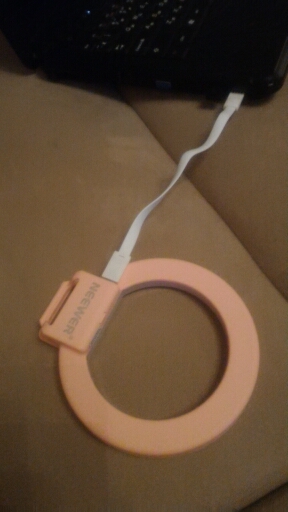
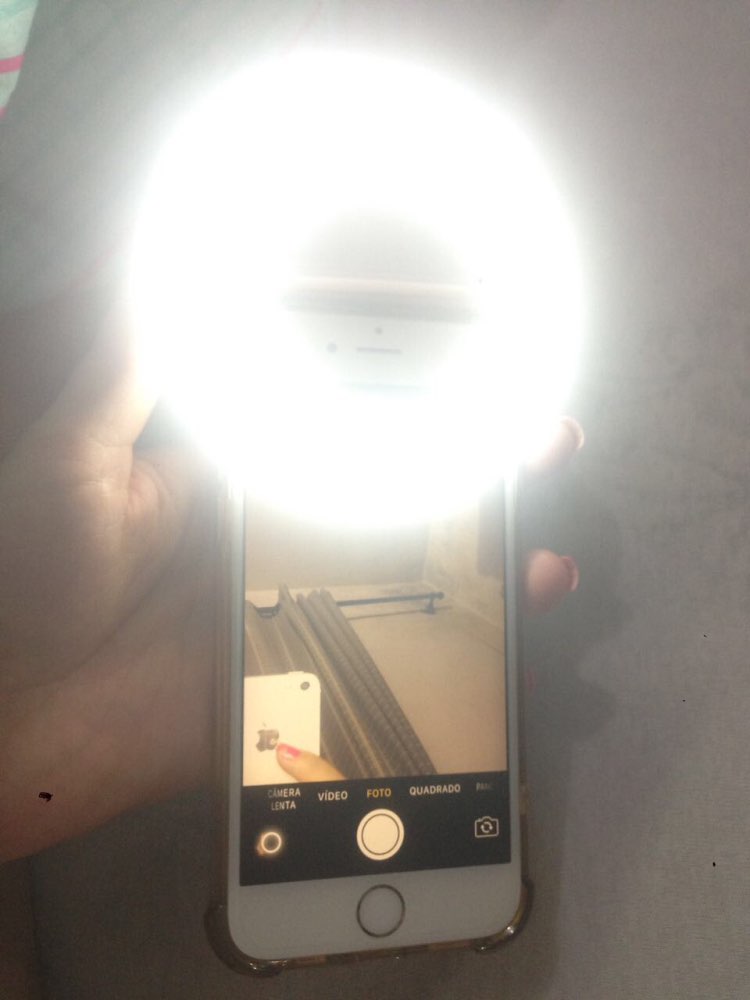
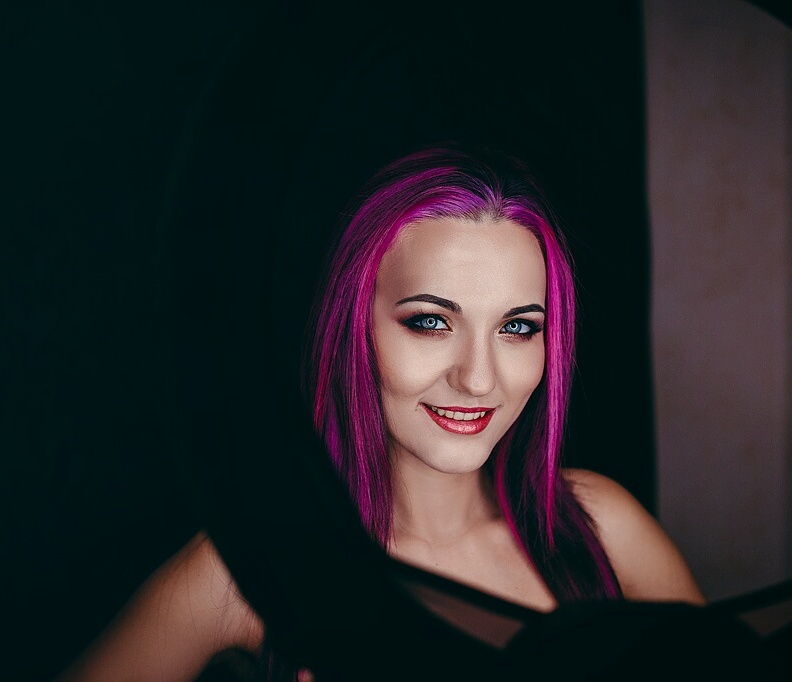
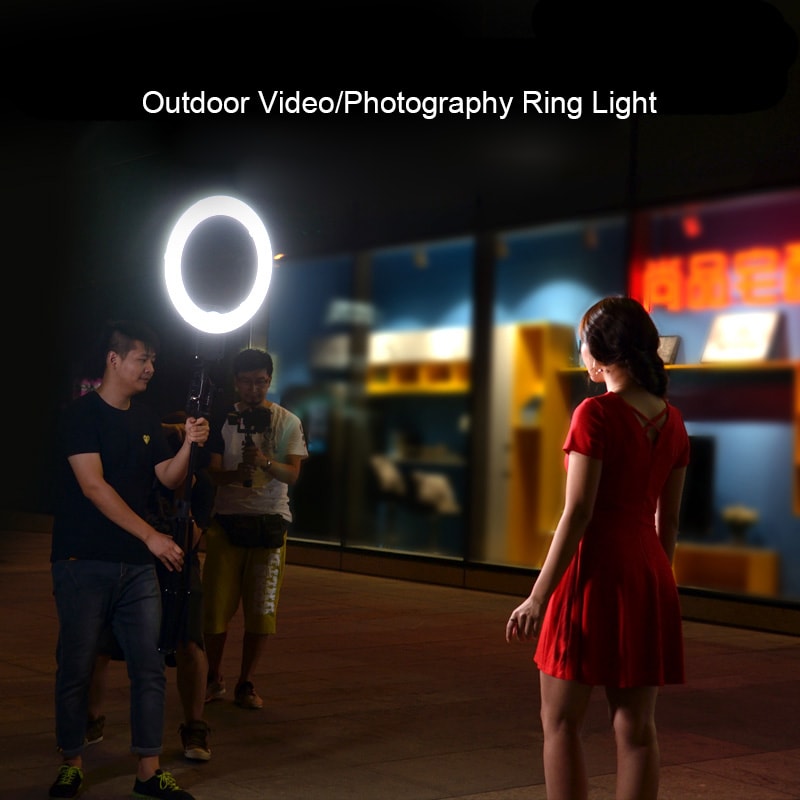
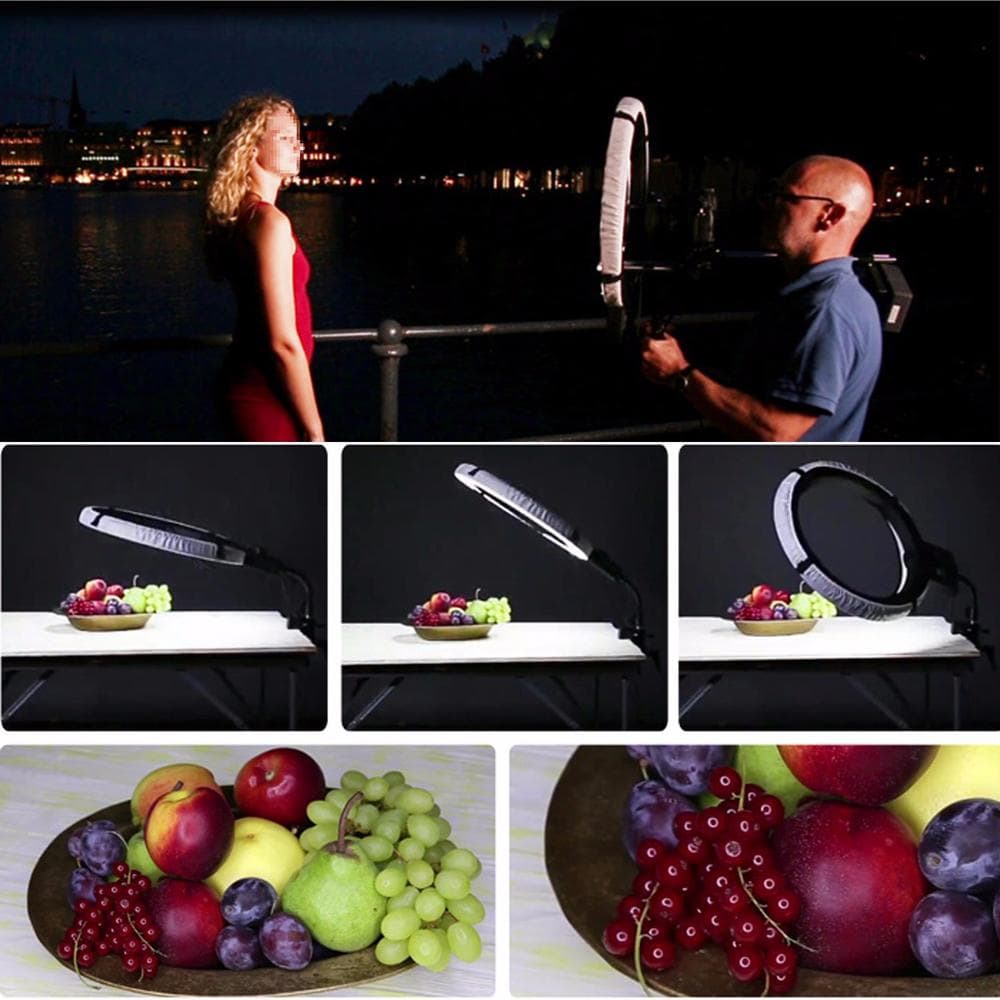
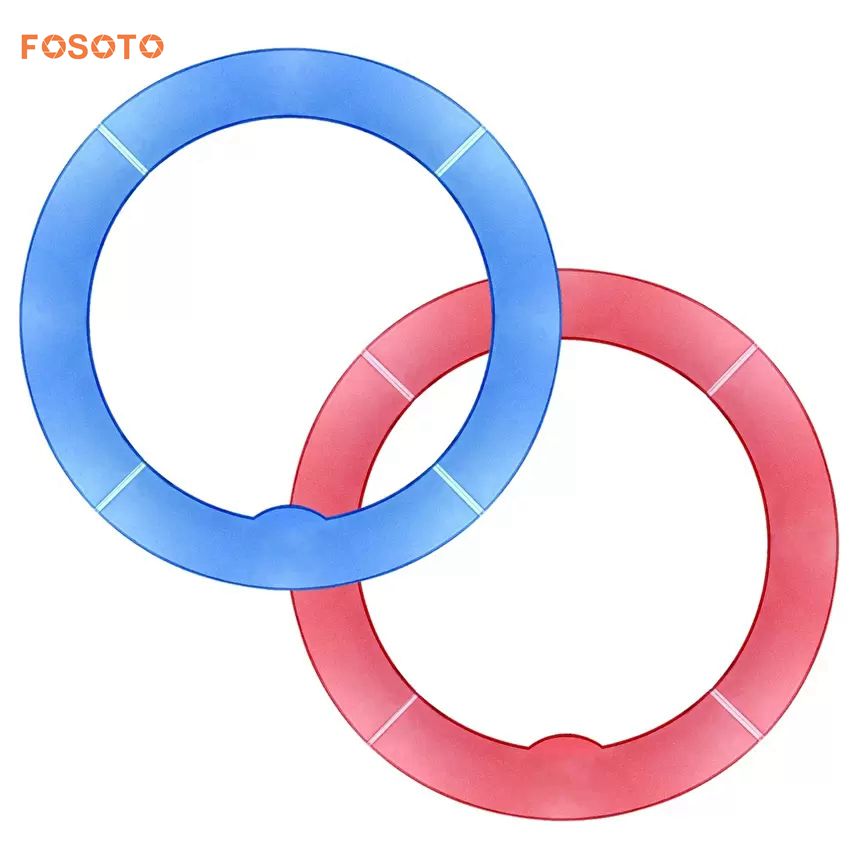
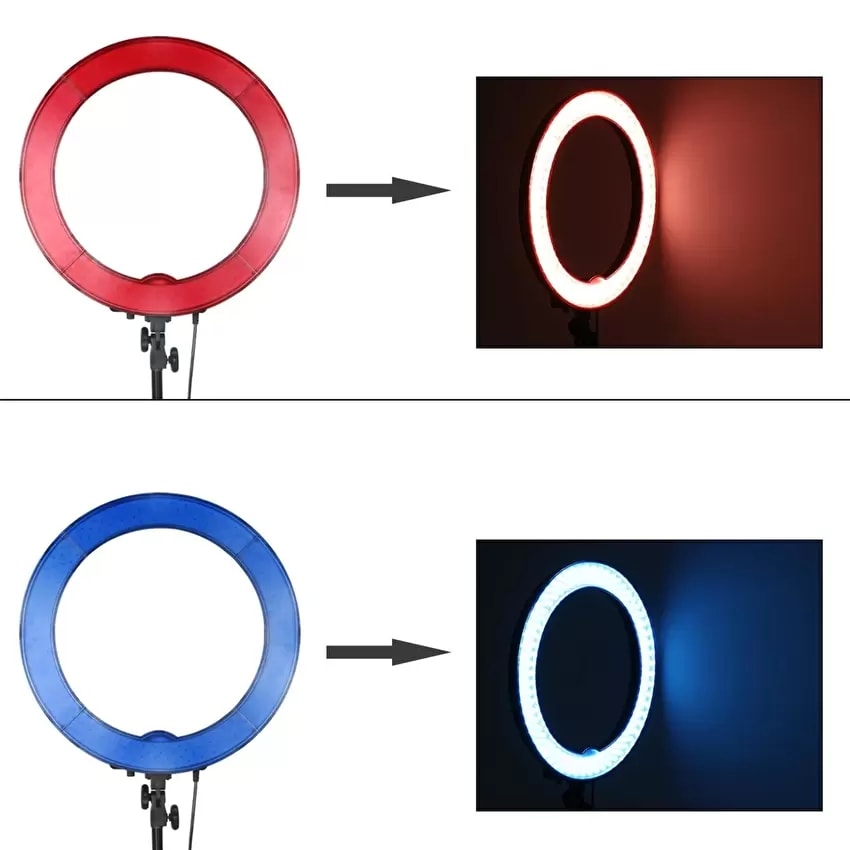
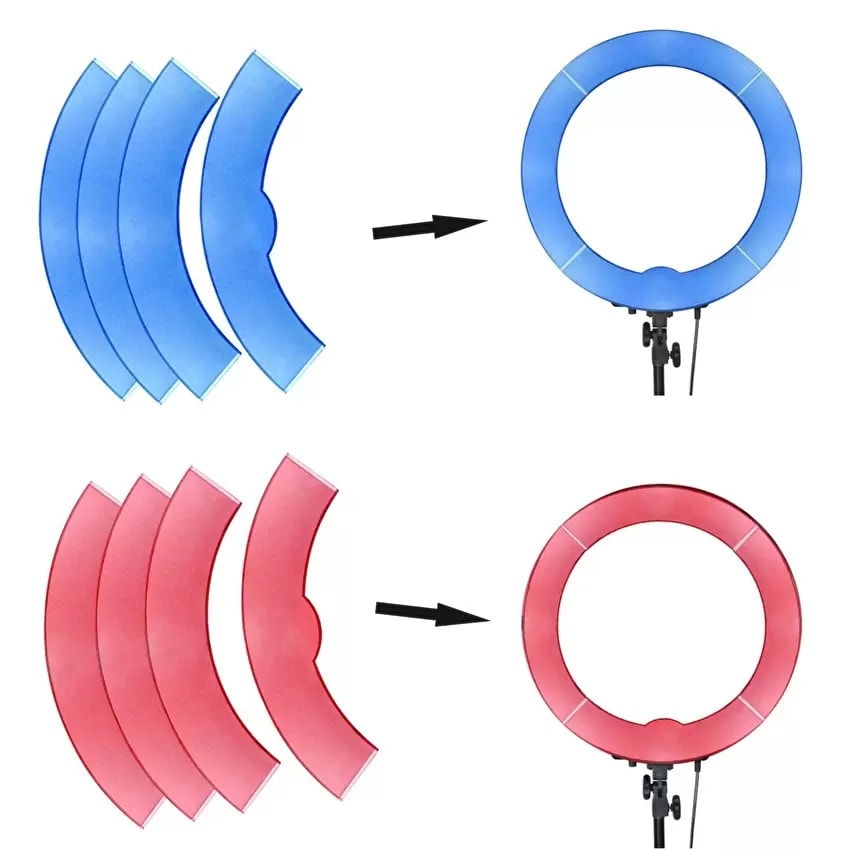
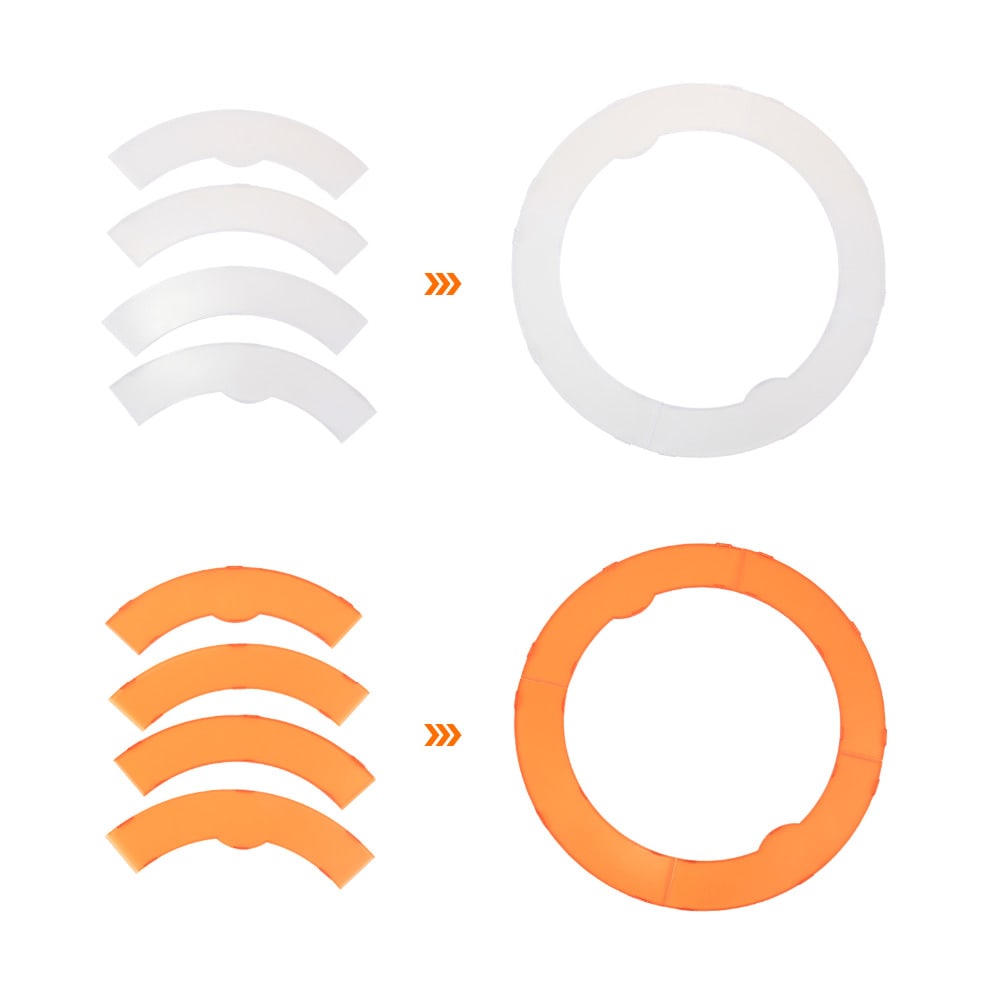
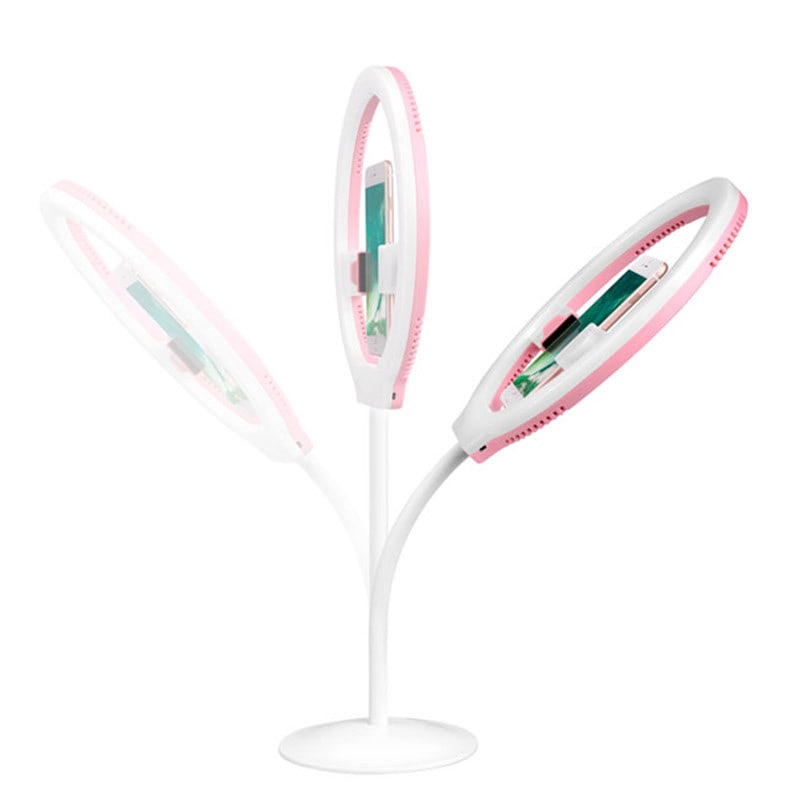
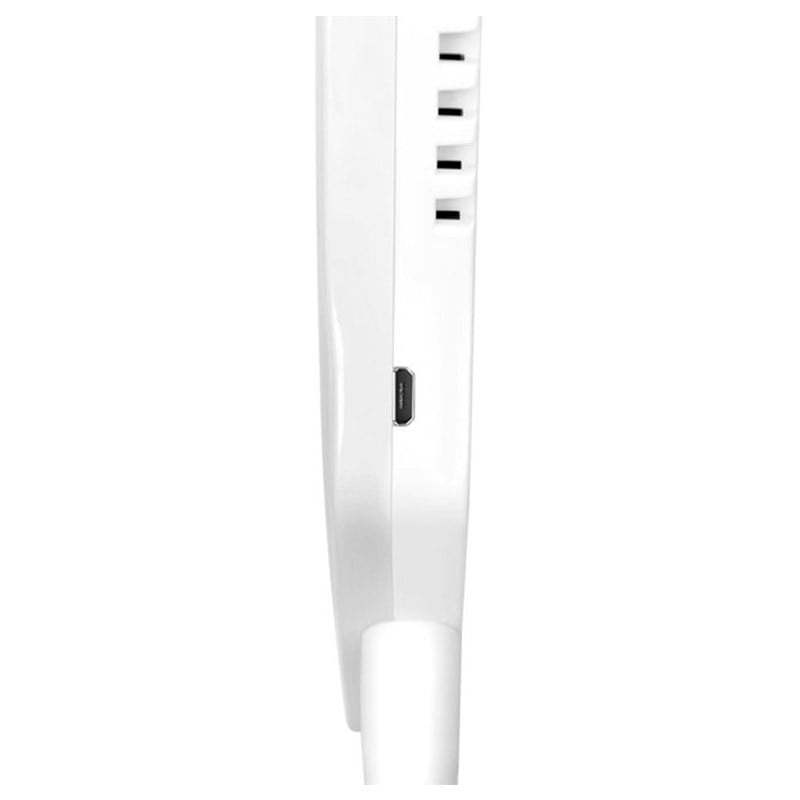
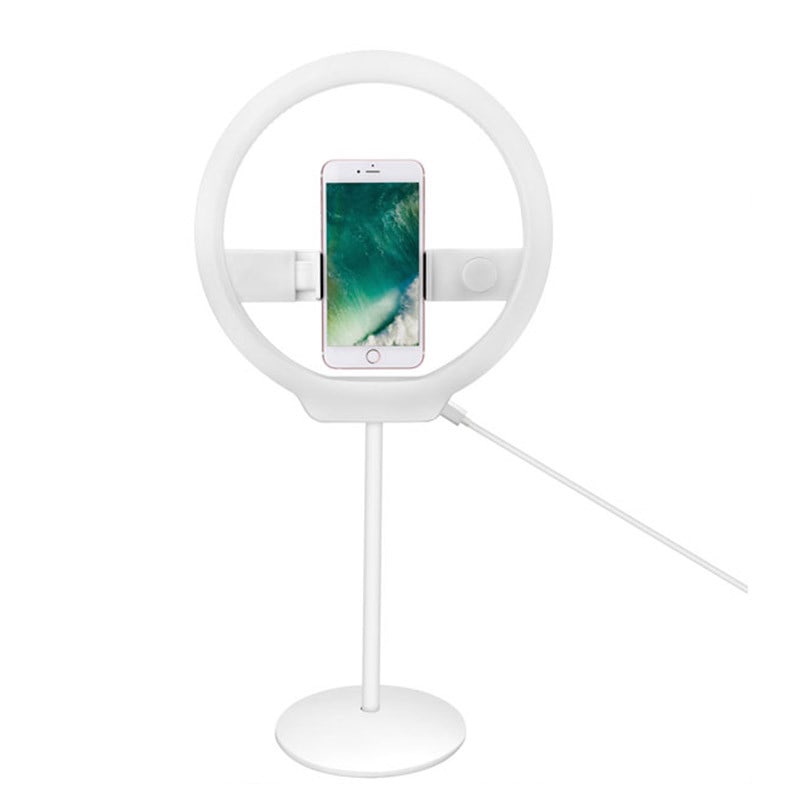
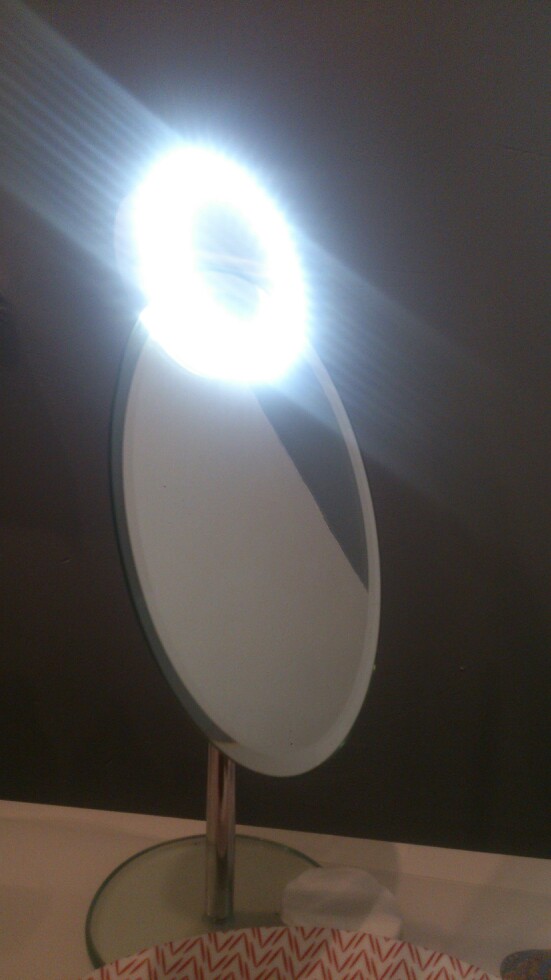
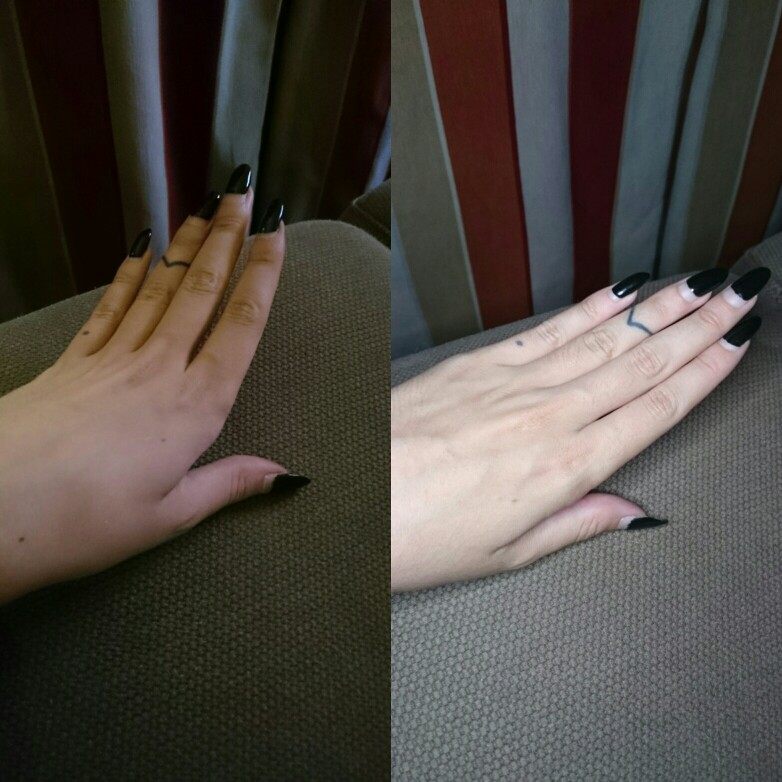
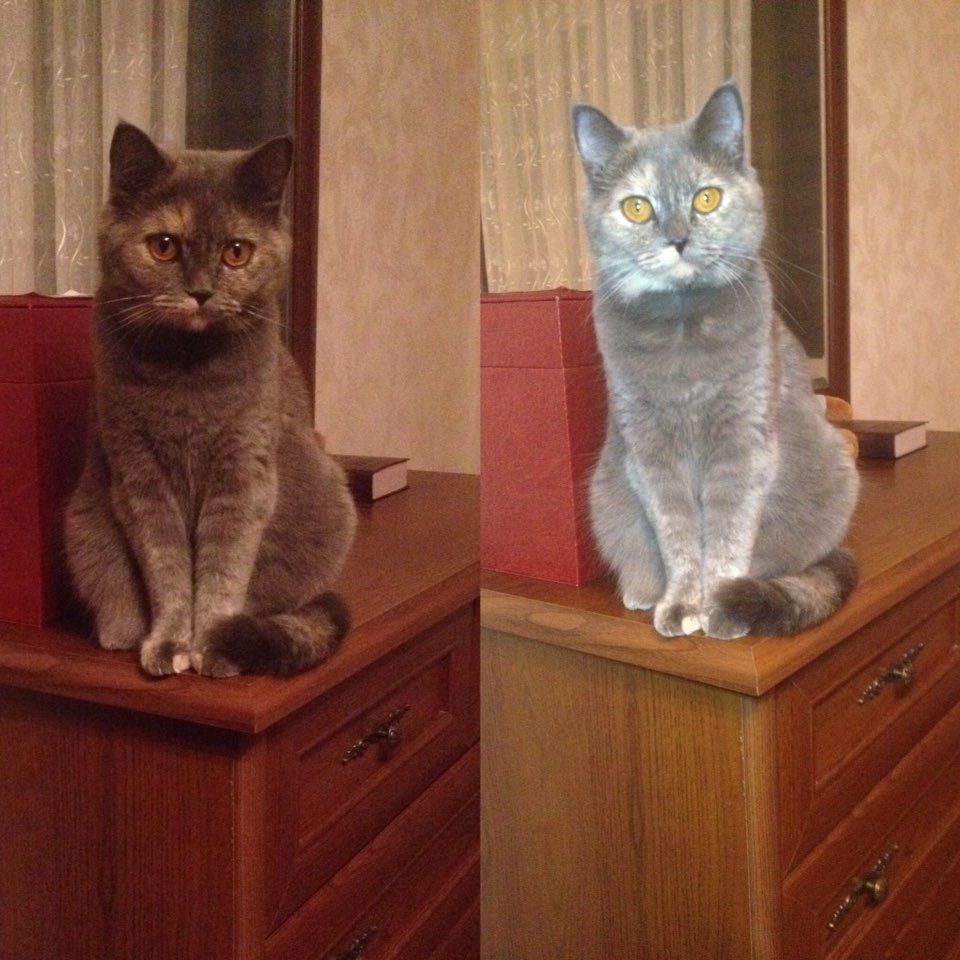
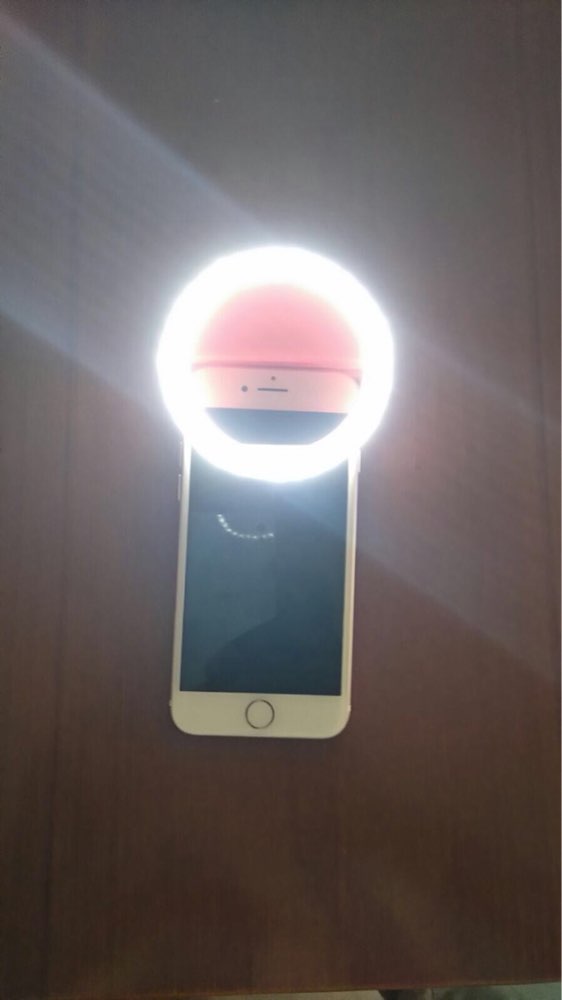
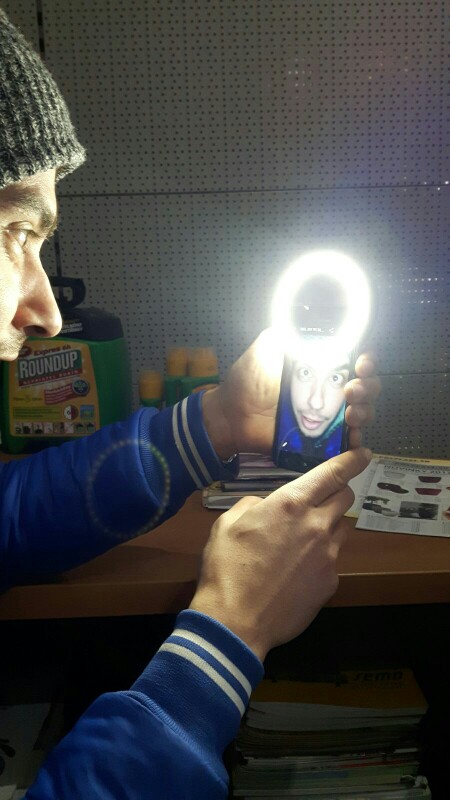
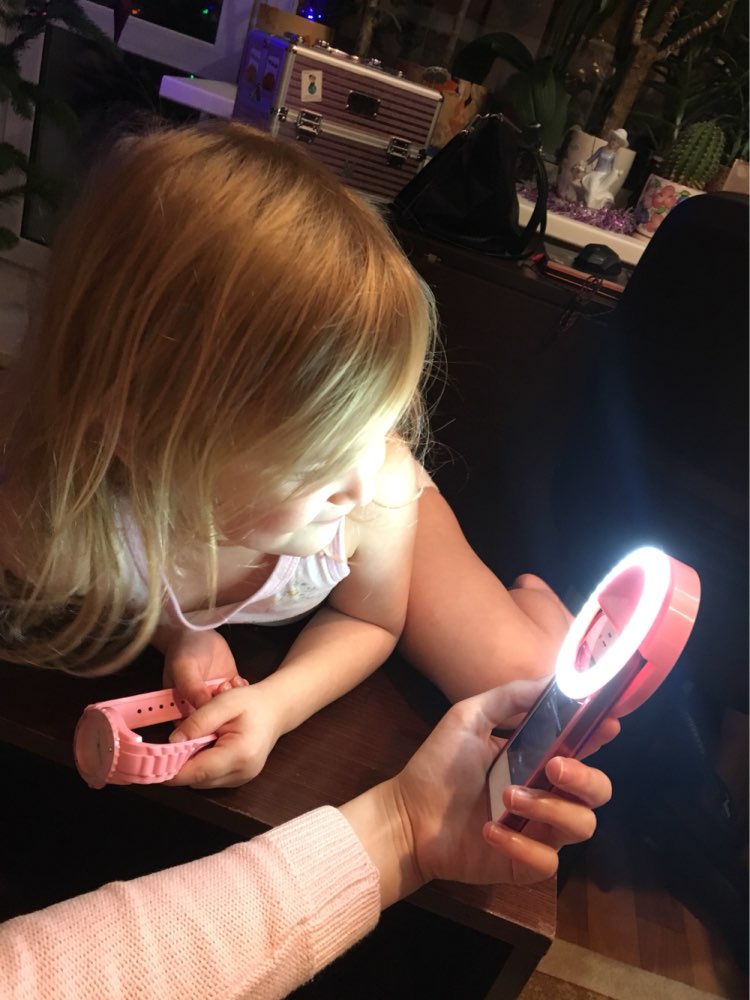
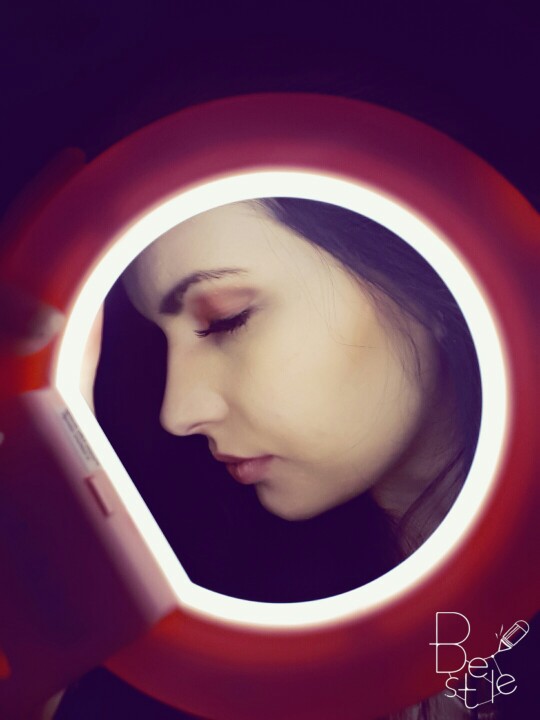
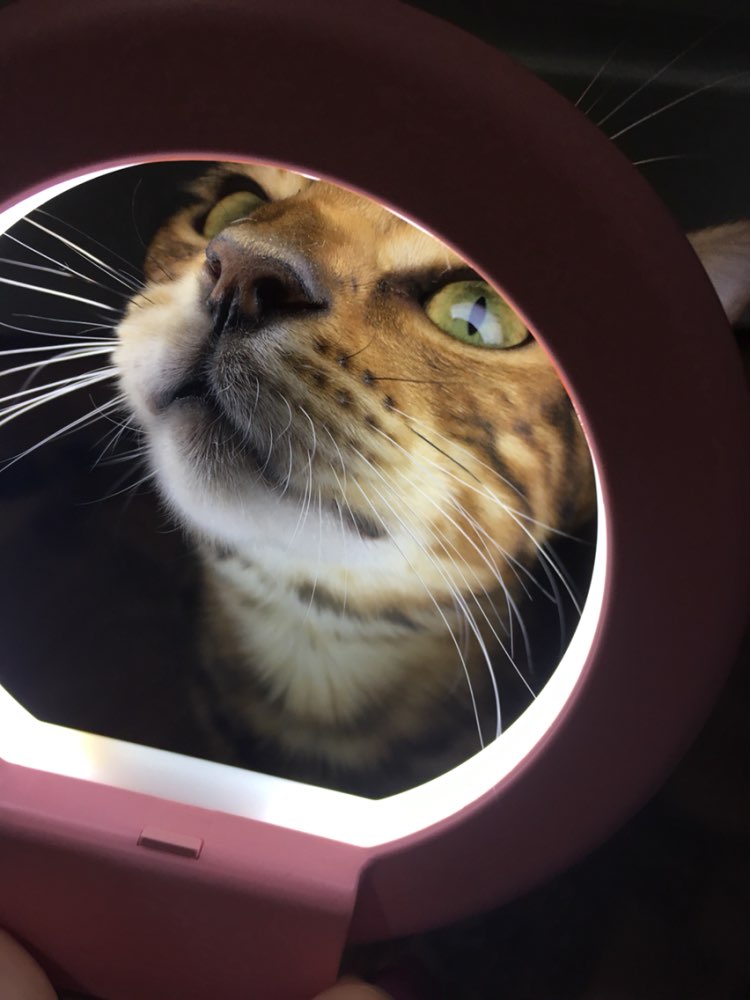
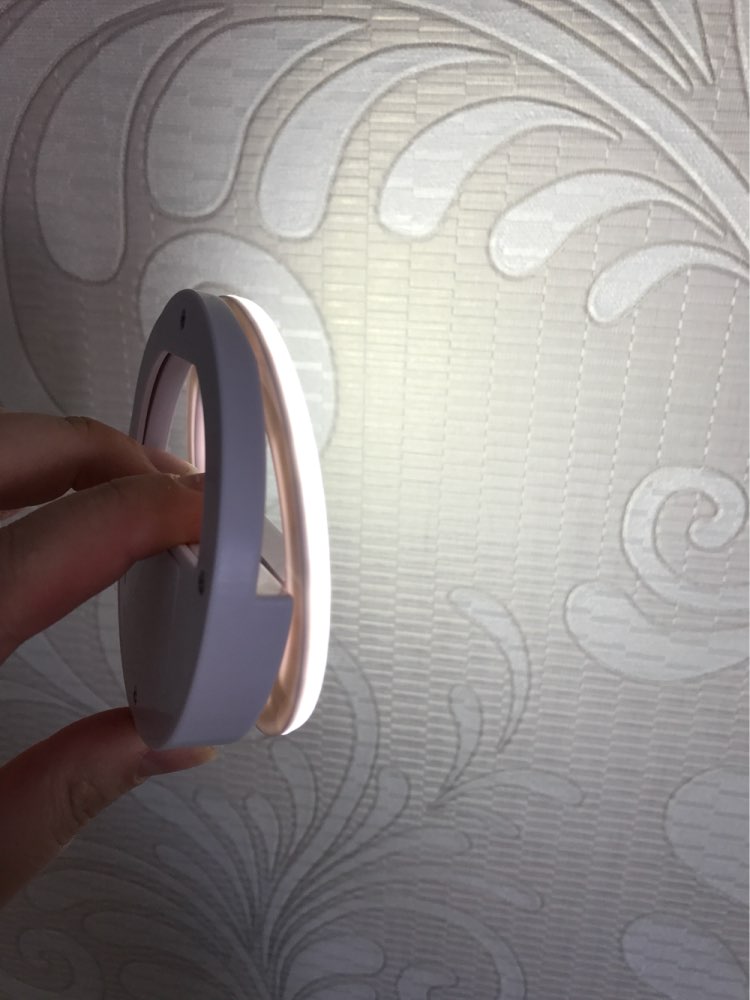
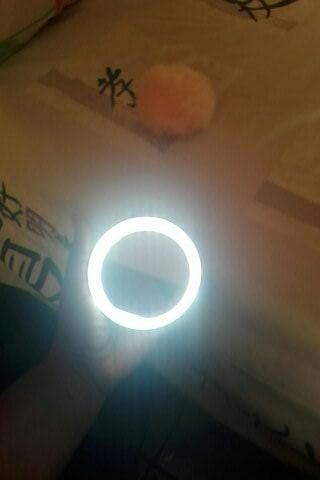
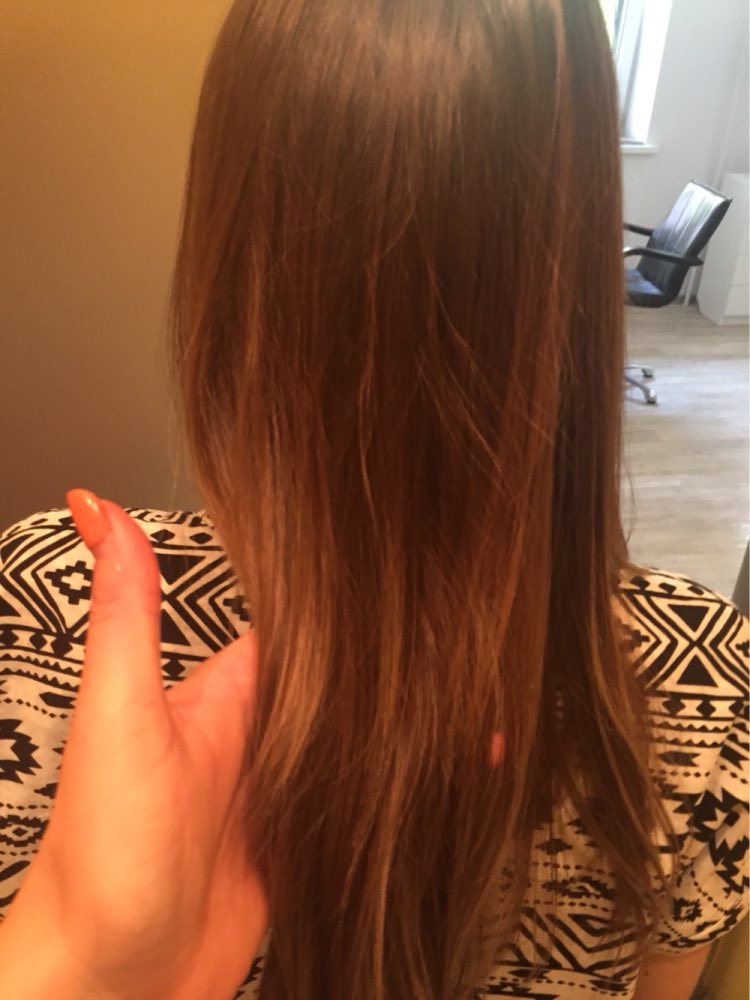
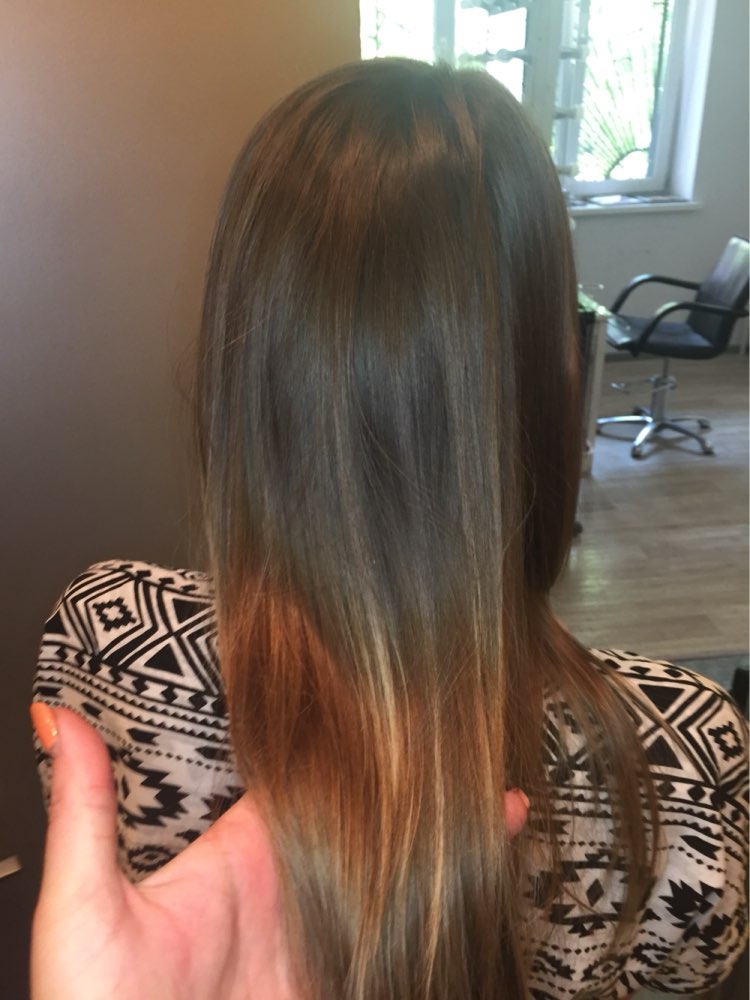
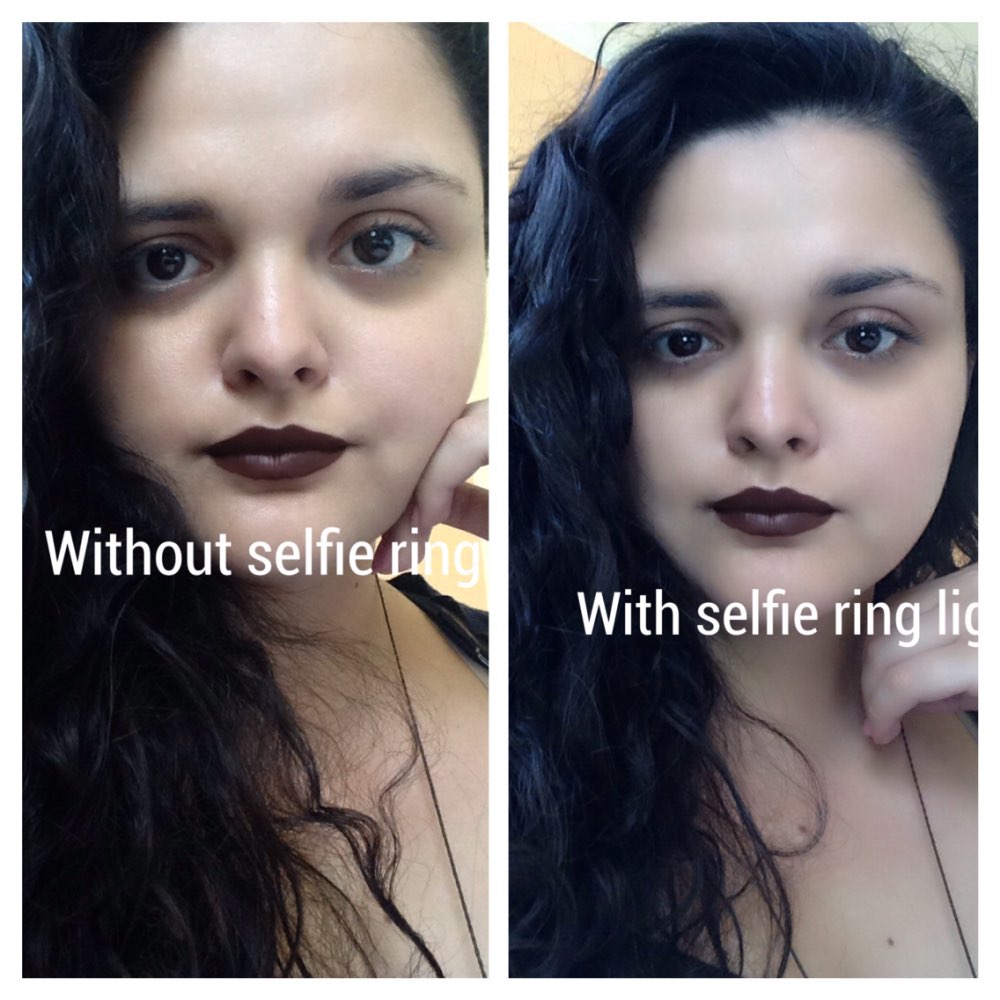
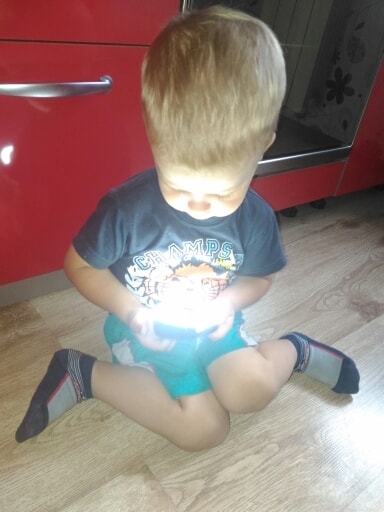
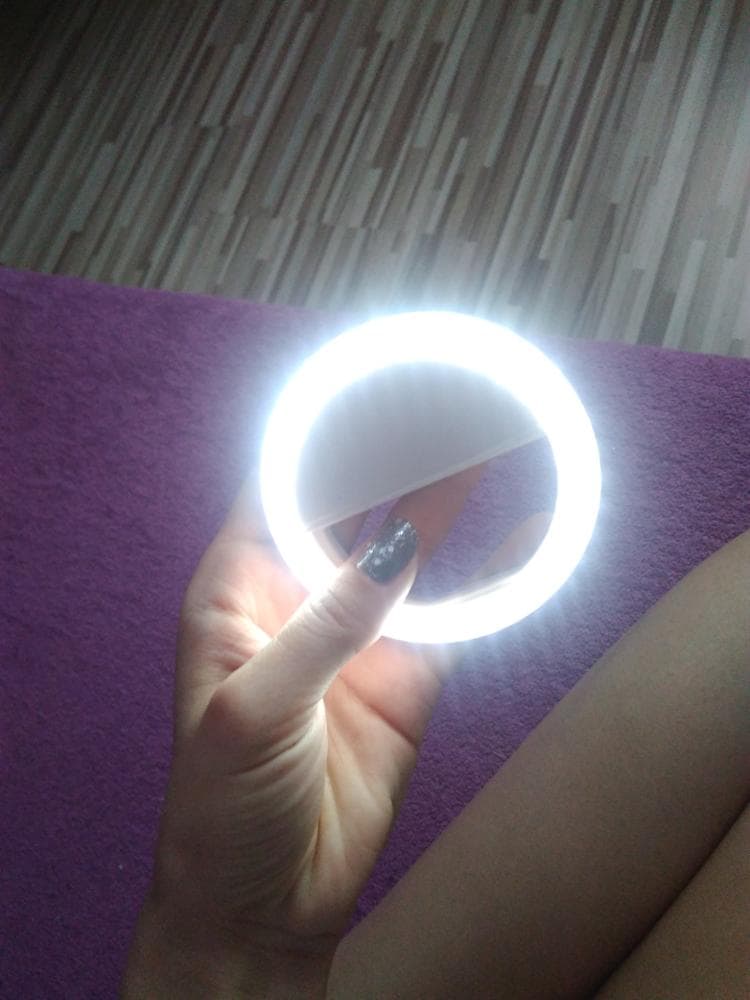
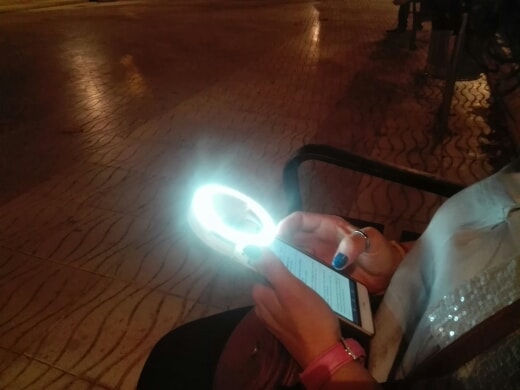
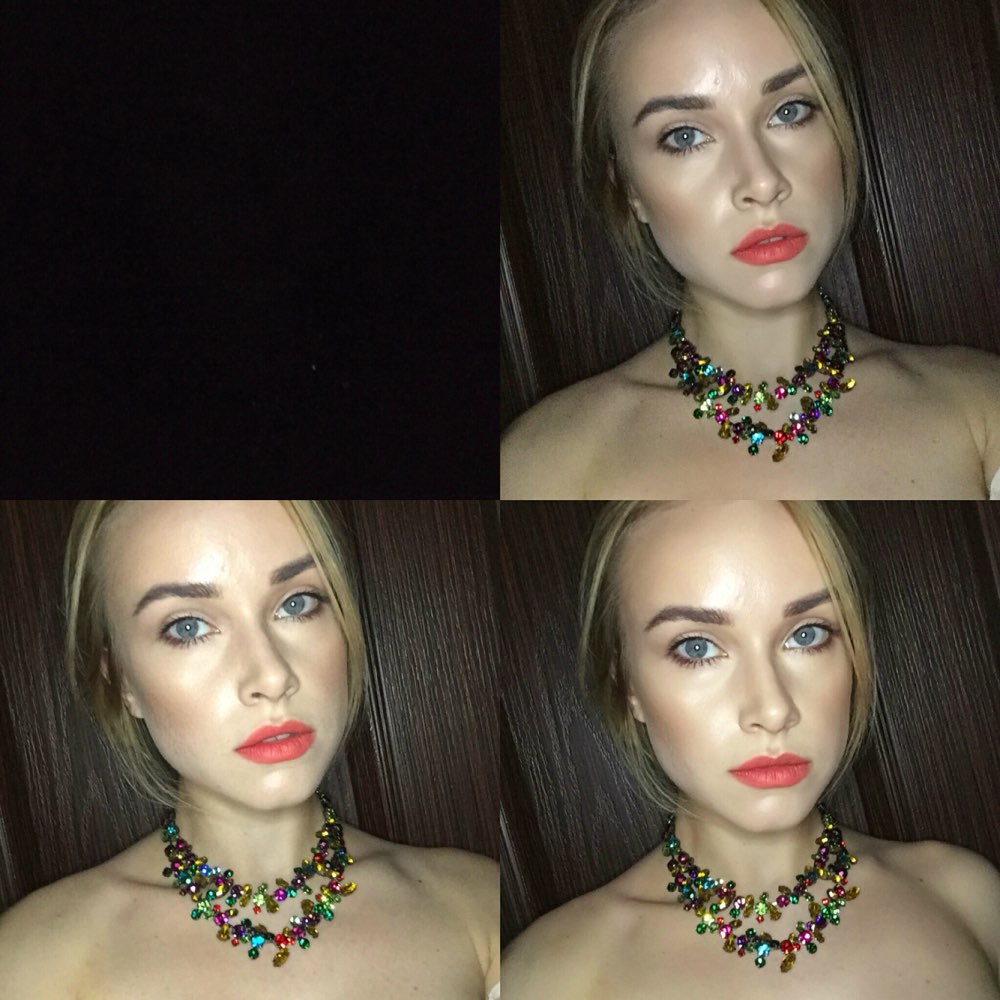
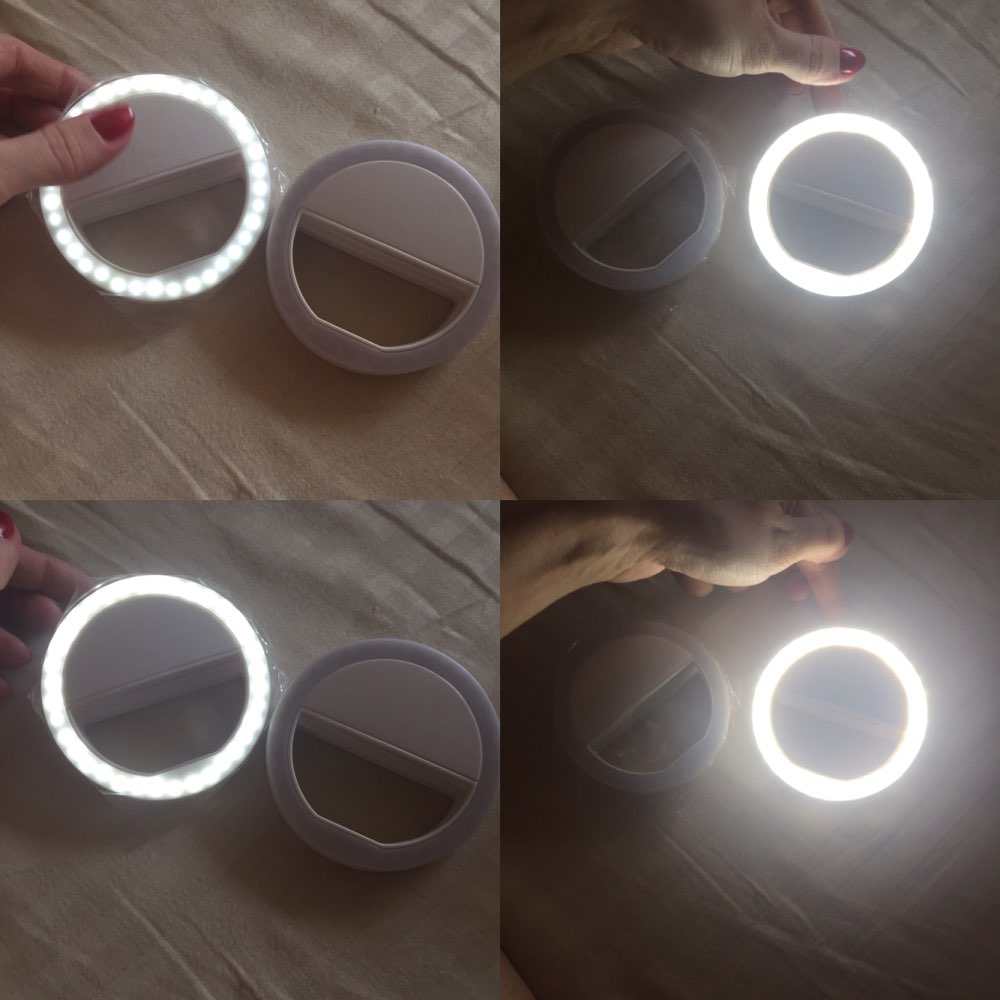
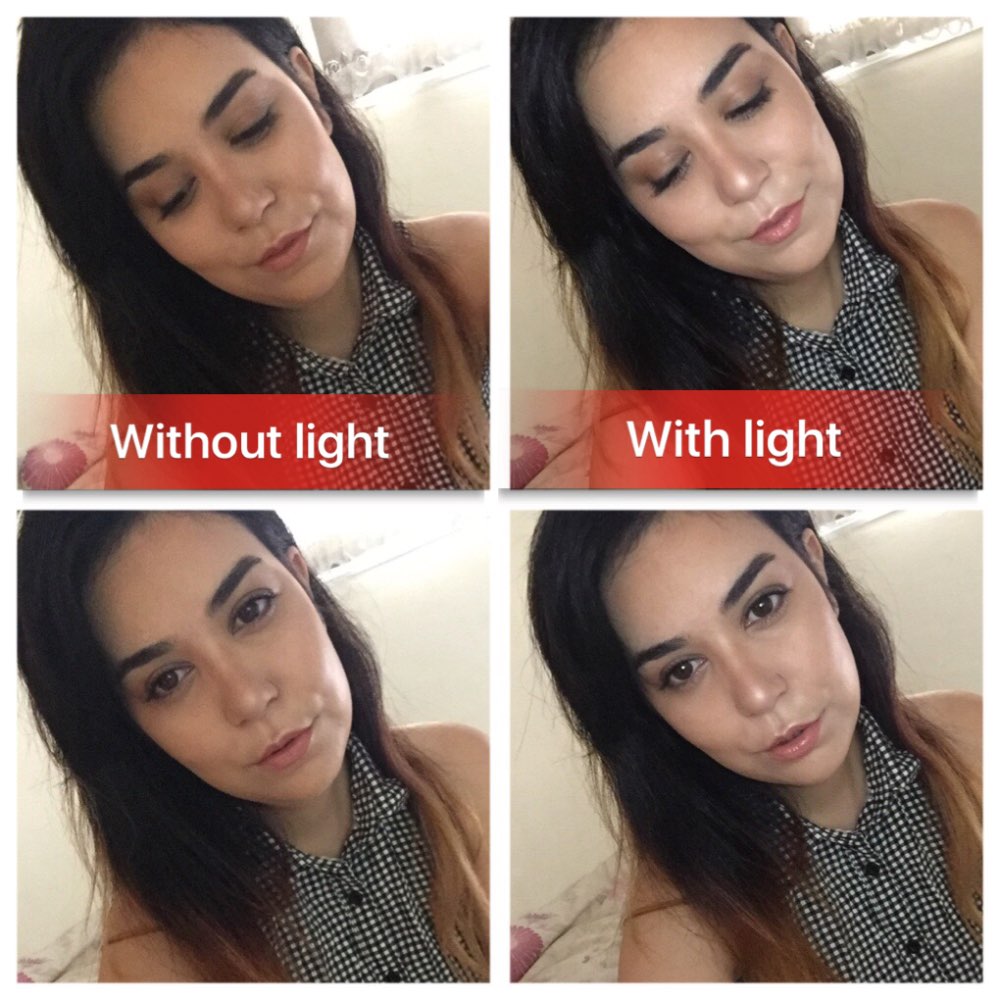
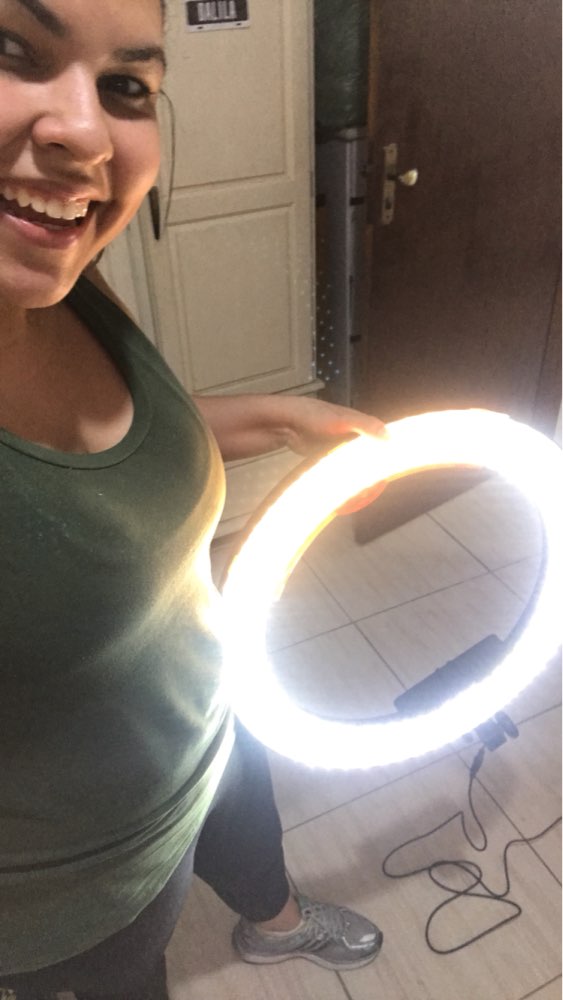
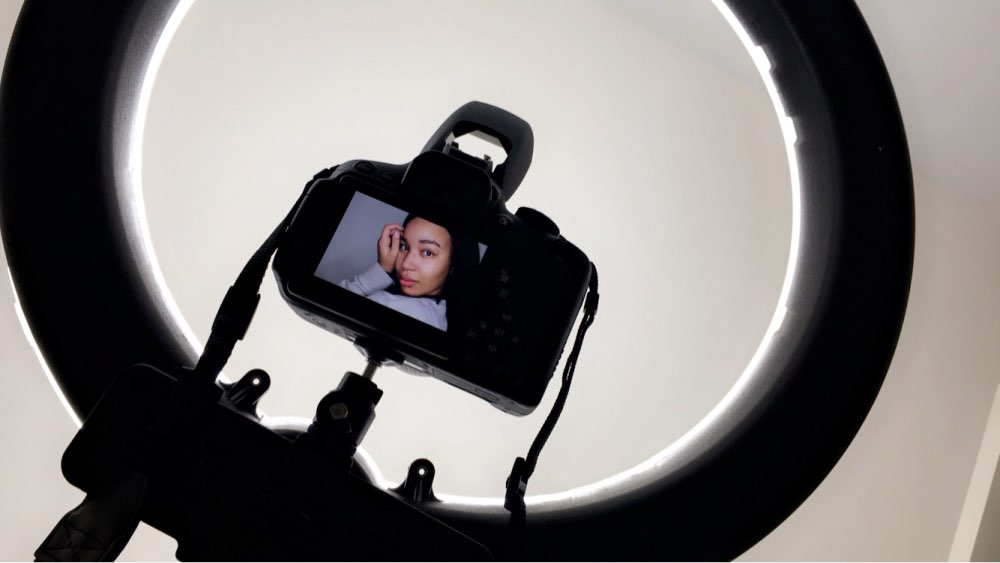
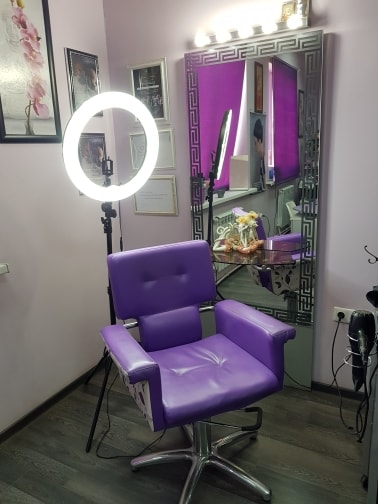
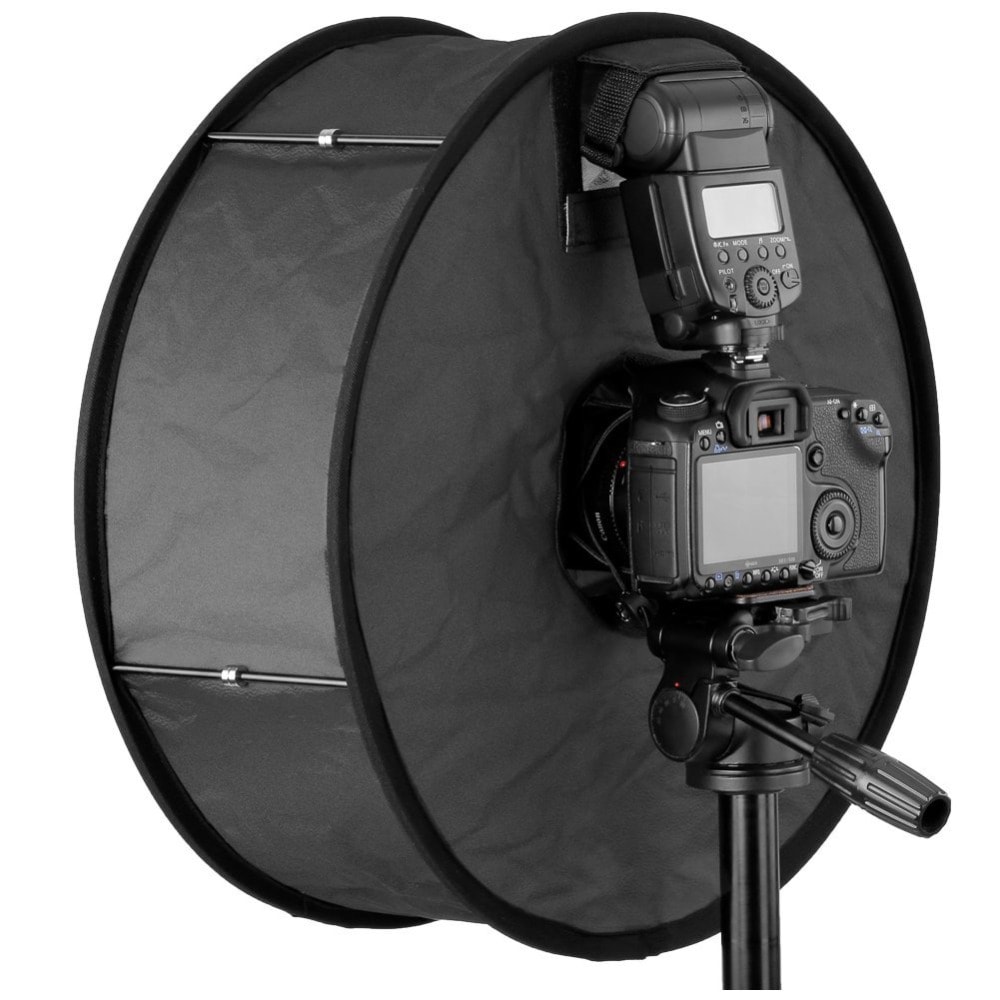
 Smartphone Selfie-Ringlicht LED-Ringleuchte für schattenfreie Ausleuchtung im Nahbereich. Ring Licht bietet eine fantastische zusätzliche Beleuchtung für die kreative Fotografie und Videografie. Speziell für Nahaufnahmen, verschönert es das Gesicht indem es den Hautton erweicht, um professionelle Bilder zu erhalten. Mache Fotos wie deine Stars! den perfekten Teint, egal wo du bist. Immer ins richtige Licht – ob auf der Party oder auf dem Weg nach Hause, Das berühmte Selfie Light! Der Selfie Ring bietet brillantes Licht für kreative Fotoaufnahmen und Selfies mit 3 verschiedenen Helligkeitsstufen von hell bis super hell. Man benötigt 2 x AAA-Batterien betrieben (die nicht im Lieferumfang enthalten sind). Der Ring passt auf jedes Smartphone... und auch Tablets. Wenn Sie Ihr Handy wechseln, wird dieser Selfie-Ring weiterhin mit dem neuen Modell funktionieren. Einfach zu bedienen, greift mit einem Clip aus Silikongummi um Kratzer auf dem Bildschirm zu verhindern. ✔️ Jetzt Kaufen € 3,82 - 14,21 Kostenloser Versand 21-56 Tage ? Top-10 Selfie Flash Light Led Ring LED Flash Selfie "RING LIGHT" 5 "/12,5 cm ☆ Jetzt Kaufen € 24,84 Kostenloser Versand 26-49 Tage ? Professionelle LED-Ringlicht für Video, Porträt und Fotografie (? VKLYBE.TV Faces Promo)
-

OLED Lighting: System/Design/Technology. Flexible Oled Lighting
ANDRÉE replied to Jamie A.'s topic in (EN) FORUM LIGHTING
Testing of OLED Luminaires The U.S. Department of Energy (DOE) has released CALiPER Report 24: Photometric Testing, Laboratory Teardowns, and Accelerated Lifetime Testing of OLED Luminaires, which is the first CALiPER report evaluating the performance of OLED luminaires based on independent procurement and testing. Among the findings: Overall, efficacy of the OLED luminaires was low compared to contemporary LED luminaires, ranging from 23 lm/W up to 45 lm/W. OLED panels range between 42 and 55 lm/W according to panel manufacturer data, and much of the efficacy reduction in the luminaire performance is due to very inefficient transformer and driver selections and combinations. The wider availability of dedicated OLED drivers should improve efficacies in the near future. Light distribution was consistent among the tested products – a soft, diffuse, roughly Lambertian emission, moderated only by the physical configuration of the luminaire hardware. This is expected to produce very soft shadows from objects in the path of the light, and patterns of light on surfaces with very soft gradients at the edges of the “beam.” The drivers for all four CALiPER luminaire types were different, with some luminaires using a single driver and others using a combination of electronic components for voltage transformation, conversion from AC to DC, and voltage/current control. The OLED luminaires performed very closely to the manufacturers’ published technical data, where available. OLED panels, drivers, and transformers are still in a steep curve of development. Goals are higher efficacy; longer life, before panel replacement on the jobsite is needed; better lumen maintenance over time; even better color quality and wider CCT options; higher-efficiency drivers; and robustness under high temperature, high humidity, and rough handling from shipping and installation. Improvements in these areas could make OLED luminaires more accepted in the architectural marketplace, and adopted as a trusted lighting solution. For a closer look at the findings, download the full report Testing of OLED Luminaires (3.68 MB).pdf Rubik from Mark Architectural Lighting Source: http://energy.gov, acuitybrands
- 2 replies
-
- 2
-
-
- oled lighting system
- oled lighting panels
- (and 13 more)
-
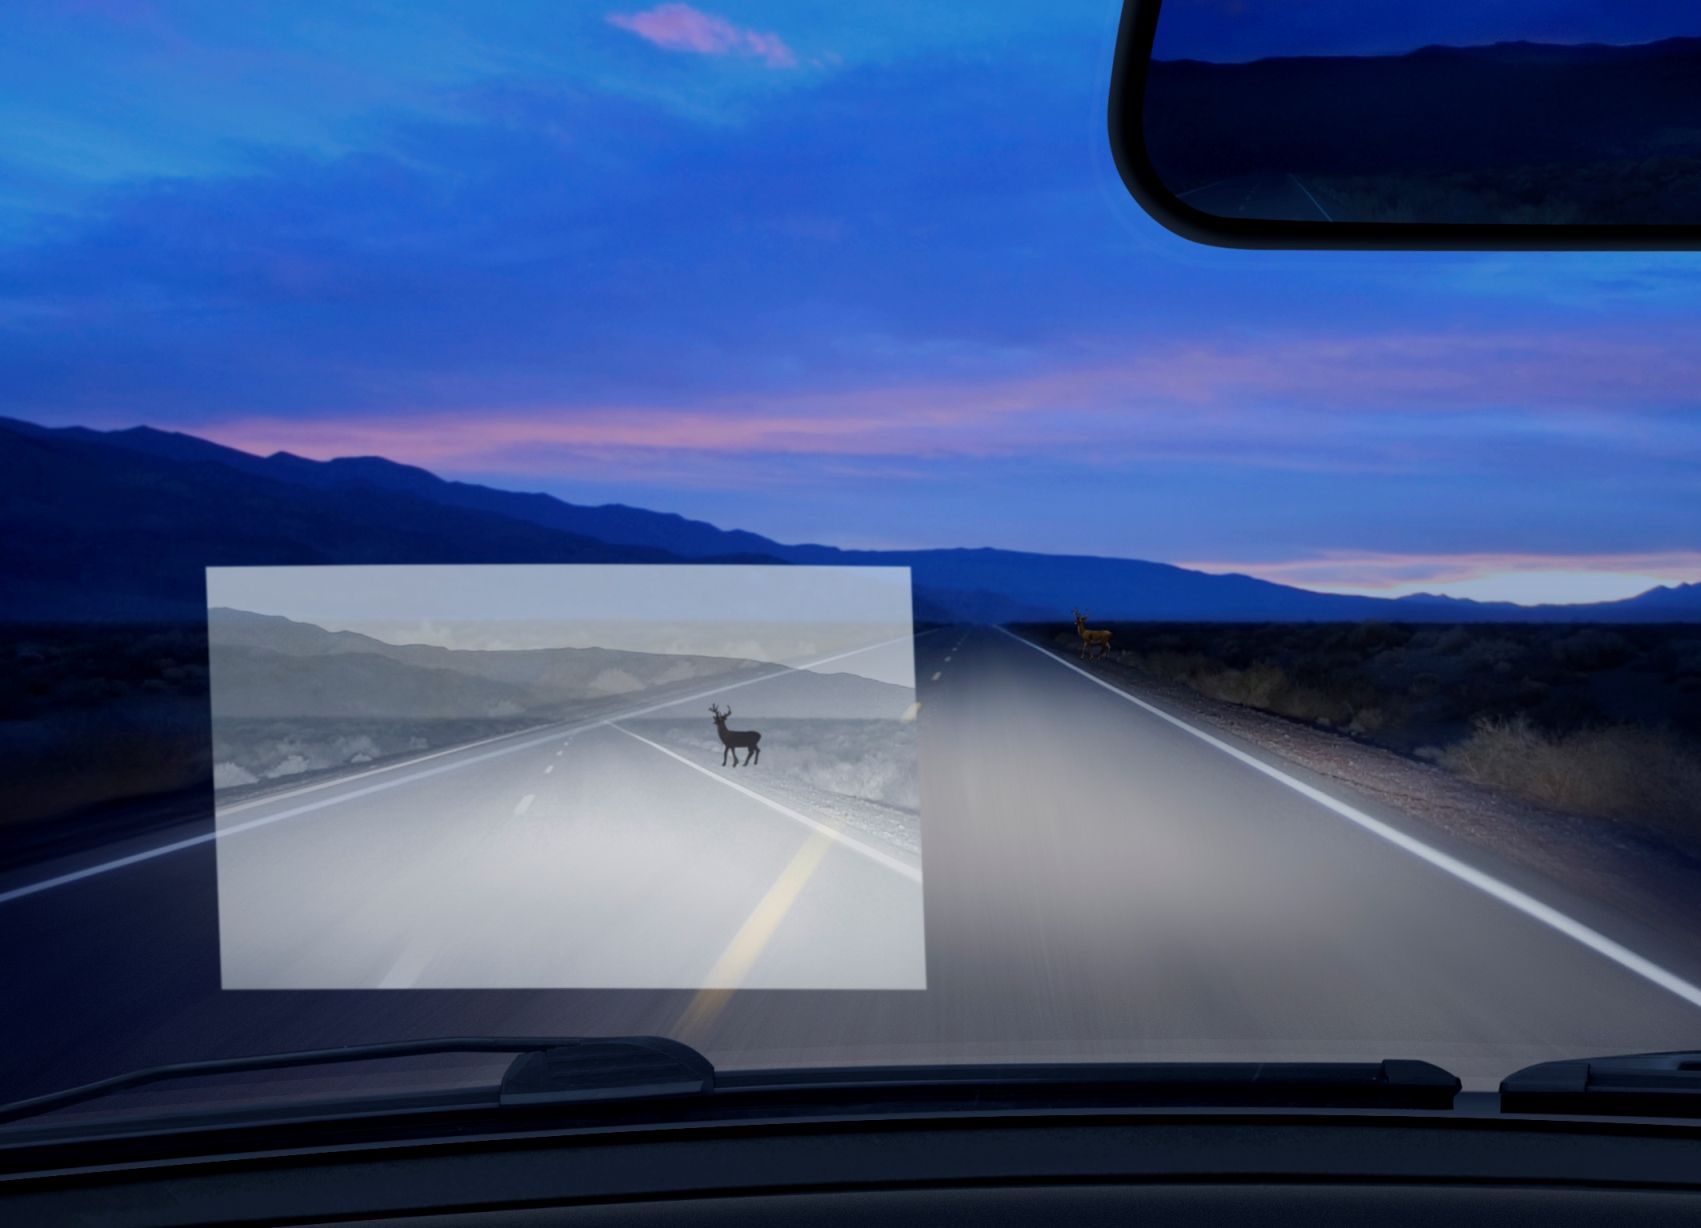
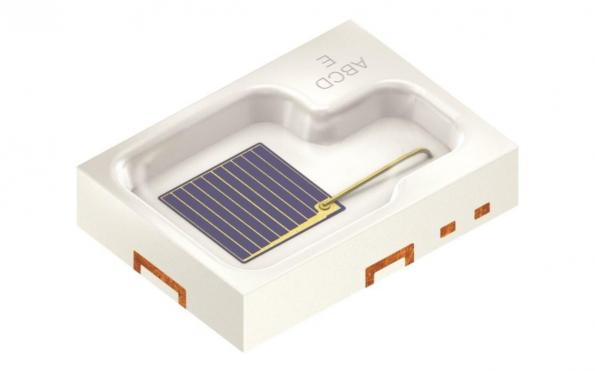
The high-power infrared Synios SFH 4770S A01 LED Initially launched for the consumer market, the SFH 4770S is now qualified for use in vehicles in applications such as night vision assistants and forward collision detection systems such as pedestrian protection solutions that work with camera images. Flooding the scene in front of the vehicle with infrared light enables the vehicle environment to be reliably detected even in the dark or in poor weather conditions. The Synios SFH 4770S A01 will replace the established Dragon family in these applications, delivering an optical output of almost 1,200 milliwatts from a current of 1A. The LED chip is built with nanostack technology featuring two light-emitting p-n junctions, with a typical forward voltage of 3.2V. The Synios comes in a 2.75x2.0x0.6mm package. Source: electronics-eetimes
-
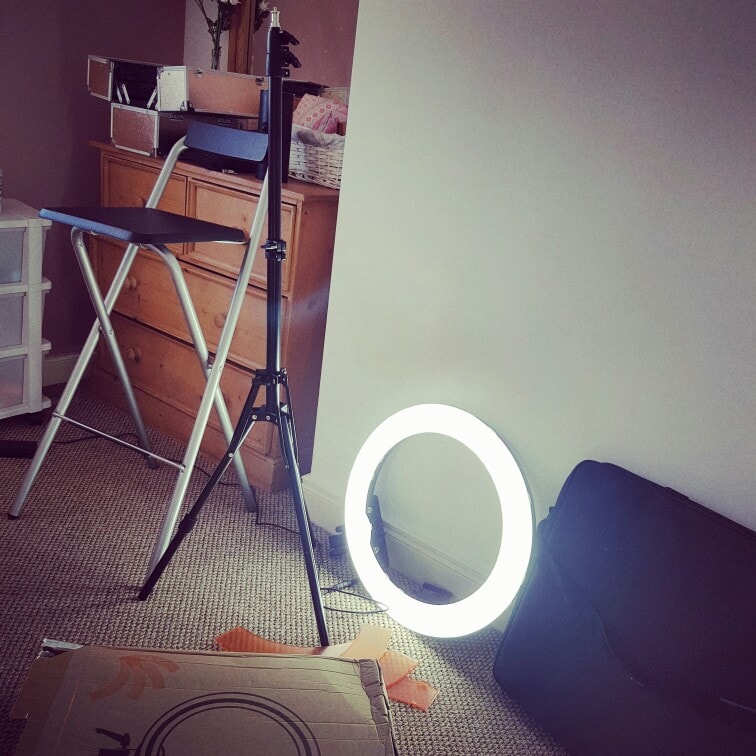
Best DIY Ring Light Photography, Video, Selfie
RINGLIGHT replied to AliLight's topic in (EN) FORUM LIGHTING
How to make • 200W Ring-light 4 Video LED- 4 replies
-
- 1
-
-
- ring light for video diy
- ringlight photo
- (and 26 more)
-
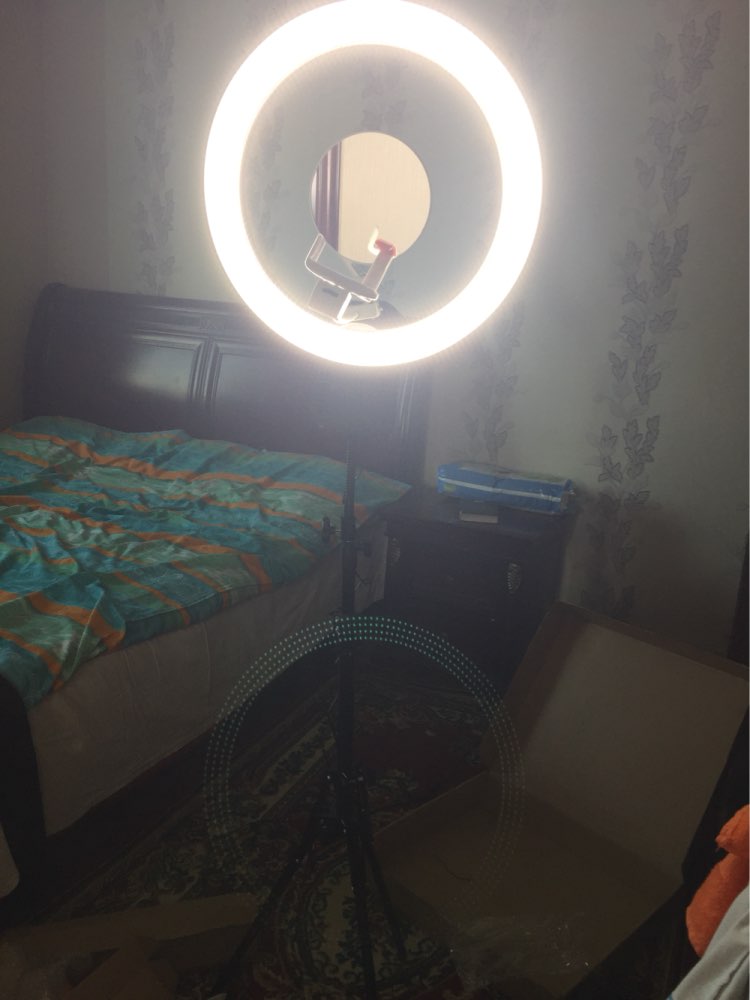
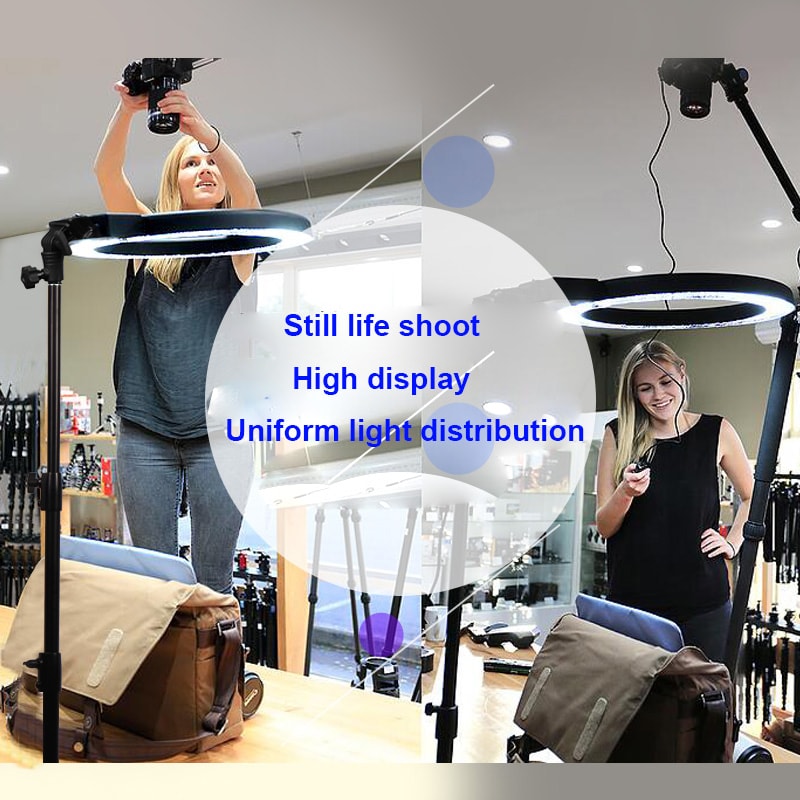
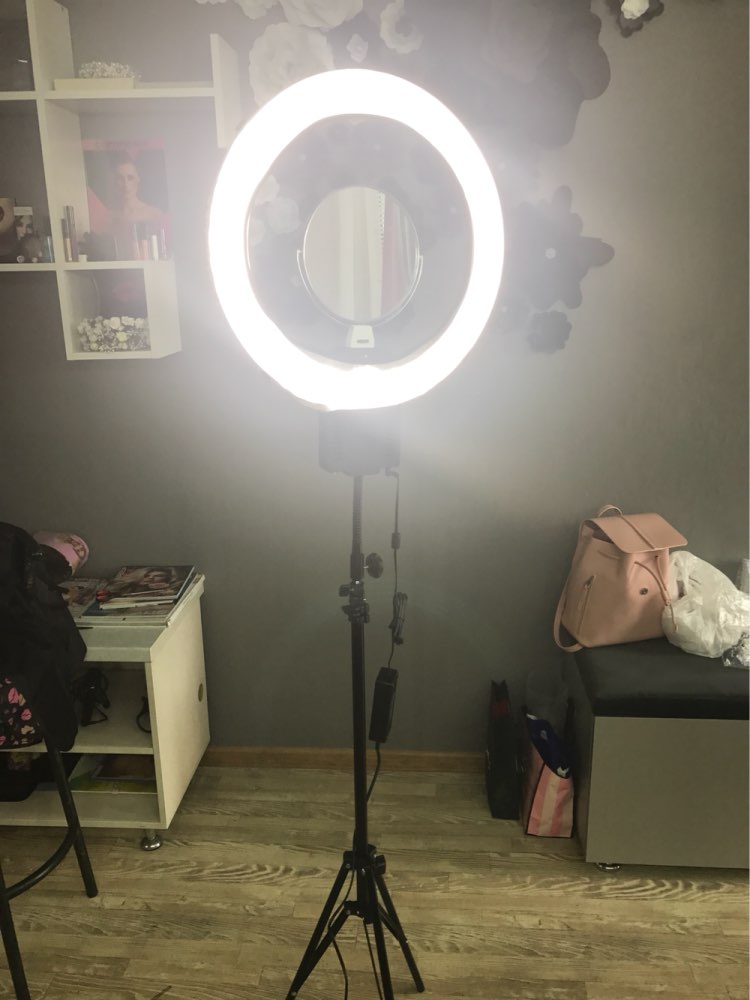
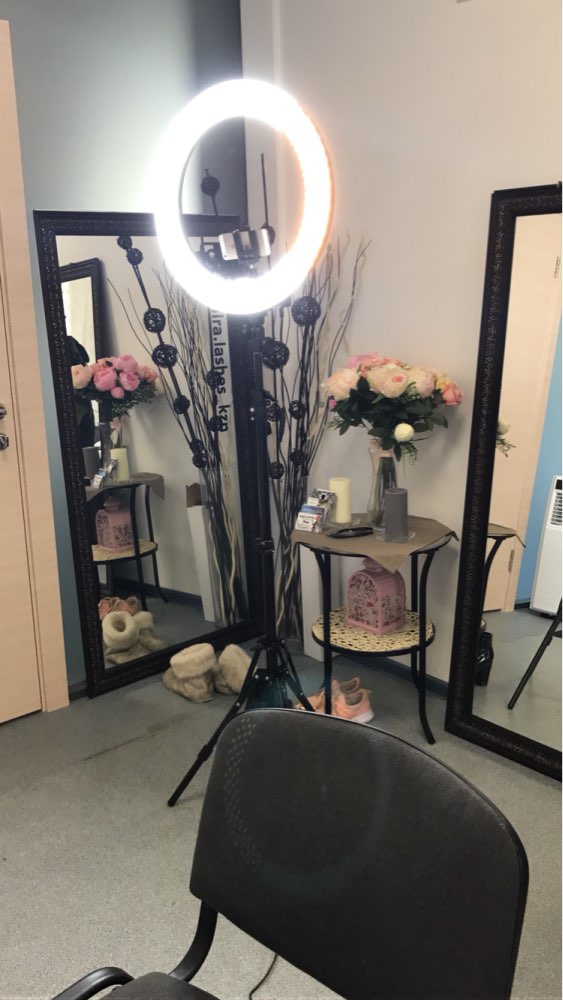
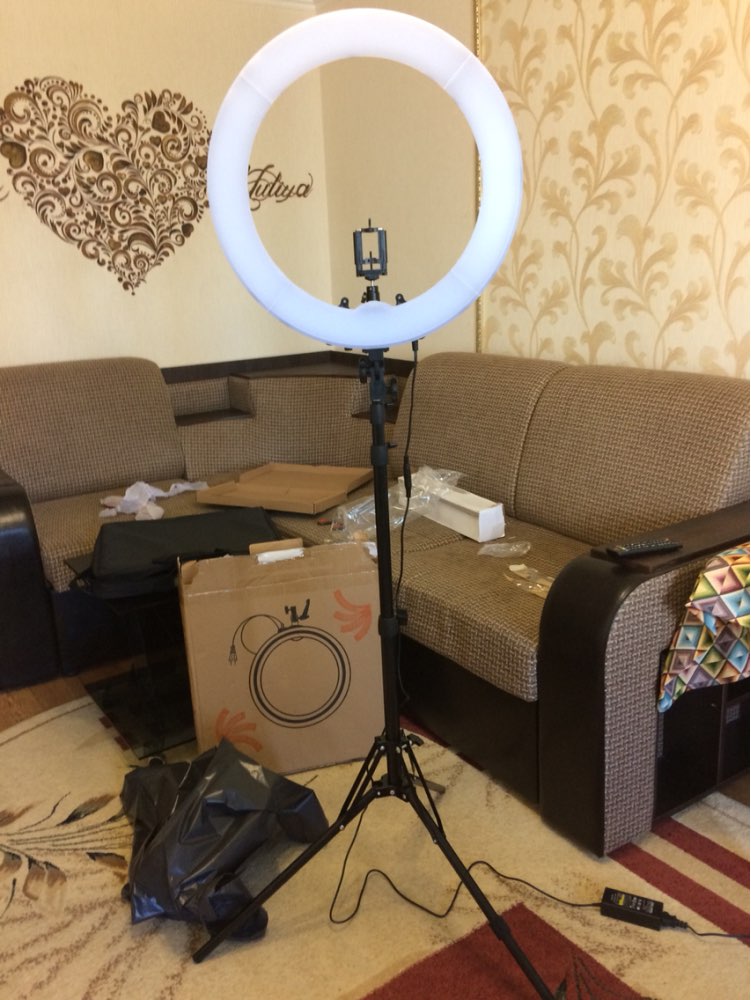
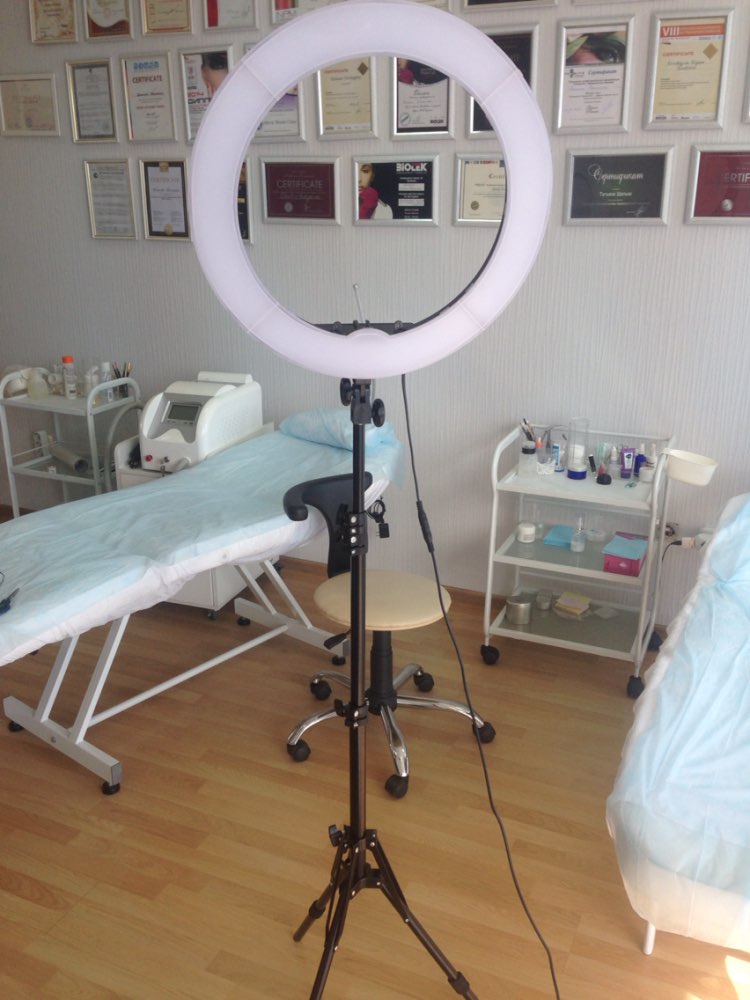
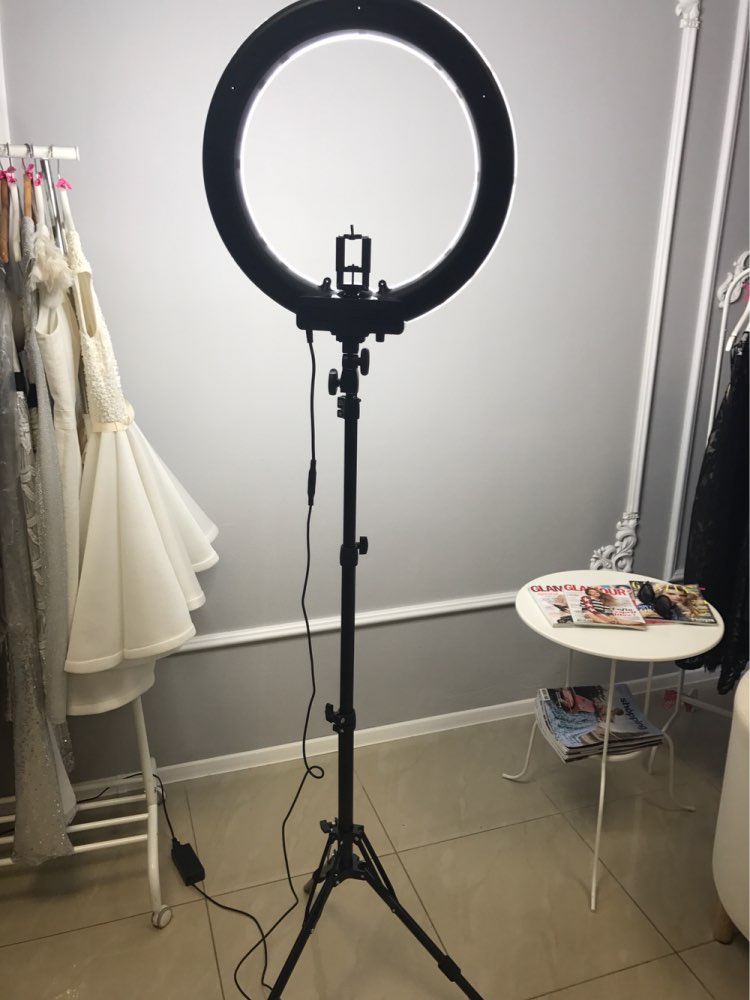
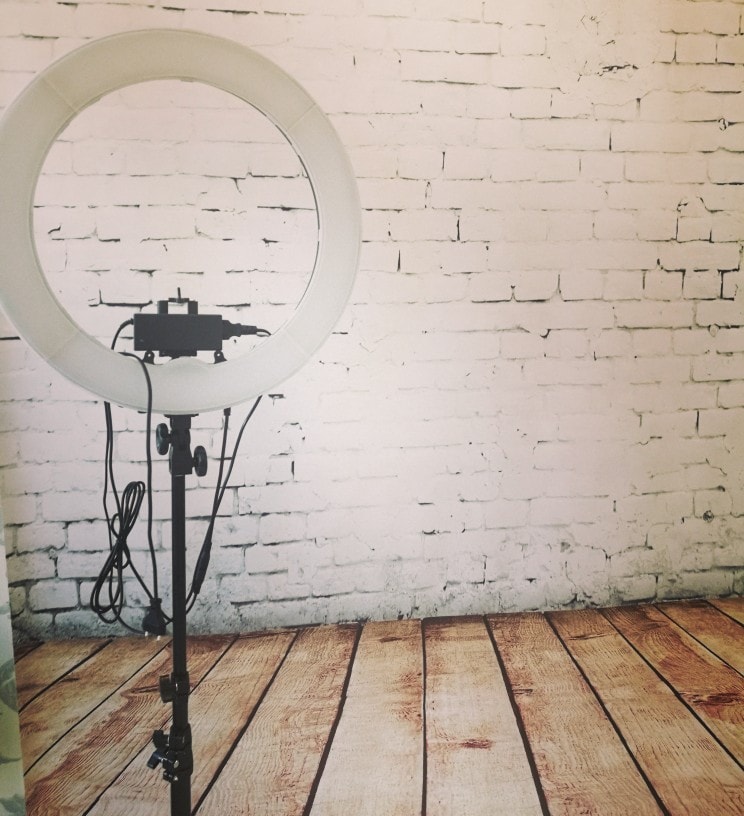
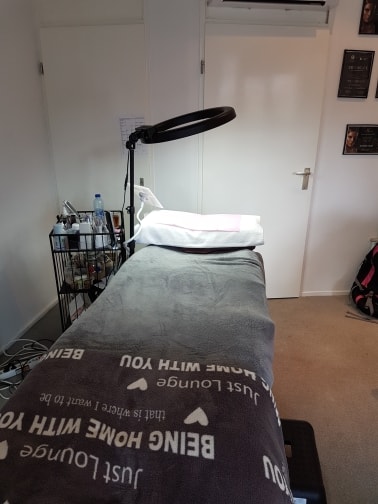
LED Lamp Ring Light. The Best Lighting for Photo,Video, Makeup Artist
RINGLIGHT replied to AliLight's topic in (EN) FORUM LIGHTING
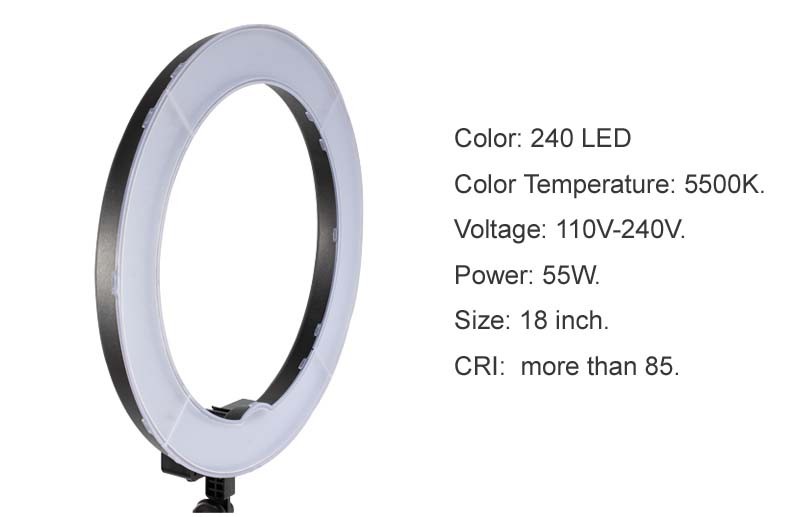
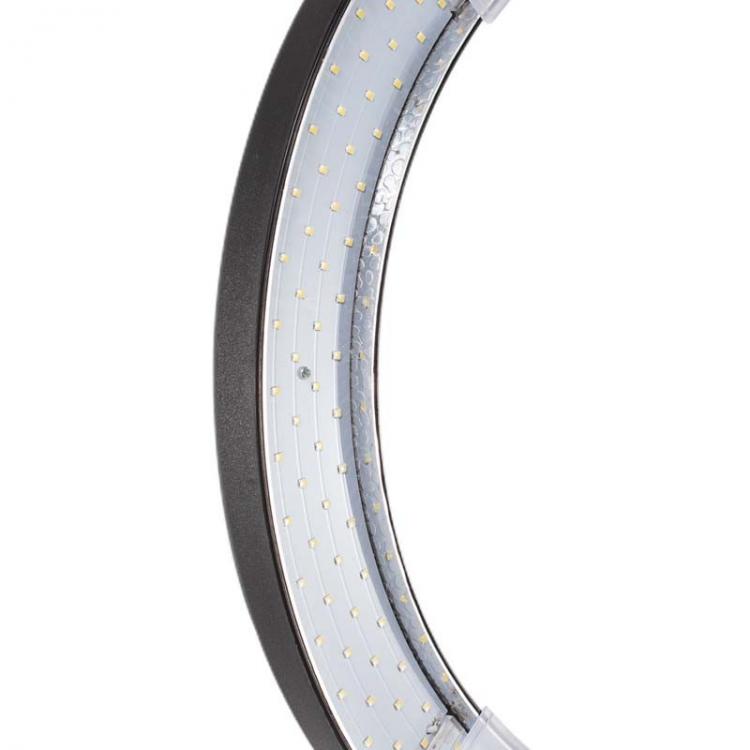
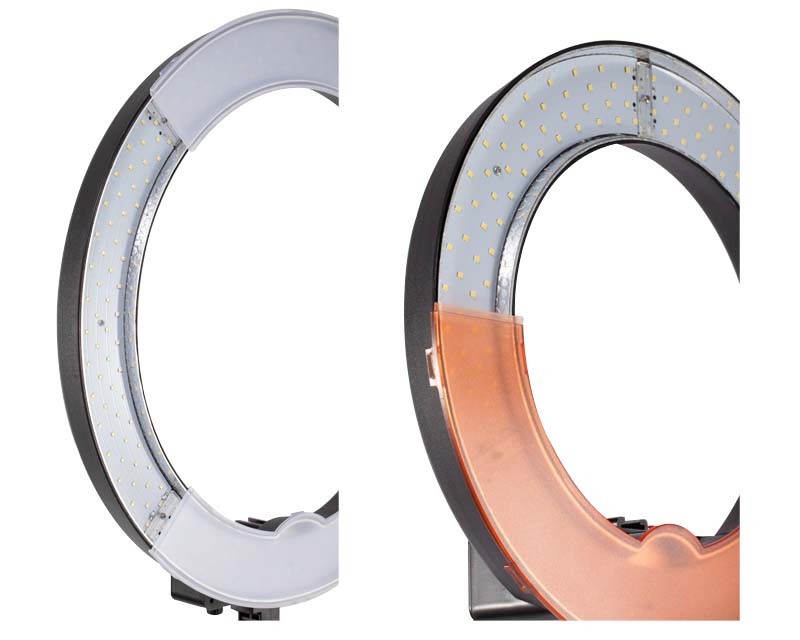
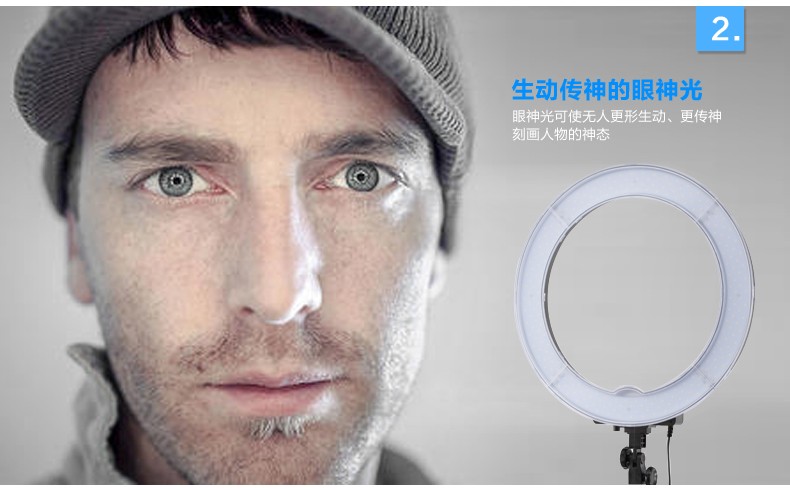
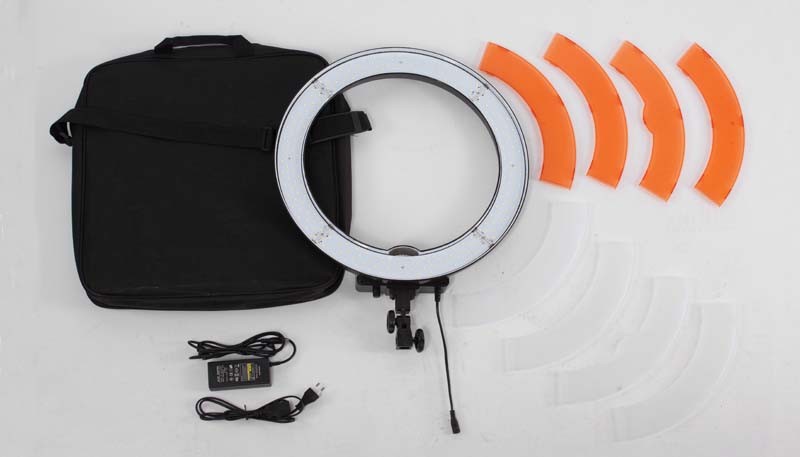
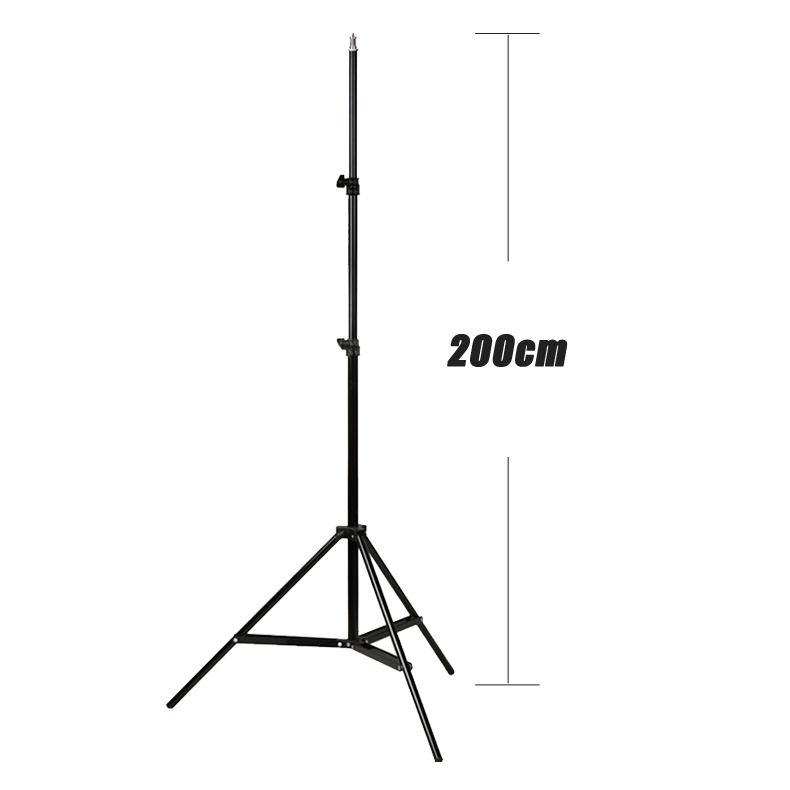
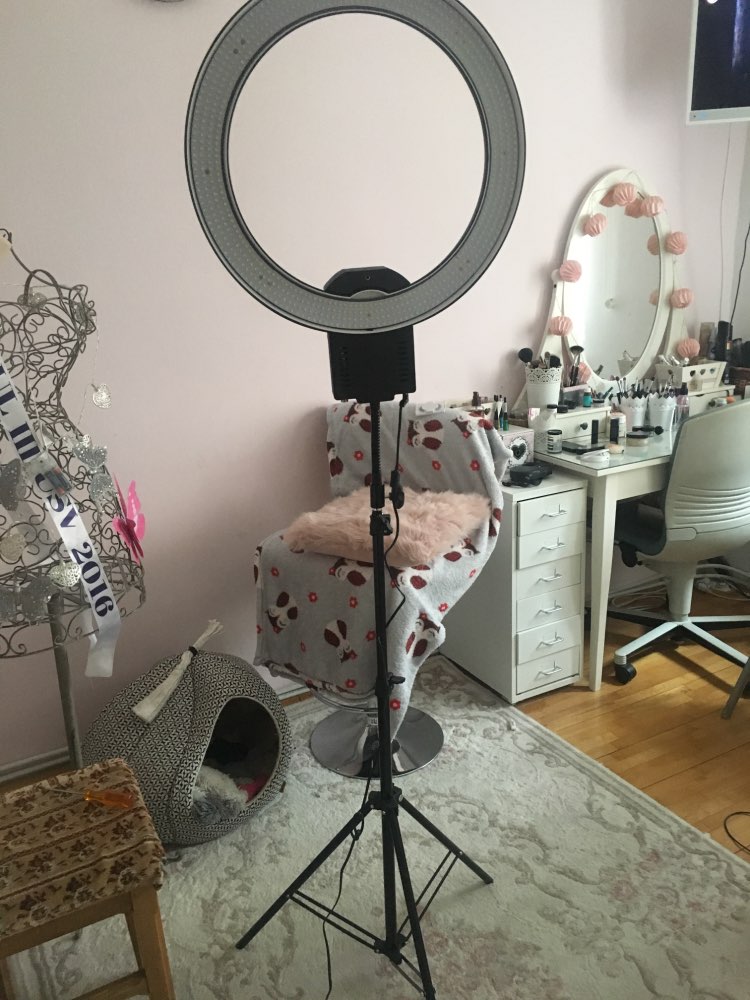
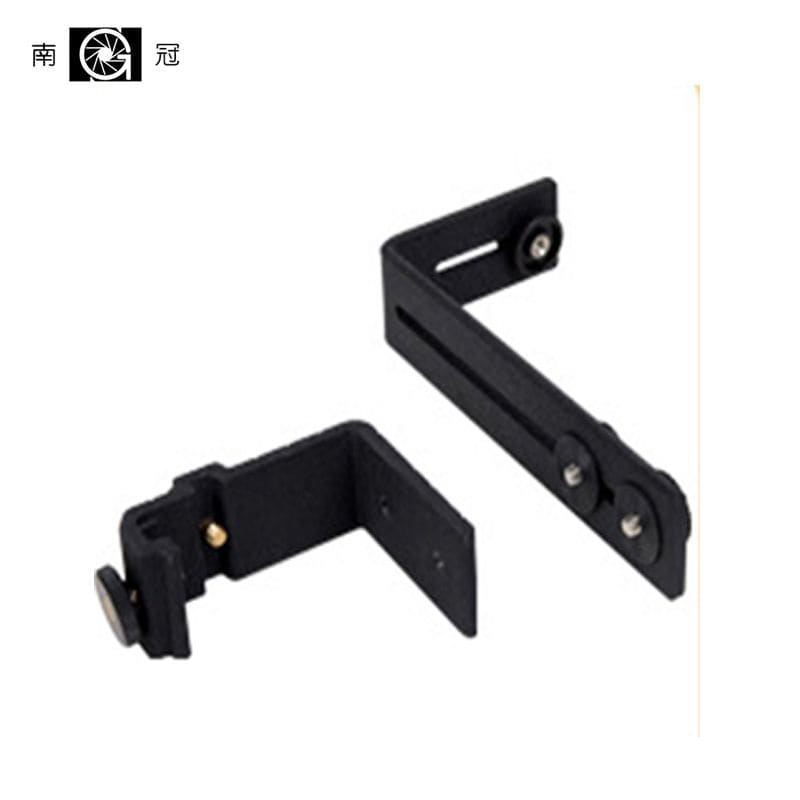
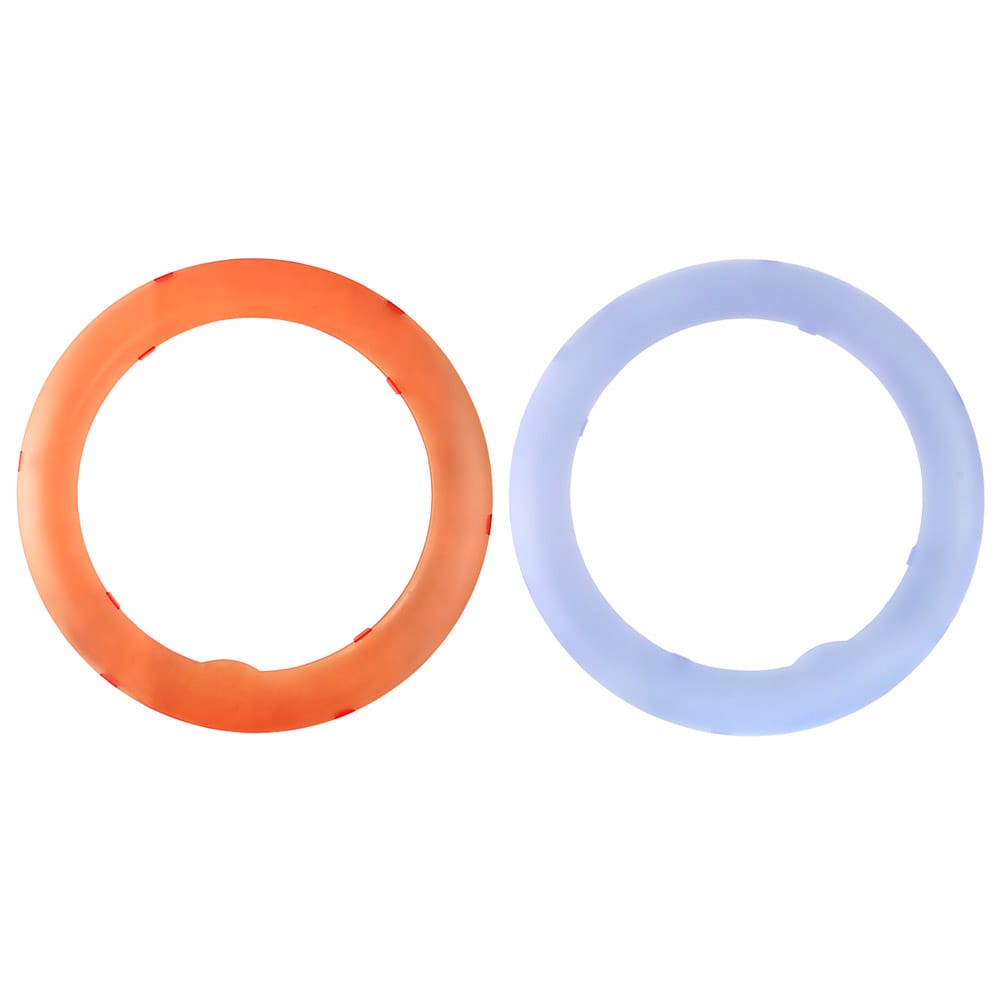
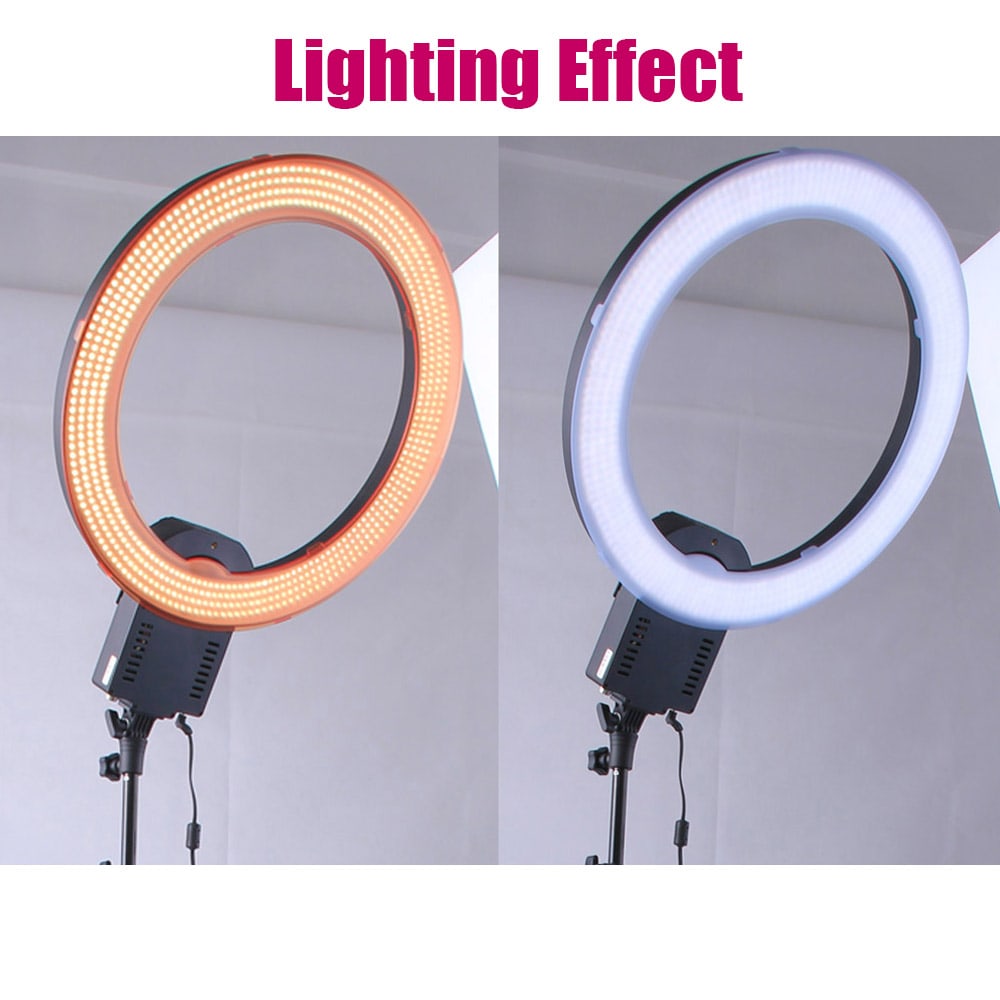
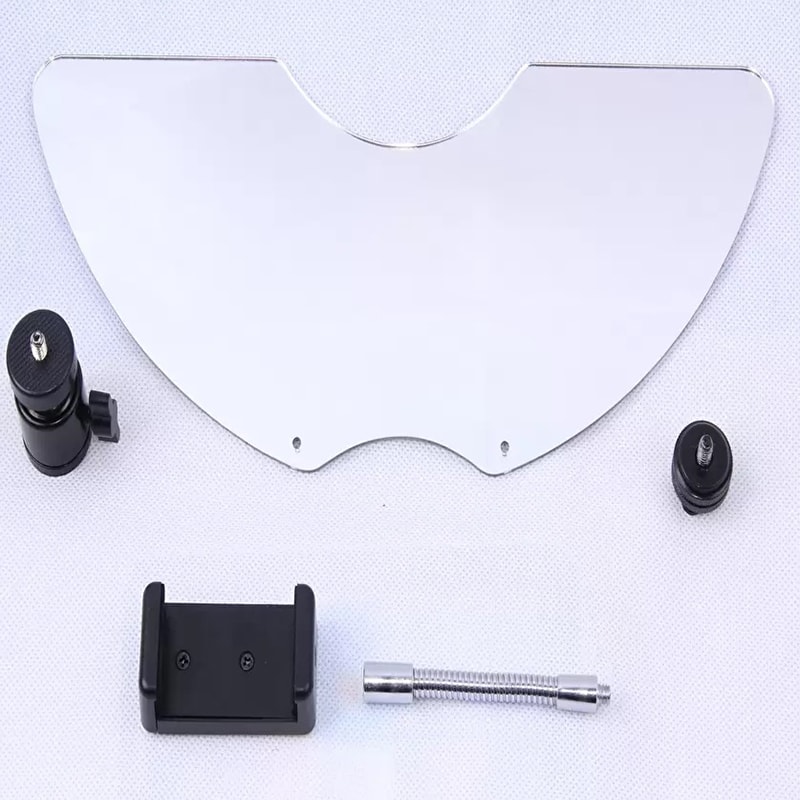
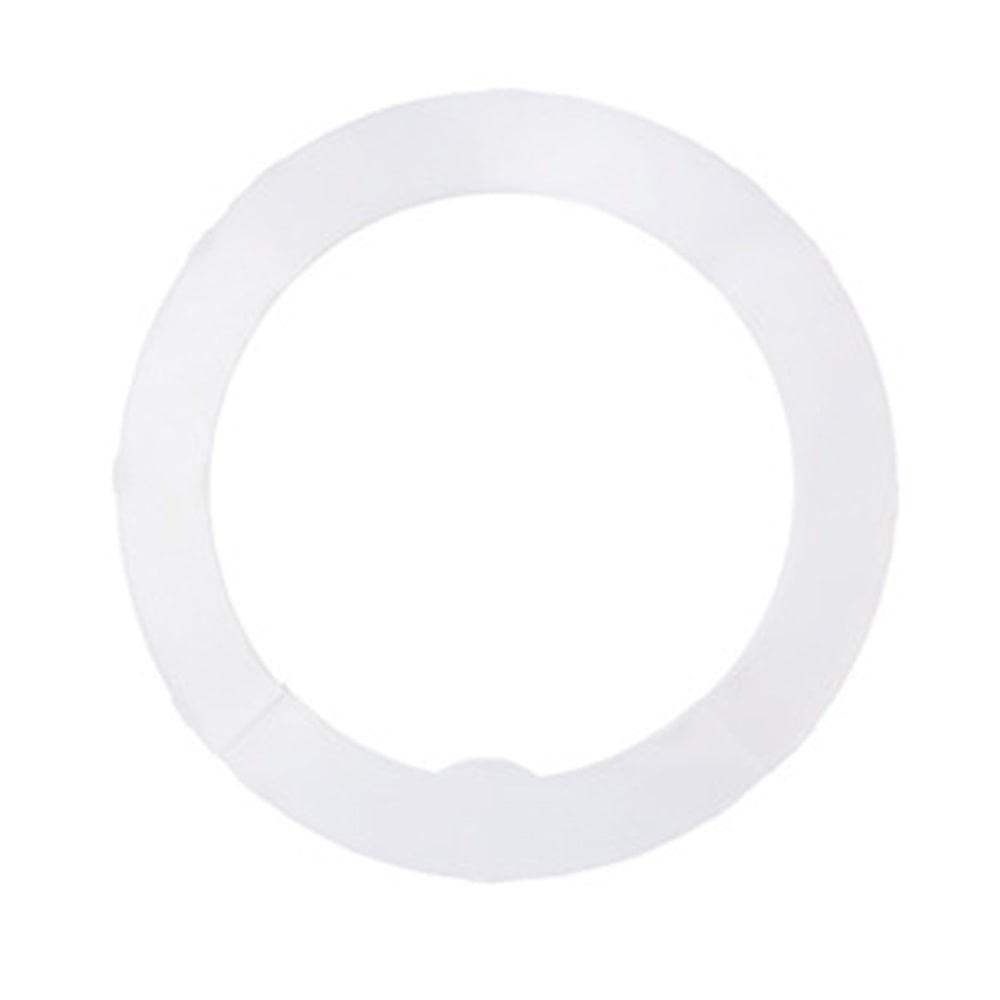
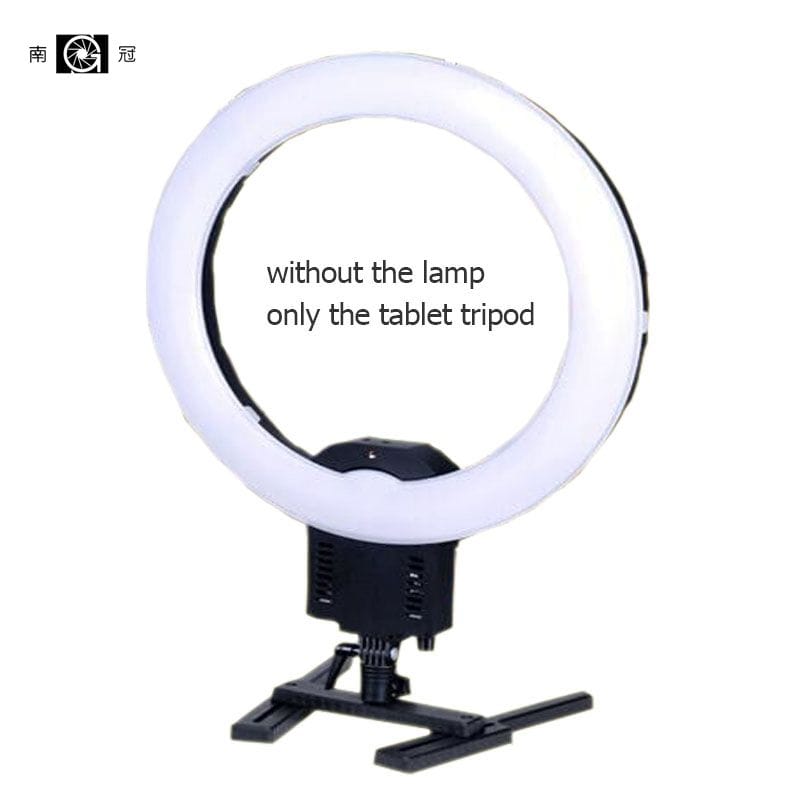
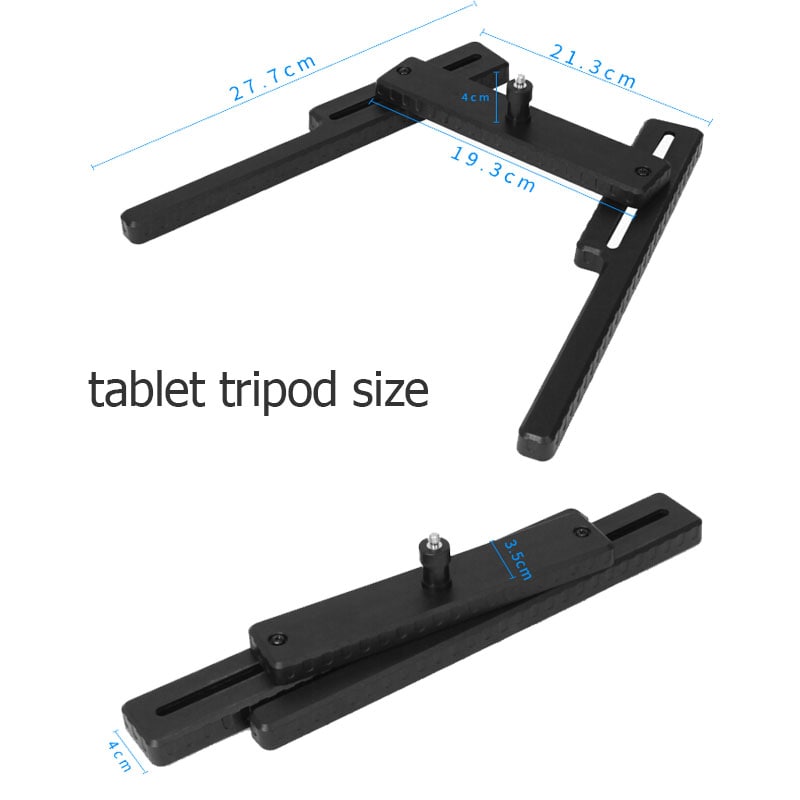
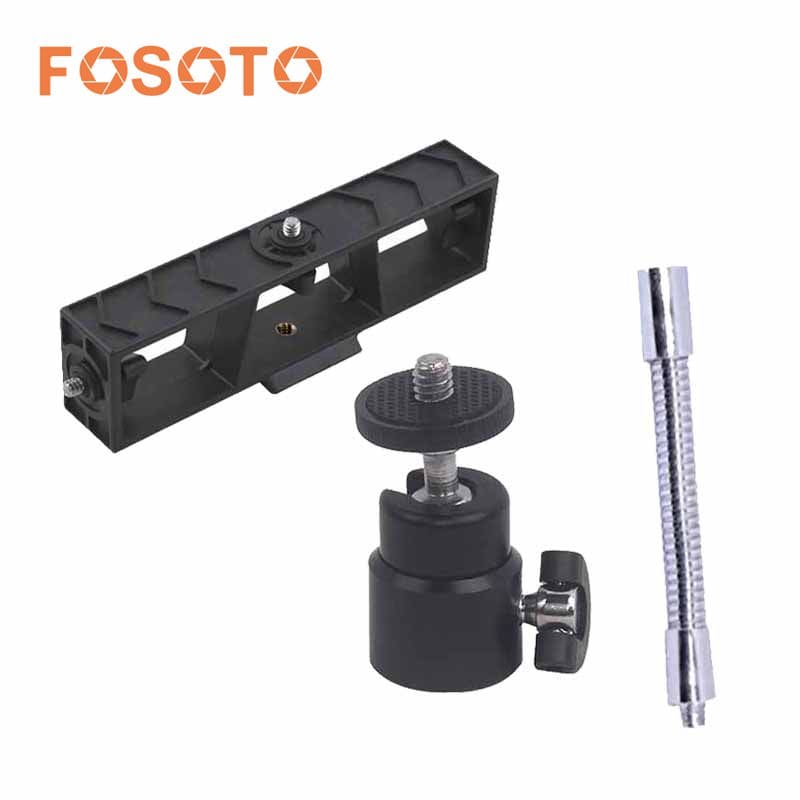
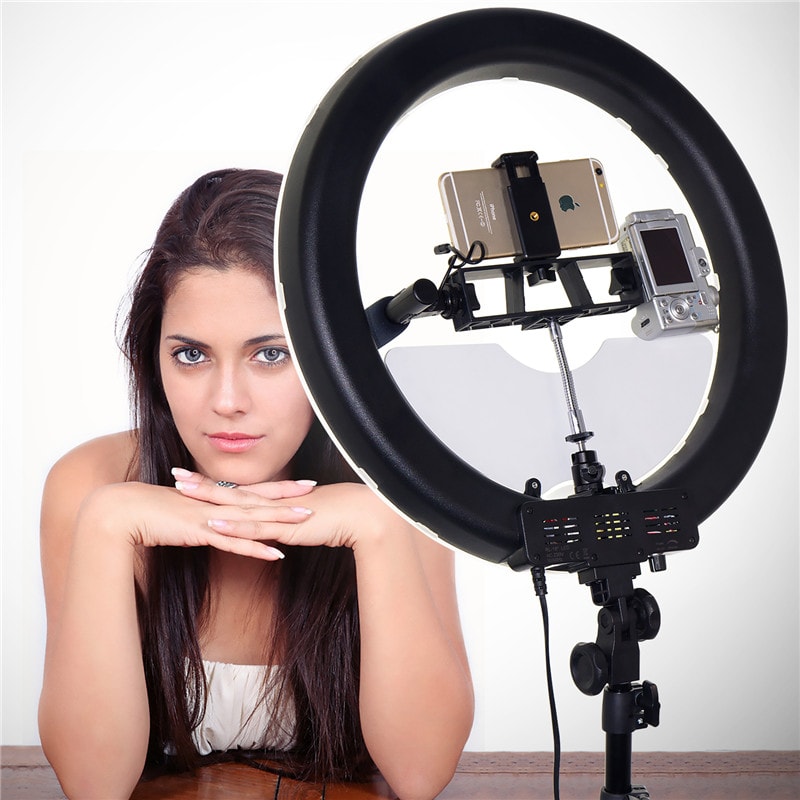
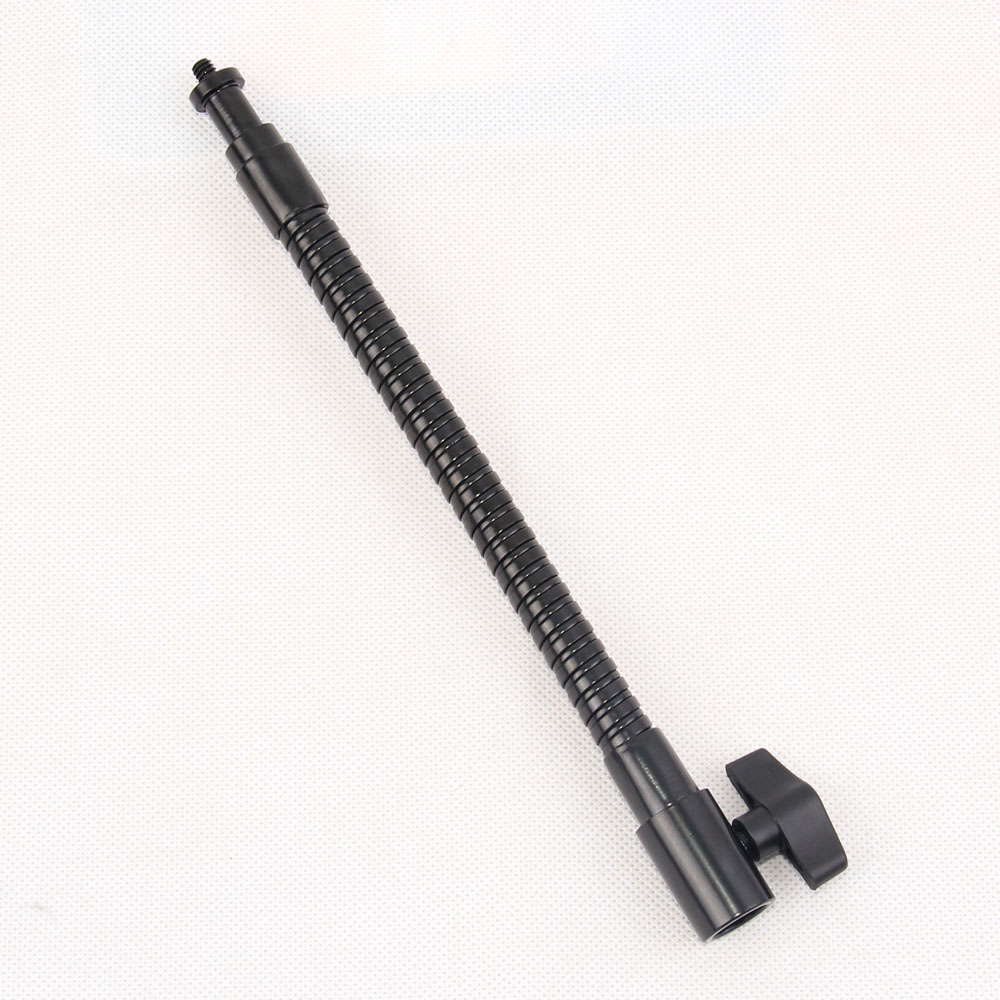
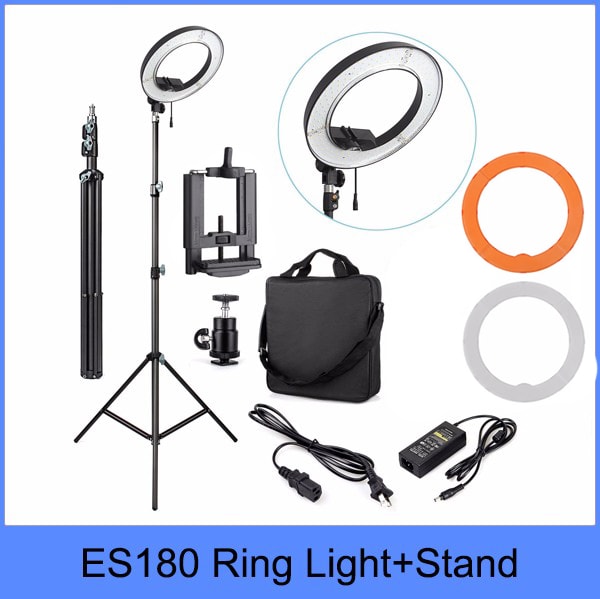
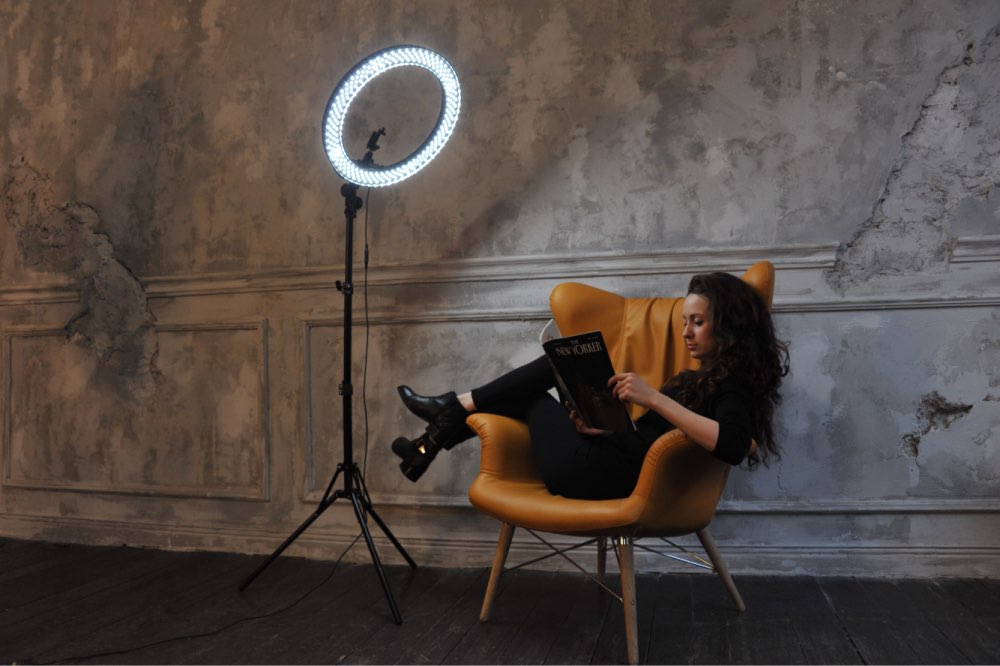
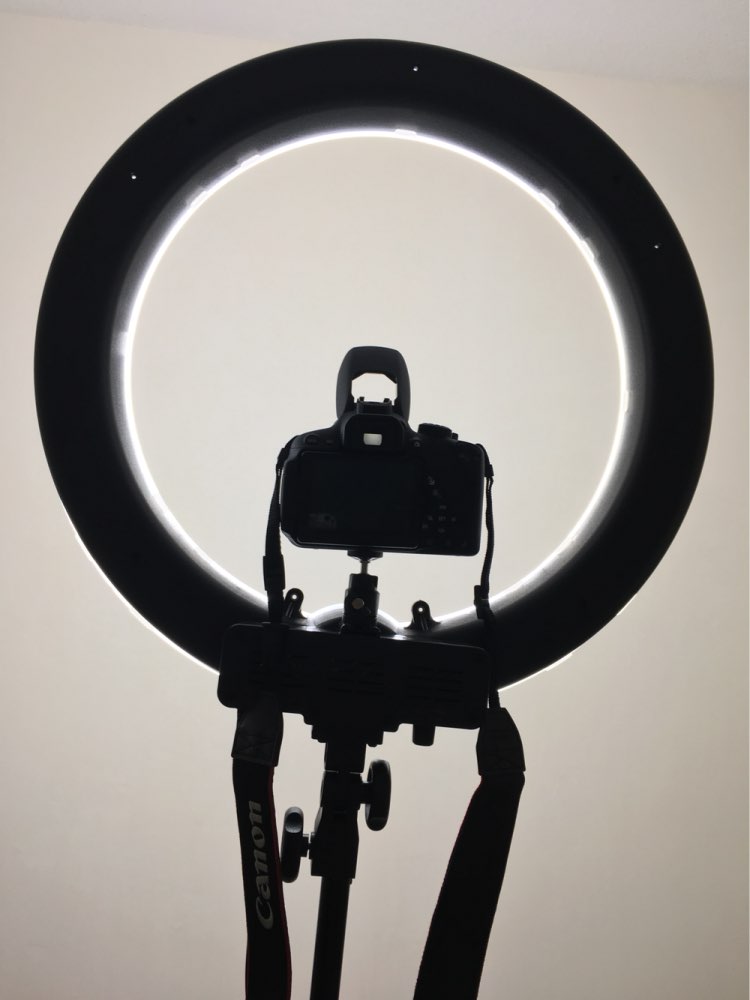
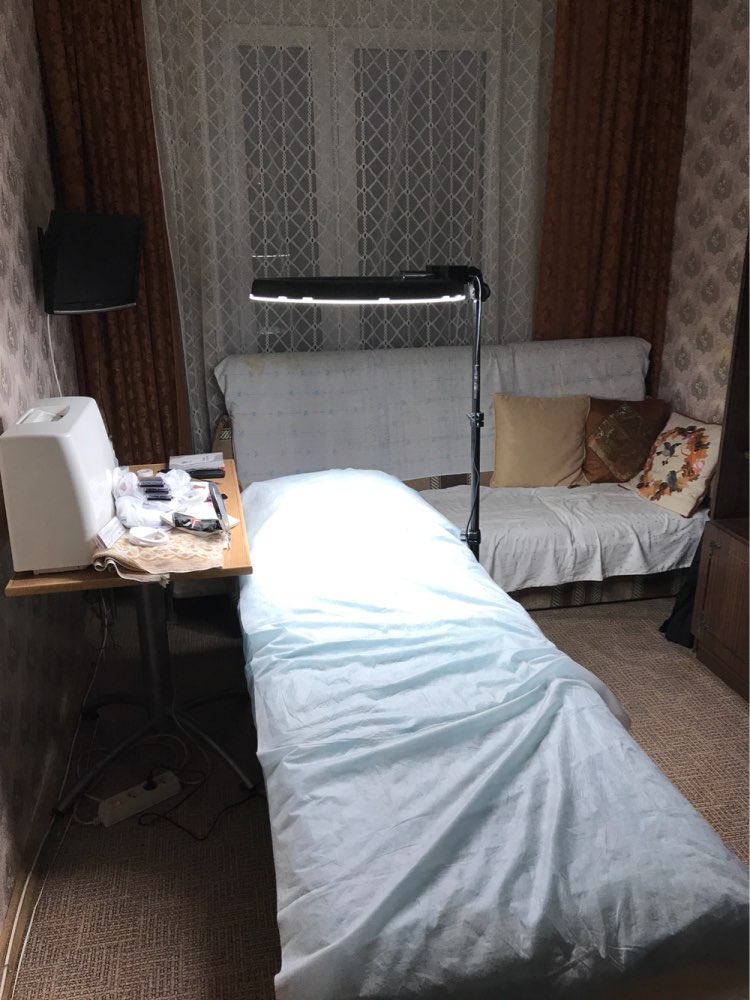
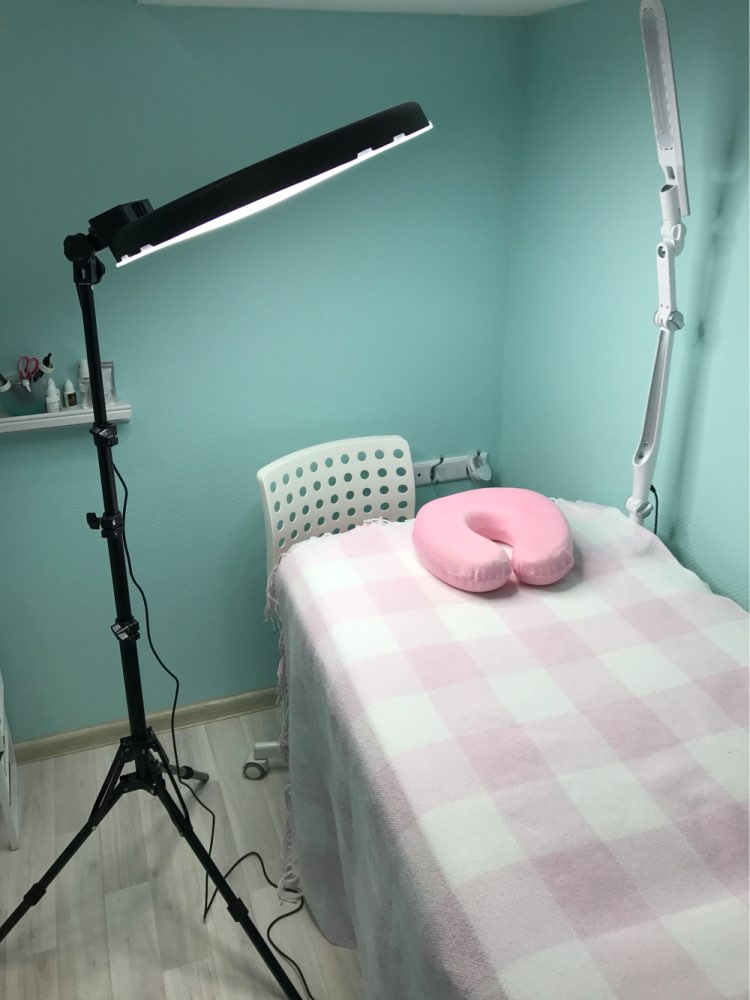
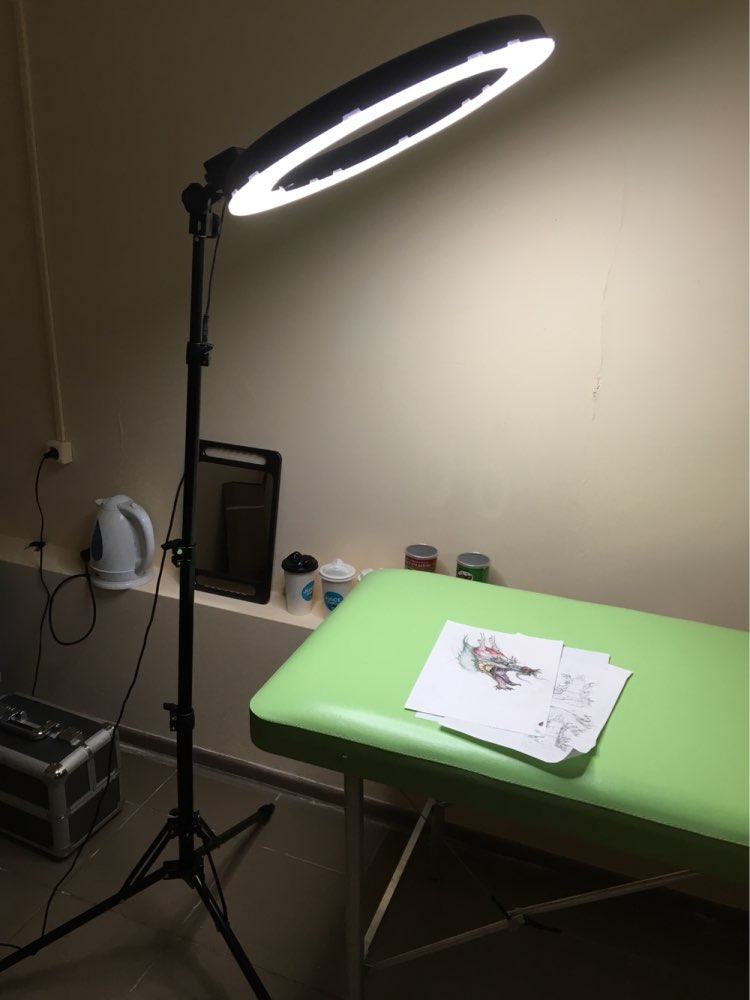
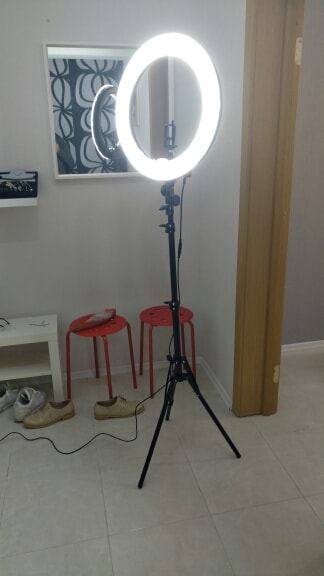
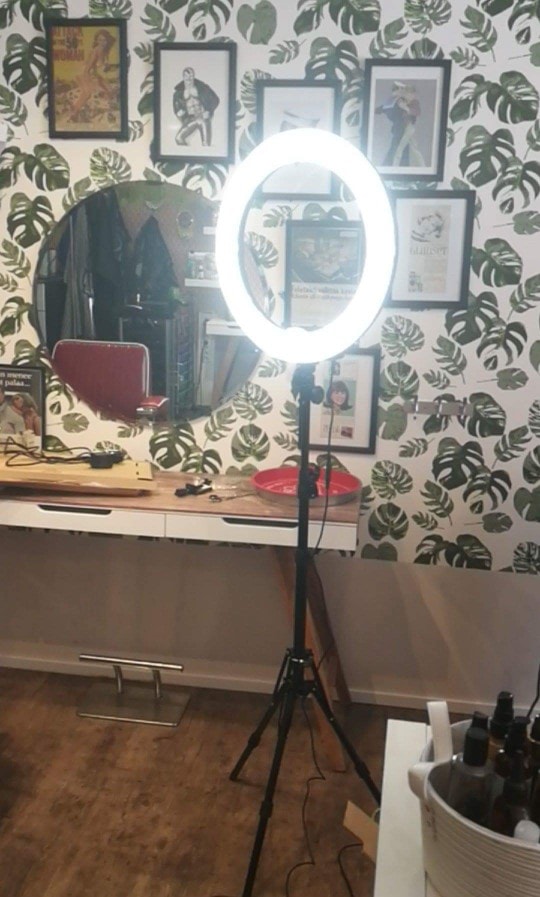
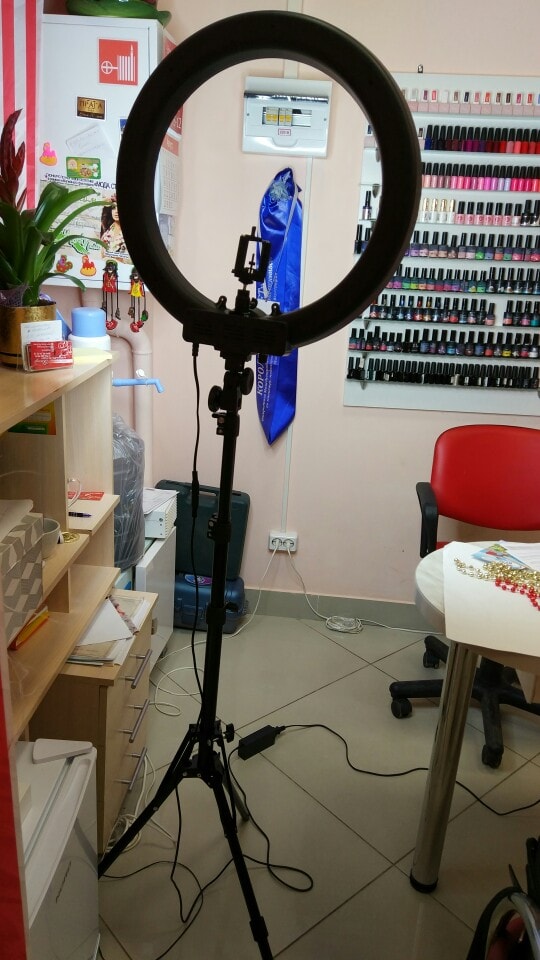
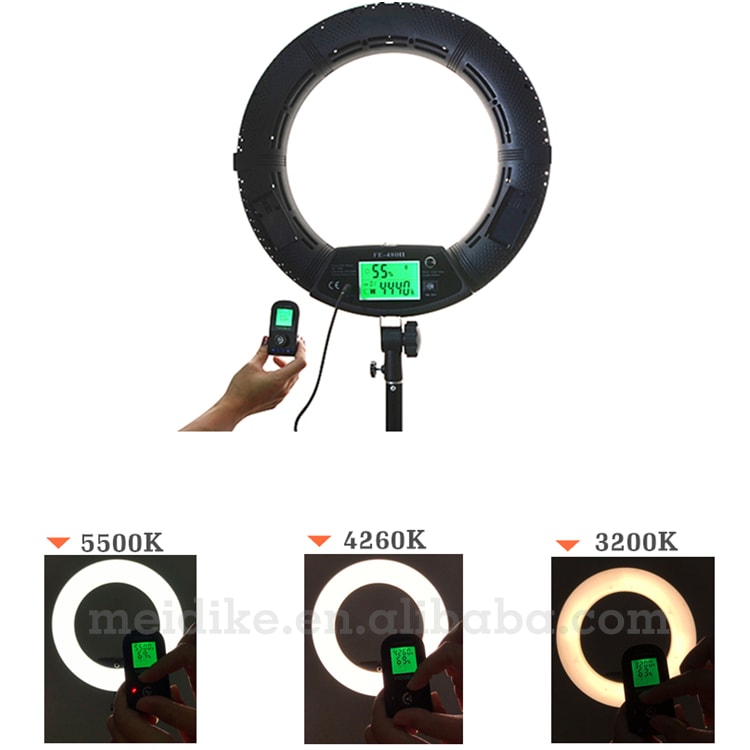
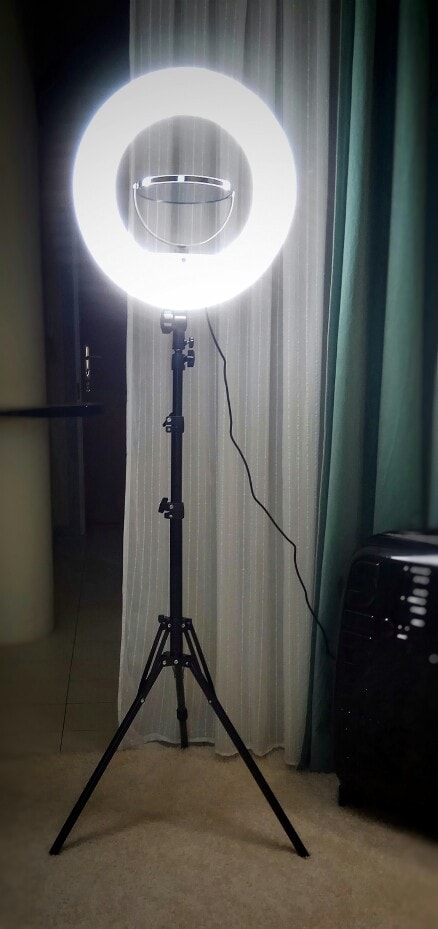
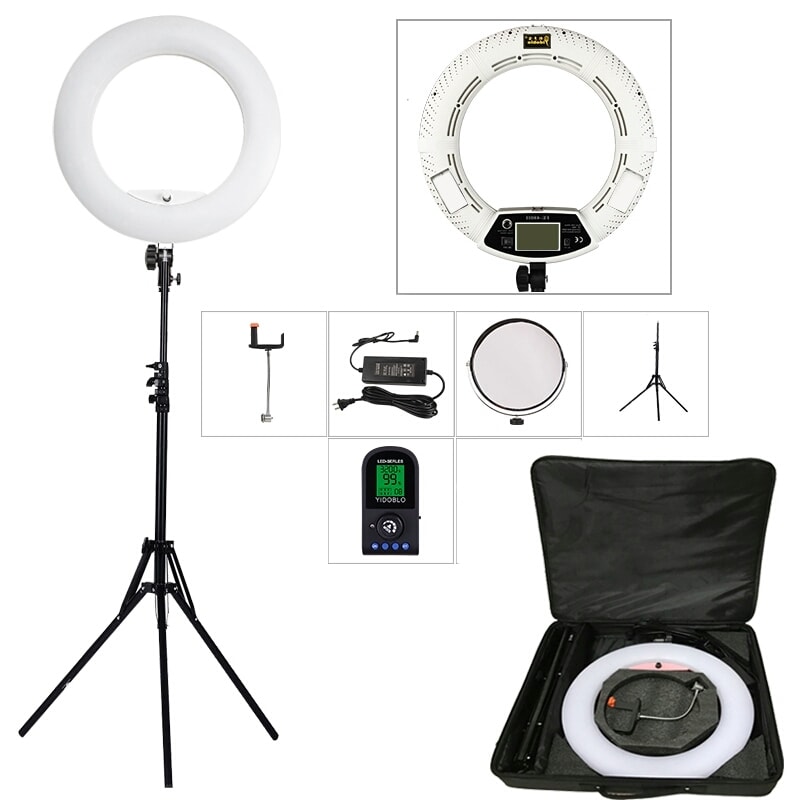
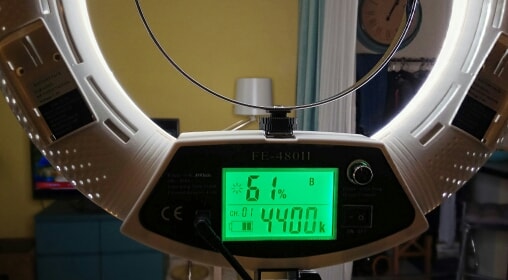
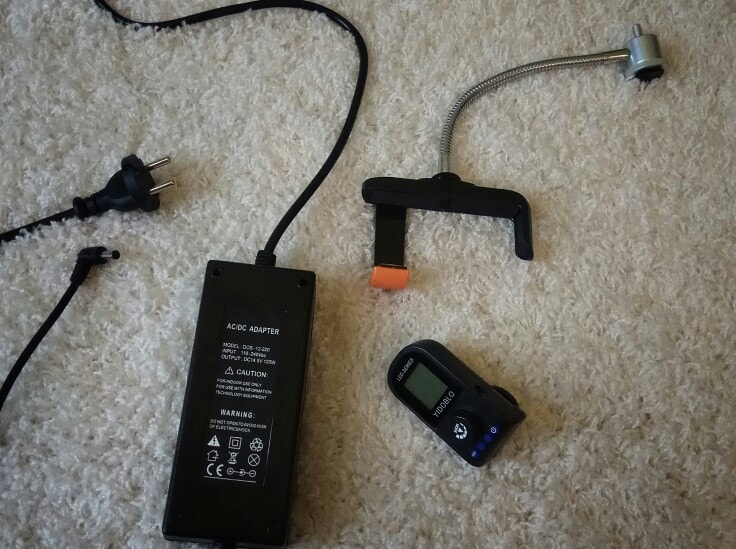
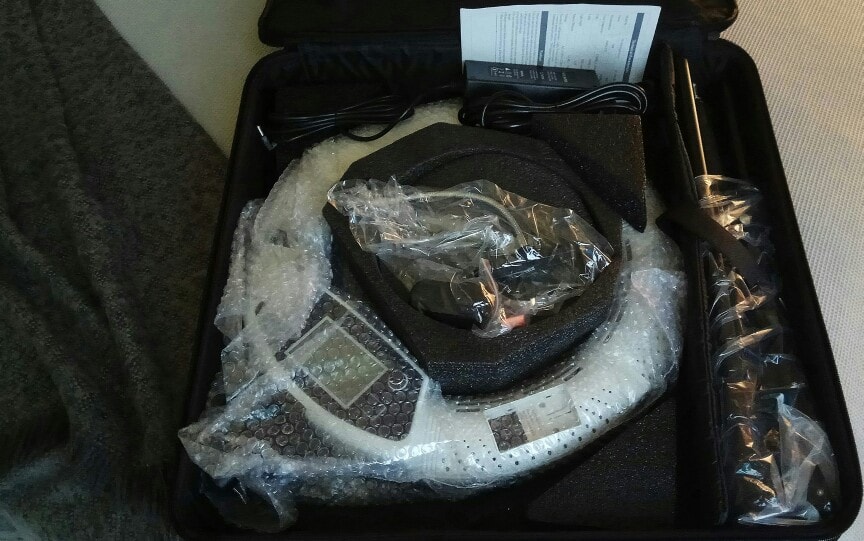
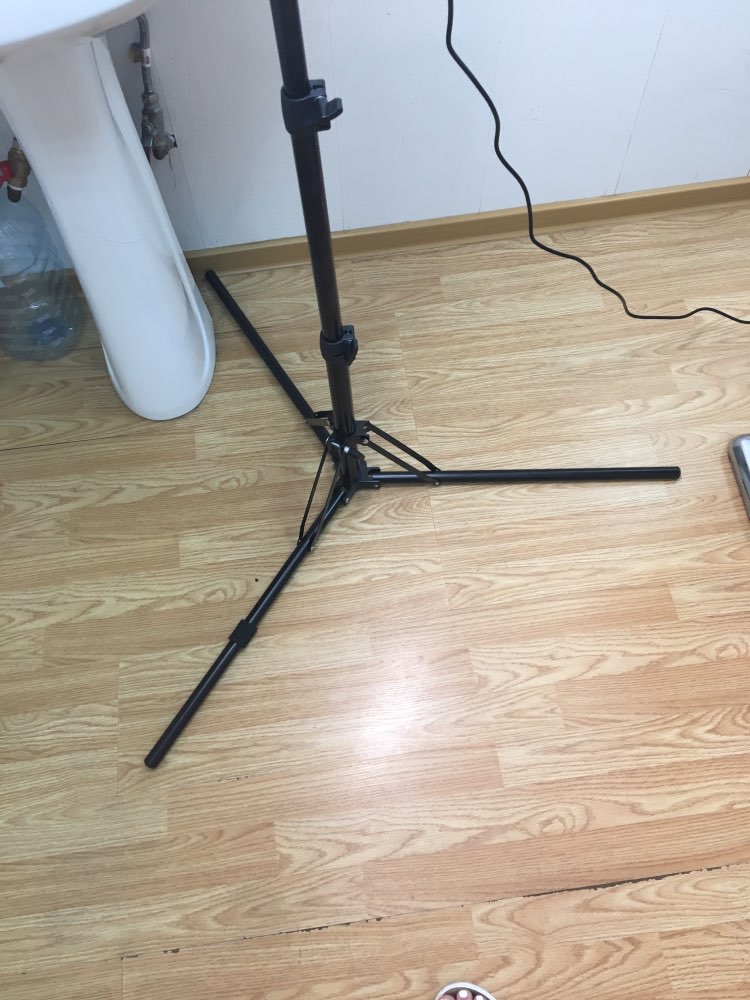
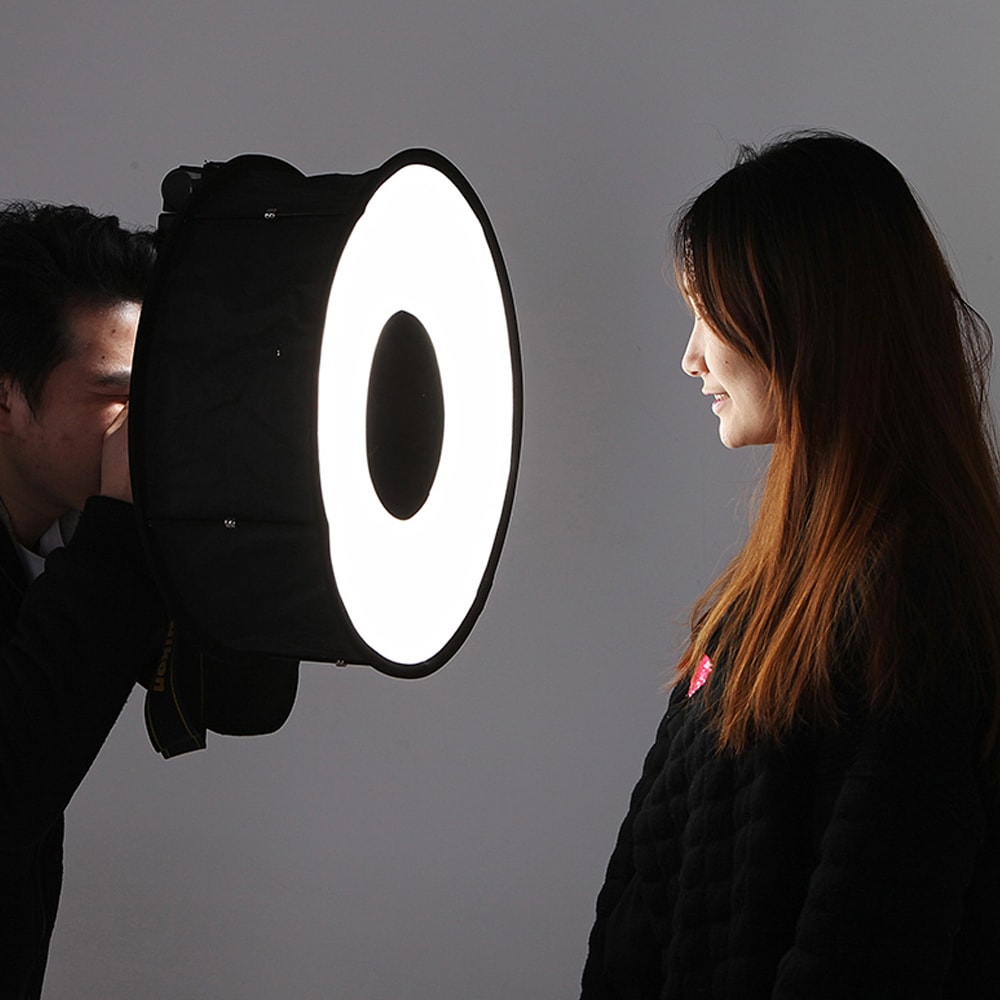
LED Dimmable Photo Video Ring Light RL-18 Ring Light 55W 5500K Ultraluminous smd LEDs Ring lights create very unique lighting effects, including the popular ring-shaped catchlights in the subject's eyes, making them a highly desirable piece of equipment for creative and serious studio photographers and videographers. LEDs have a cool running, long lasting life span and the 5500K colour temperature means you can use the light mixed with natural daylight. It can be mounted to any standard light stand, or attached to a tripod leg with the provided clamp, allowing the camera to be mounted at the center of the light. Buy Now $180.00 Free international shipping UPS Express 5-8 days (Ring Light 240pcs LED 5500K Dimmable + 2 Color Filter) Buy Now $1.42 Free international shipping (Bracket Holder Mount 1/4 Hot Shoe Adapter) Buy Now $30.00 Free international shipping (Stand Tripod With 1/4 Screw Head) Buy Now $30.00 Free international shipping (Stand Tripod With 1/4 Screw Head) Buy Now $4.97 Free international shipping (Universal Tablet Stand Tripod Mount Holder Bracket 1/4)
- 10 replies
-
- 1
-
-
- photographic lighting
- makeup photography lighting
- (and 13 more)
-
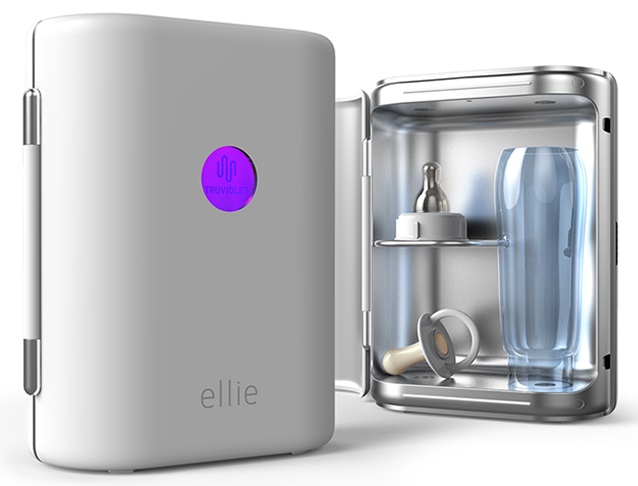
Ellie - New UV LED device to sterilise baby bottles and prevent illness
Jamie A. posted a topic in (EN) FORUM LIGHTING
Ellie is the first portable digital UV sterilizer that will keep babies safe from germs in seconds UV LED lights are known to effectively kill germs and, now, US-based company Rayvio, is developing a digital and potable UV source that helps to sterilise baby bottles and prevent infectious diseases in kids. Kills 99.9% of harmful viruses and bacteria in 60 seconds Uses patented TruViolet UV LED technology No more boiling, steaming, or worrying about melting plastic BPA free, no toxic materials, environmentally friendly Lightweight and fits easily in a diaper bag On-the-go water sterilizer for mixing formula Great for pacifiers, teethers, toothbrushes, and breast pump accessories One-week battery life, Micro USB rechargeable Sign up to be notified when Ellie launches on Indiegogo, and for an exclusive 40% discount. More information: ellieduv
-
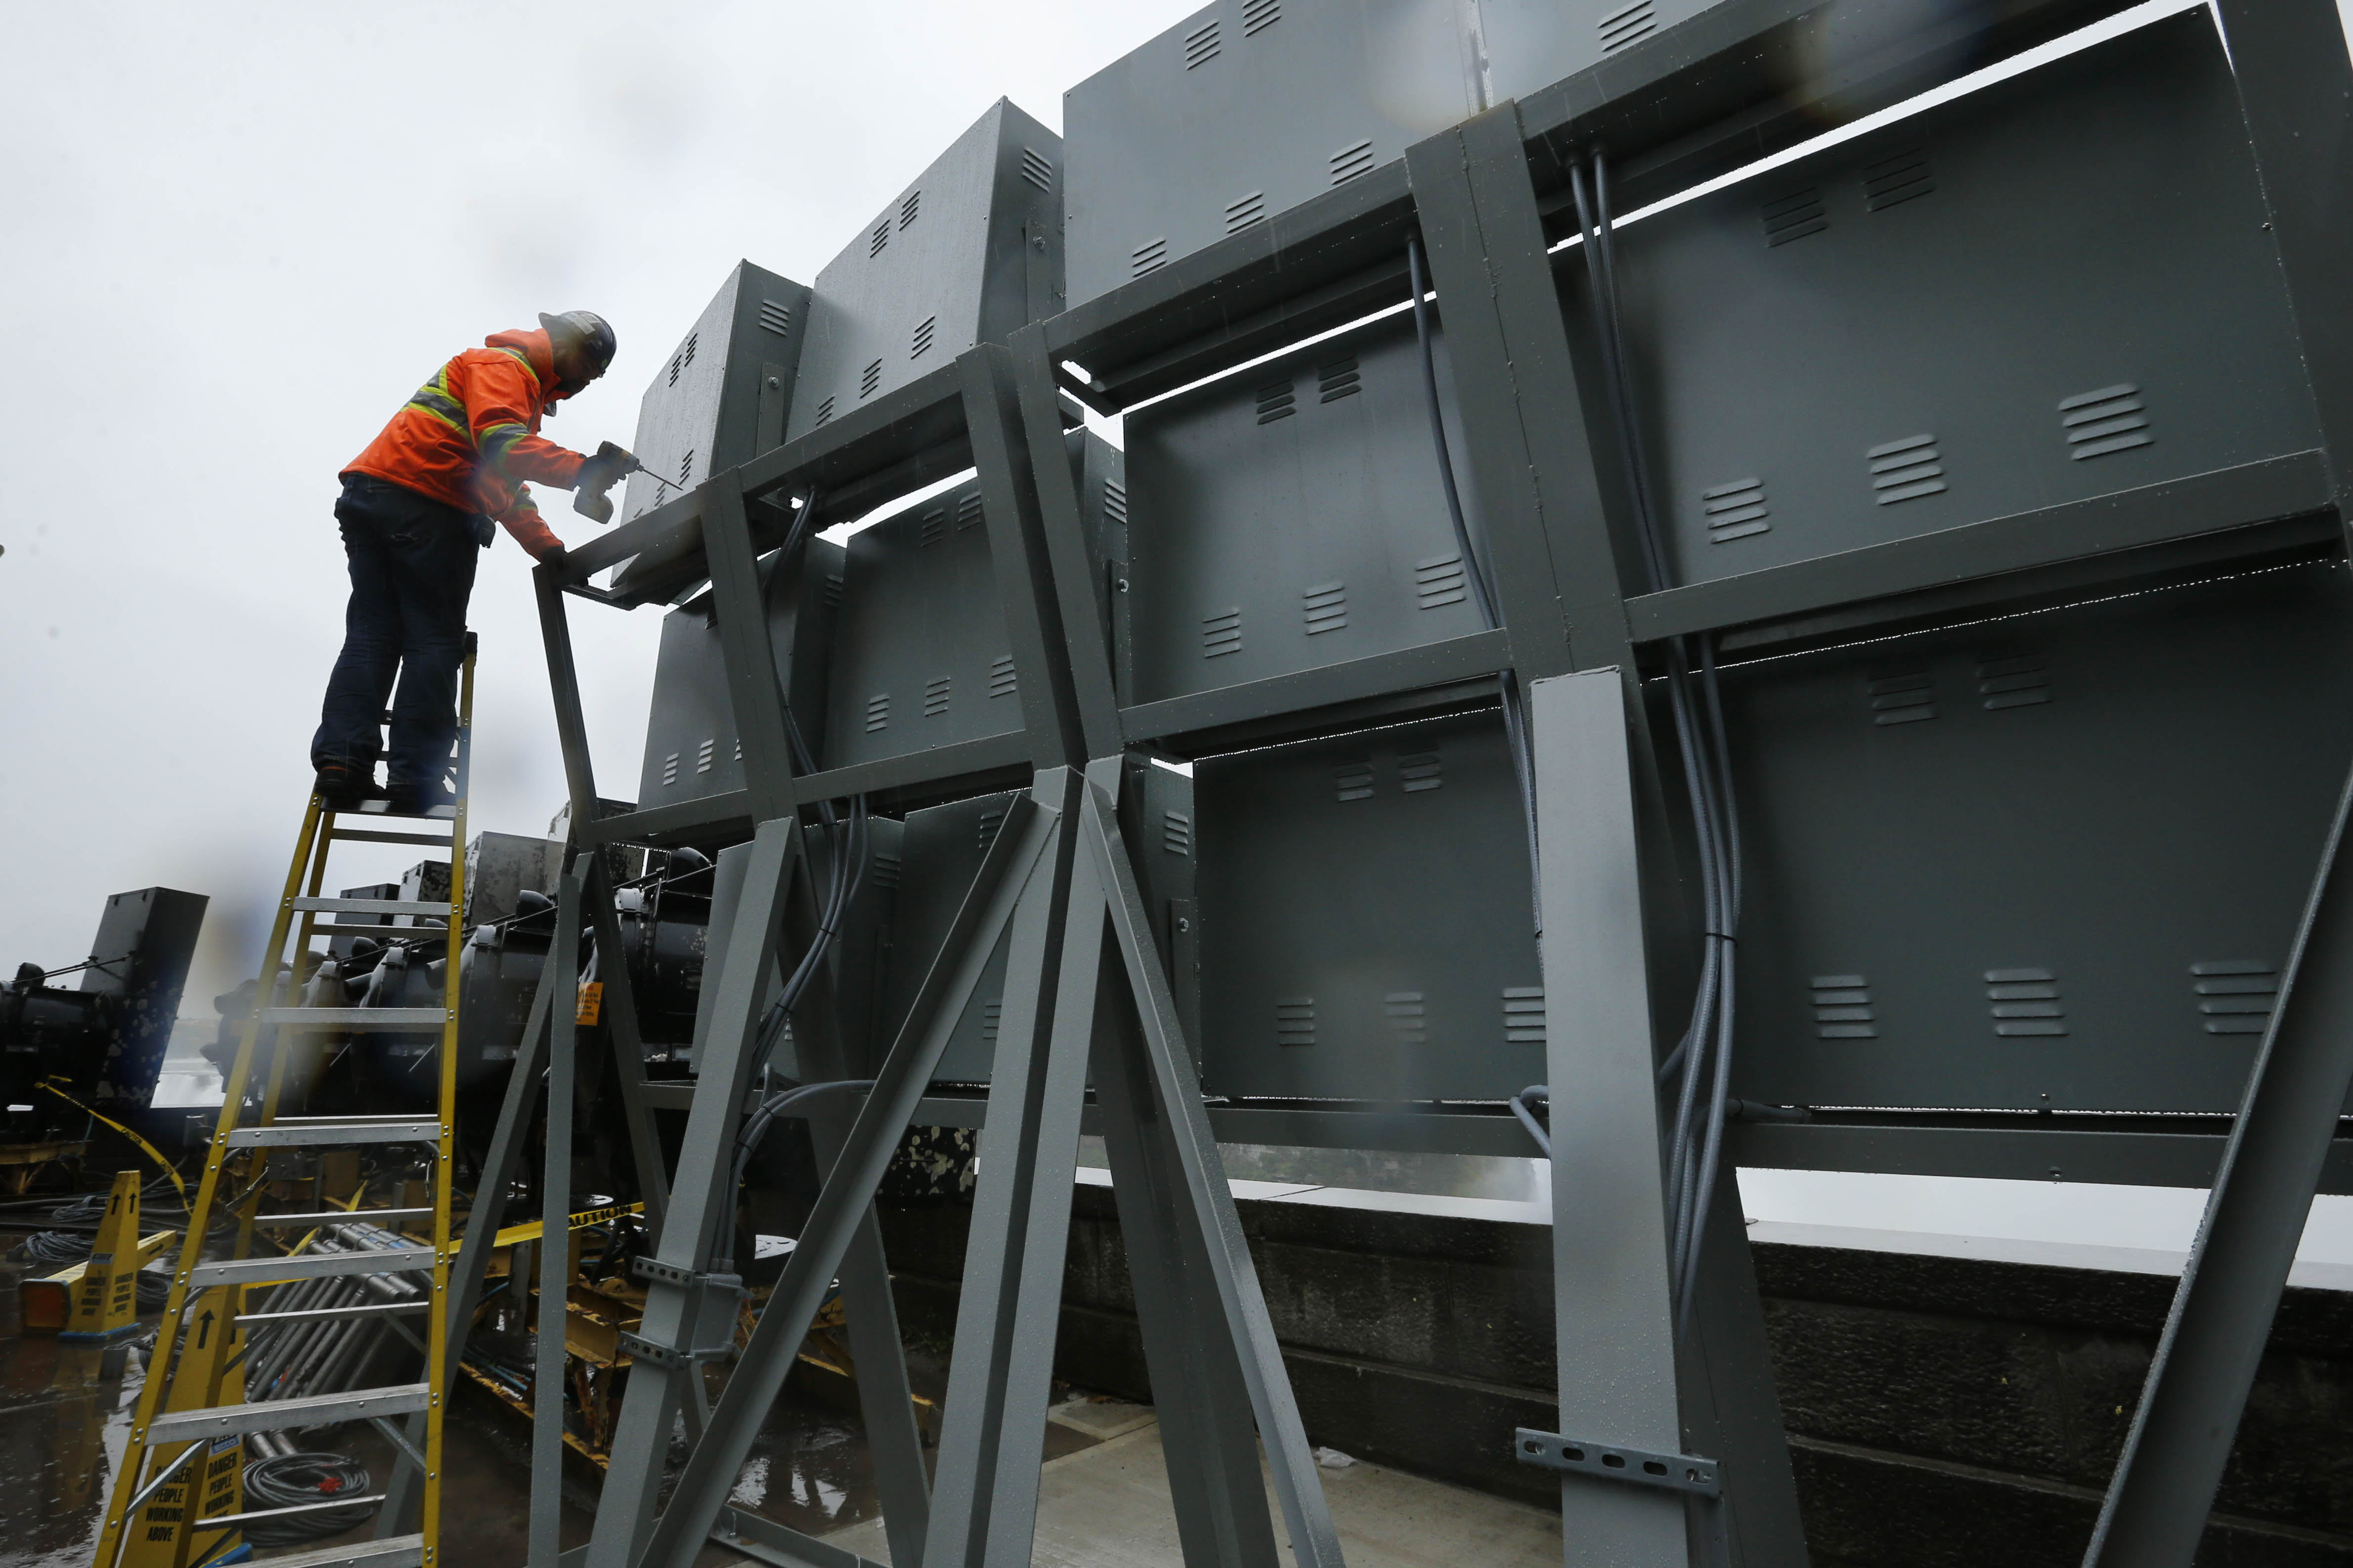
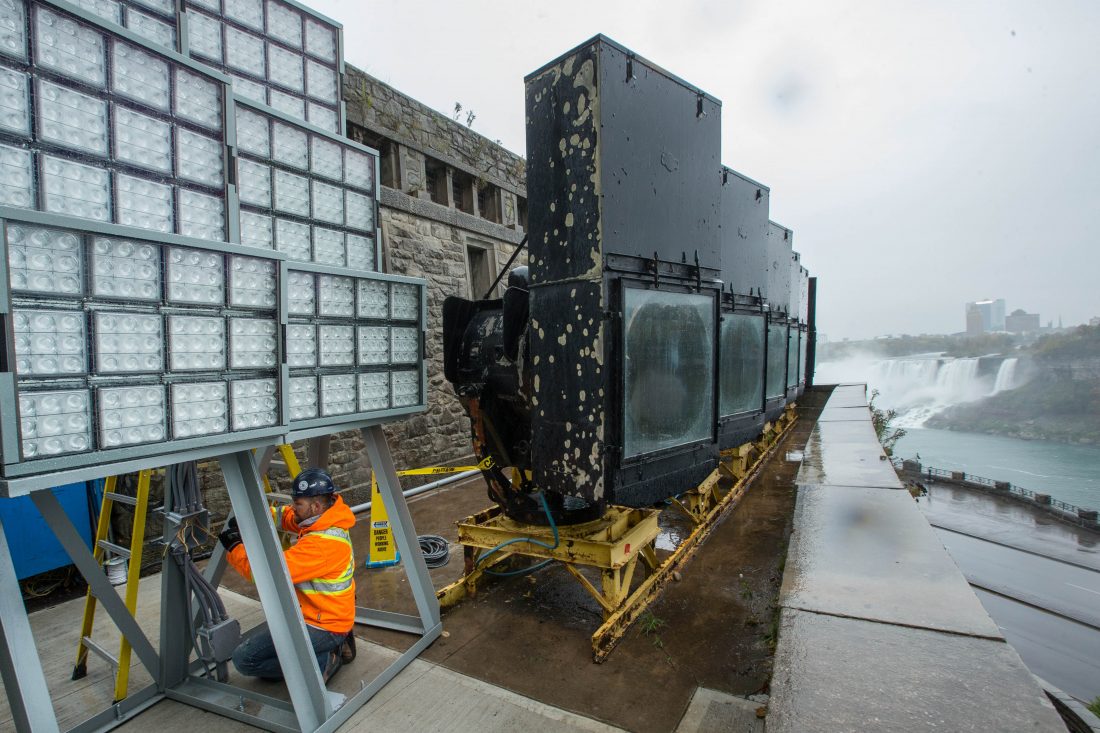
Stephen Aubertin, an electrician with ECCO Electric, inspects a panel of LED lights at the Niagara Falls illumination tower, Wednesday. A $4-million revitalization project by the Niagara Falls Illumination Board, that will use the latest technology to light the Horseshoe and American Falls, is nearing completion.
-
New LED lights on Niagara Falls “We're lighting a world icon.” “We believe this new lighting will attract repeat visitors and attract new visitors to come see the falls in a much more elaborate way.” New lighting, which will illuminate the American falls, has already been installed in the lower gorge and work is almost completed on installing the new system to the illumination tower beside Queen Victoria Place which will focus on the Horseshoe Falls. Also, light panels are being added to the top of Table Rock which will shed light on the lip of the Horseshoe Falls. “We've been trying to shine light through the mist for many, many years,” Adames said. “Now, with the lights on Table Rock, we can provide an even light treatment of the Horseshoe Falls.” Recent high profile events such as the Nik Wallenda high wire walk and Red Bull Crashed Ice – where organizer used their own equipment to illuminate the Falls - demonstrated how enhanced lighting could better showcase the falls at night. “We could have continued to use the xenon lights,” Adames said. “However, LED technology has come a long way and it's only recently we were able to identify companies that could bring forward a lighting solution.” Following a Request for Qualifications and a Request for Proposal process, a consortium of firms comprised of ECCO Electric Ltd., Salex Inc., Mulvey & Banani Lighting Inc., Sceneworks and Stanley Electric was selected in February. Construction began in September. Financial support for the multi-million dollar project came from both government and local tourism stakeholder groups in both Canada and the United States. “We are very fortunate to have community stakeholders on both sides of the border who have supported our vision since the project was first proposed,” said Mark Thomas, chairman of the Niagara Falls Illumination Board and western district director of the New York State Office of Parks, Recreation and Historical Preservation. “The improvement to the nightly illumination of the Falls will encourage visitation to Niagara and we appreciate the stakeholders recognizing the importance of this project for the destination.” Niagara Falls Coun. Wayne Thomson, chairman of Niagara Falls Tourism, said he's been pushing for new lighting for the past seven years. “I'd be having dinner at the falls with my wife and my wife and other people would look over and asking when the lights come on... they had been on for two hours. All you saw was a little bit of grey and the mist in the centre. It was very unimpressive.” His began campaigning for enhanced lighting in early 2009 after he drove across the Rainbow Bridge and noticed the Horseshoe Falls were bathed in bright light. “It was phenomenal,” he recalled. “The falls were lit up like you wouldn't believe.” Thomson later learned the lights were particularly bright that night because local magician Greg Frewin was on site filming a television special. Thomson said the new lighting will be a “huge game changer” for the city. “People come here to see the falls and the parks system and all the other attractions in the region and they all want to go down and see the illumination of the falls in the evening,” he said. “(The illumination) has been totally unimpressive for many years. The new lighting, in my opinion will bring worldwide publicity and will draw people here from around the world.” An official lighting ceremony is scheduled for Dec. 1. The new lights were originally to be unveiled during the Winter Festival of Lights launch Nov. 19. More information: niagarafallsreview.ca
-

Best DIY Ring Light Photography, Video, Selfie
AliLight replied to AliLight's topic in (EN) FORUM LIGHTING
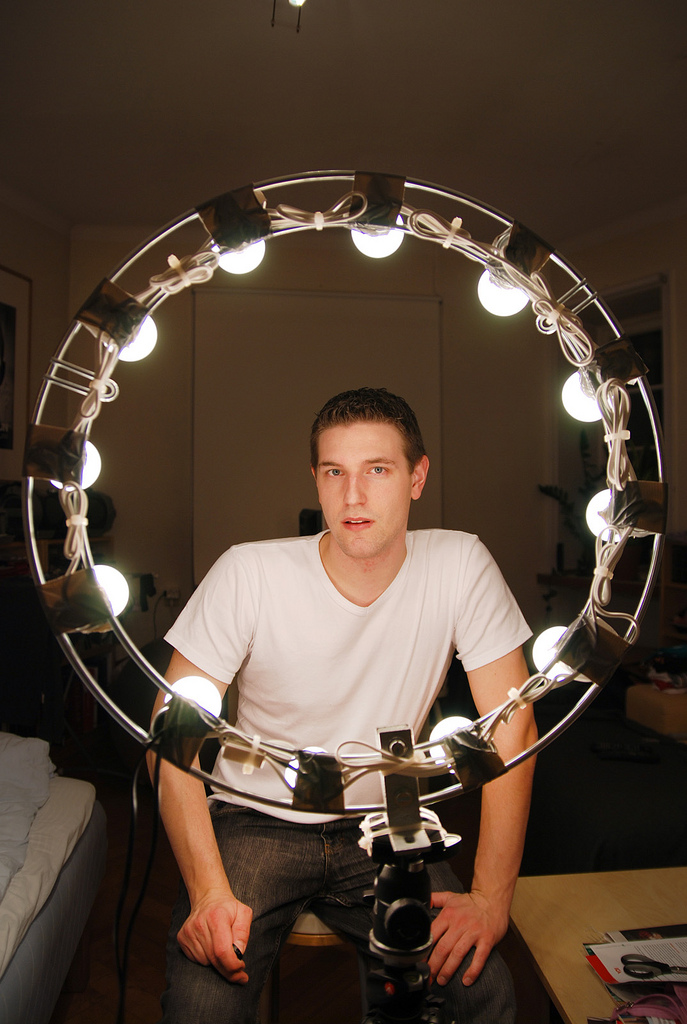
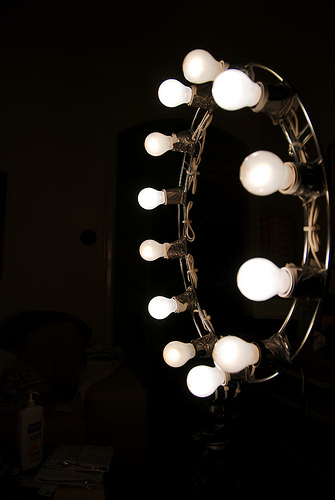
DIY Ringflash THE MATERIALS: 12 5-10W led light bulbs dimmable 12 E27 Sockets Light dimmers Some wires made for lamps (2×1,5mm2) flat cable 2 70x40mm angles Some screws and bolts. Using screws, or cable ties, attach the 12 sockets to the chandelier at even spaces. Adding A Mounting Bracket. Place the two angles opposite of each other. Place the Chandelier in the middle with both rails caught by the angles. Lock the angles with a bolt and a nut. More information: diyphotography
- 4 replies
-
- 1
-
-
- ring light for video diy
- ringlight photo
- (and 26 more)
-
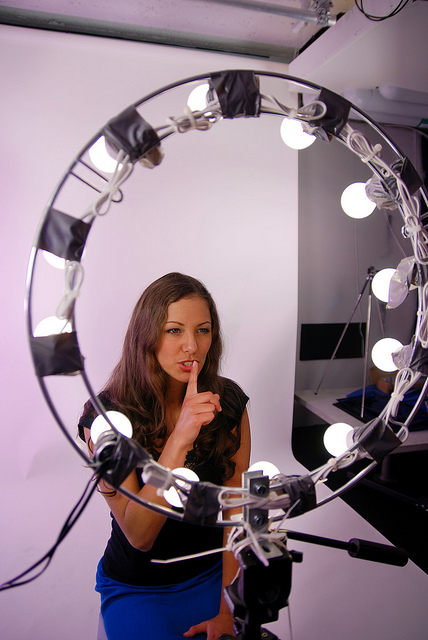
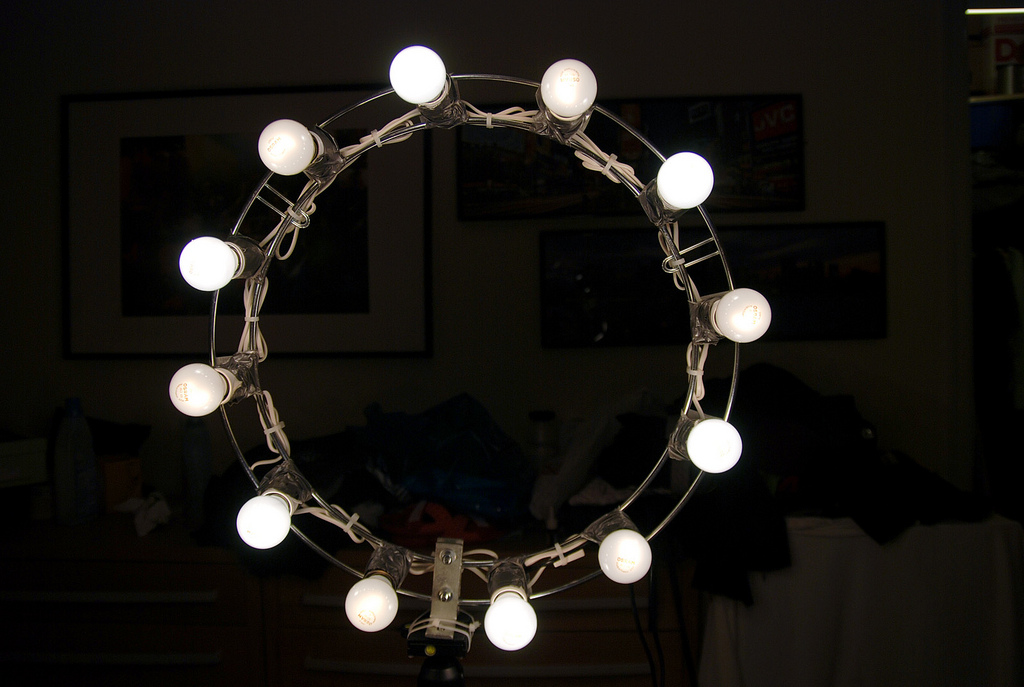
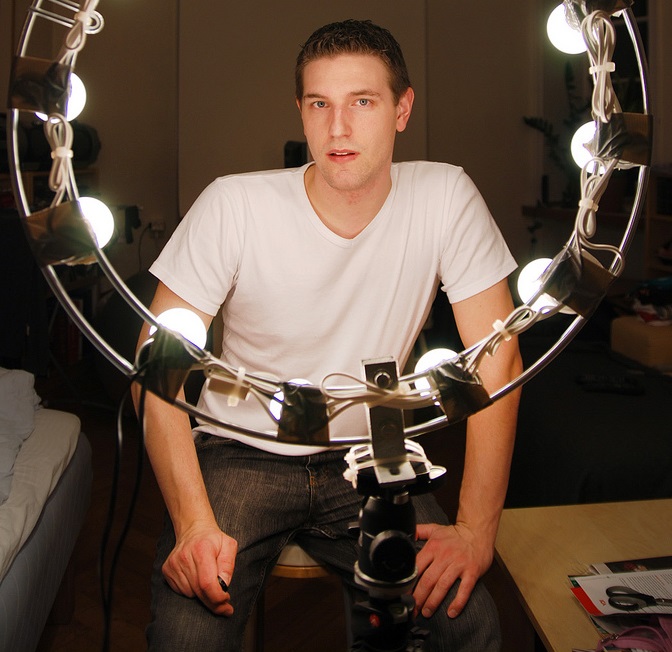
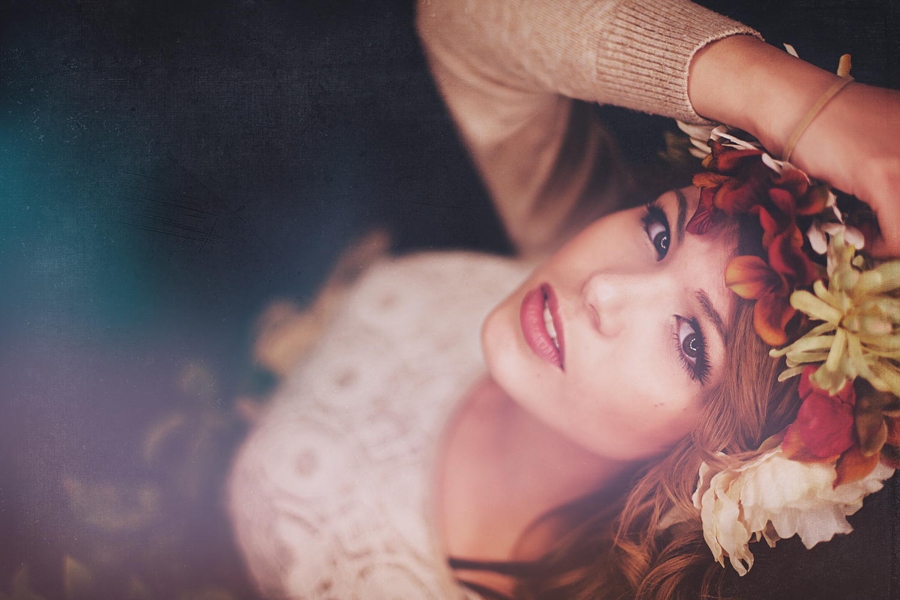
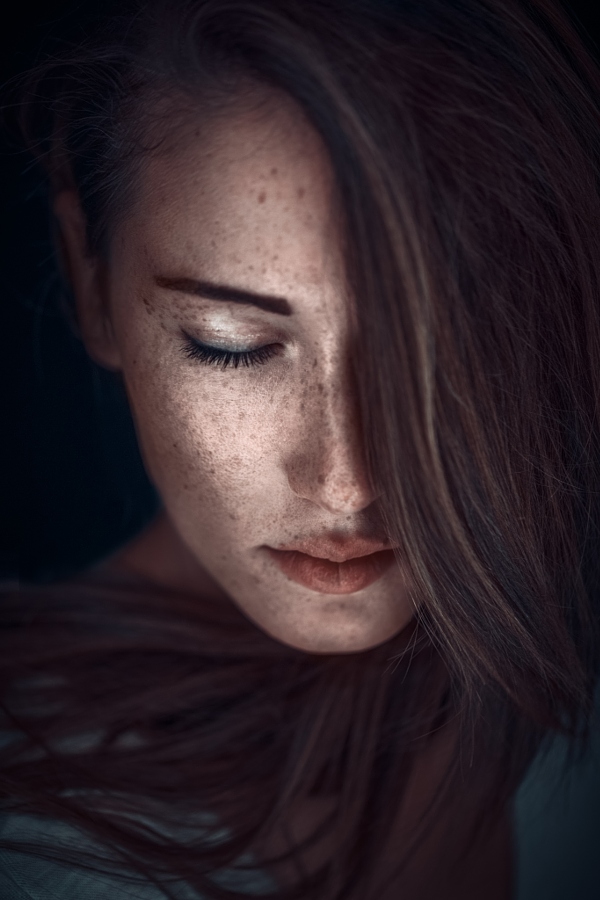
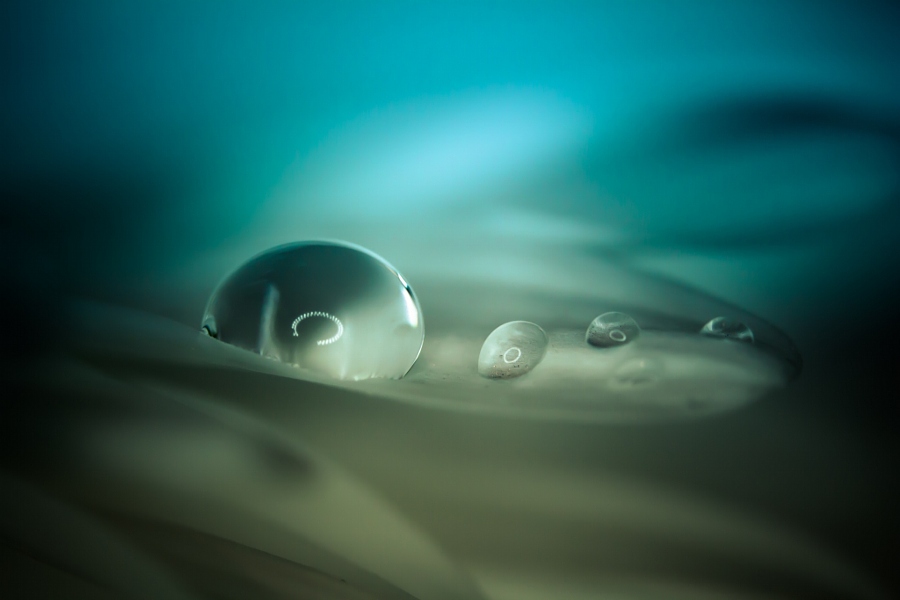
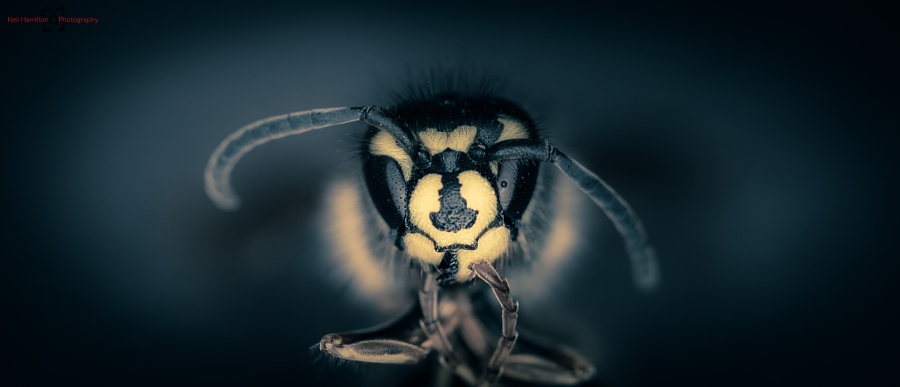
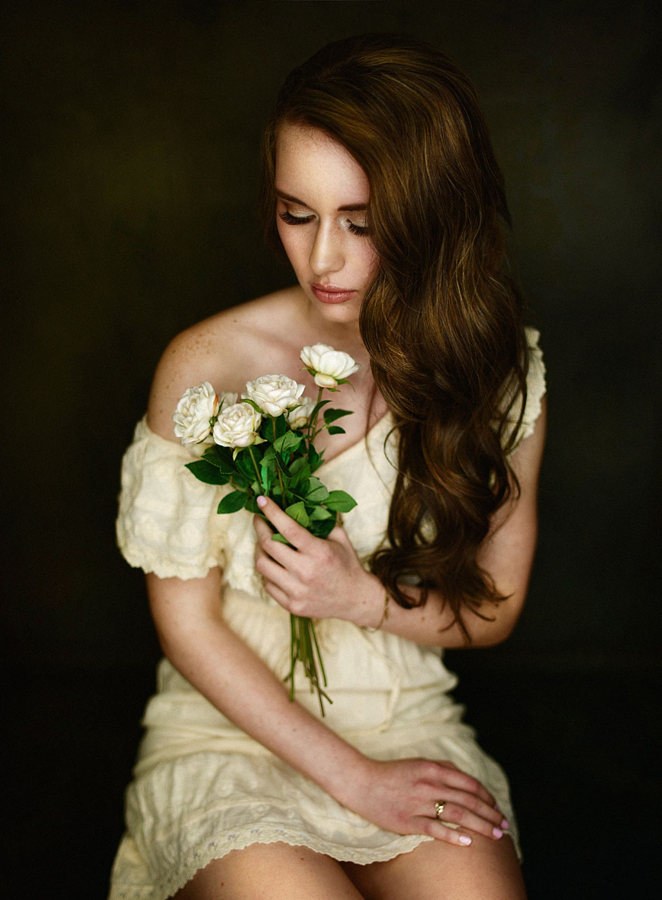
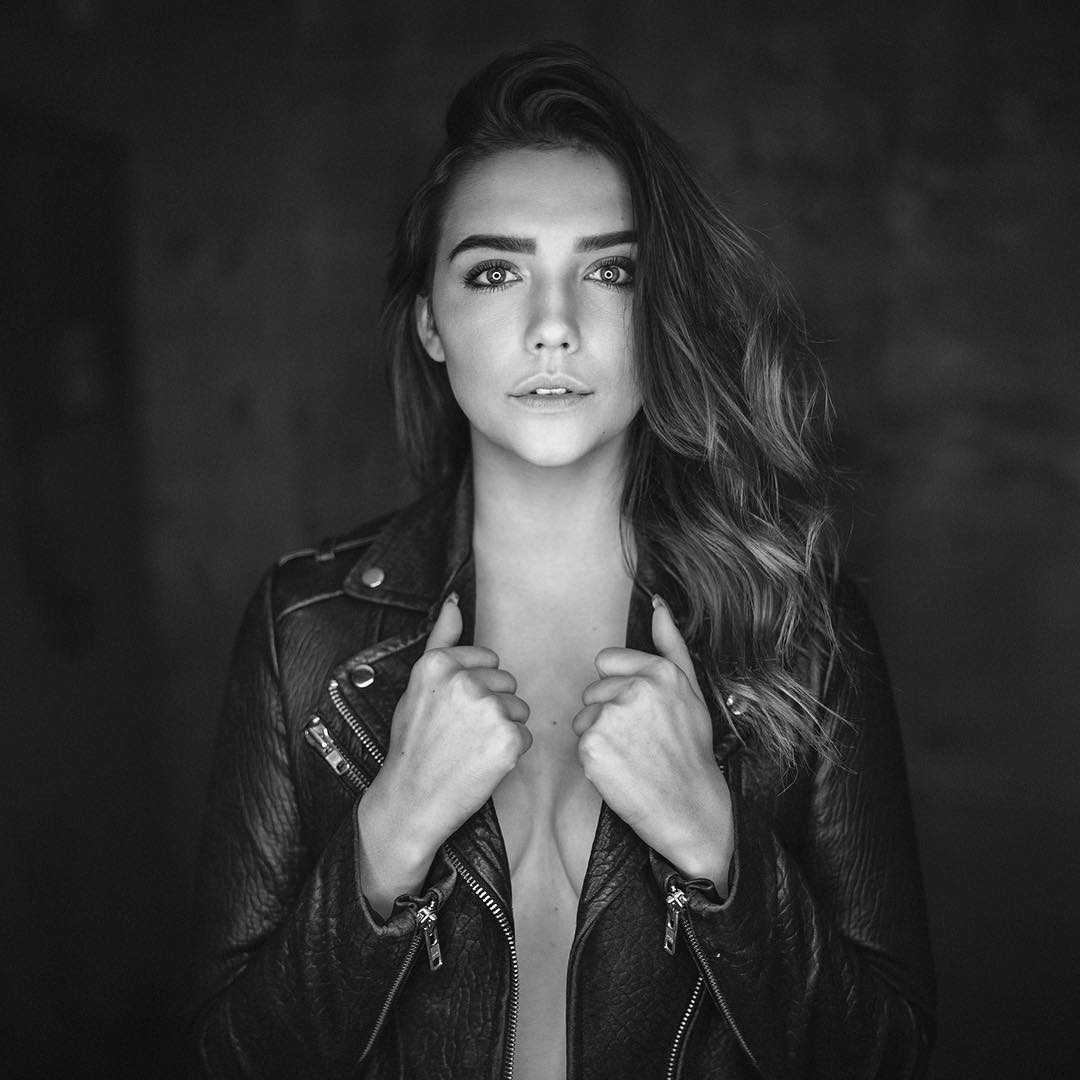
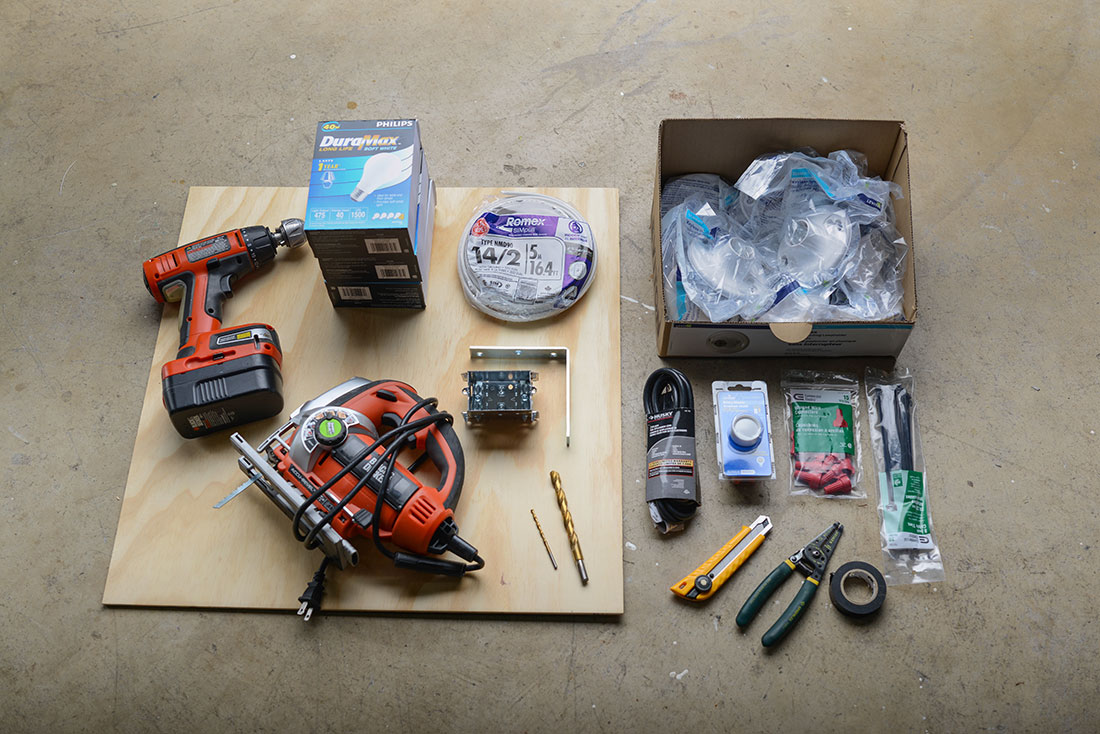
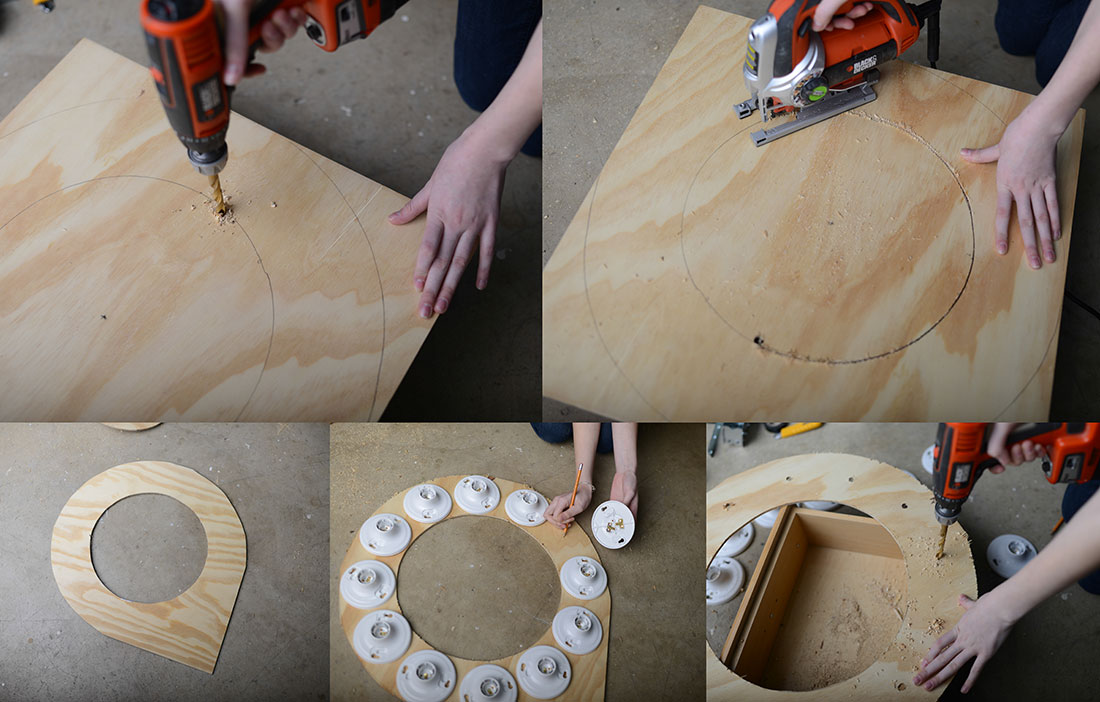
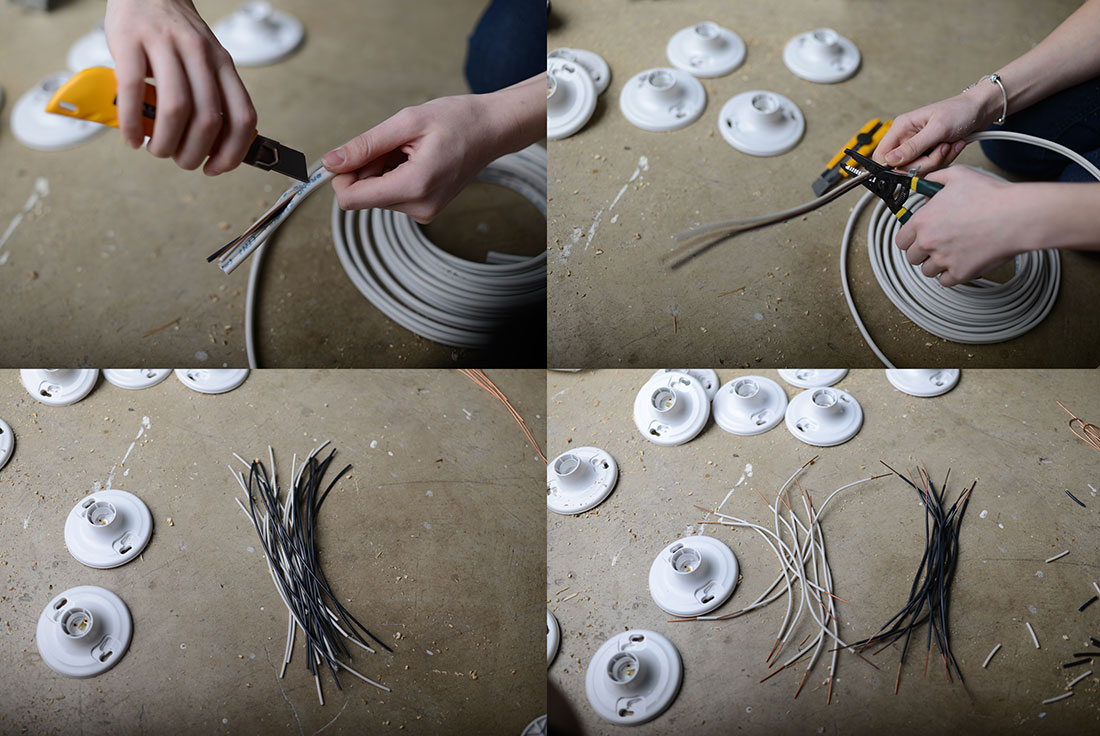
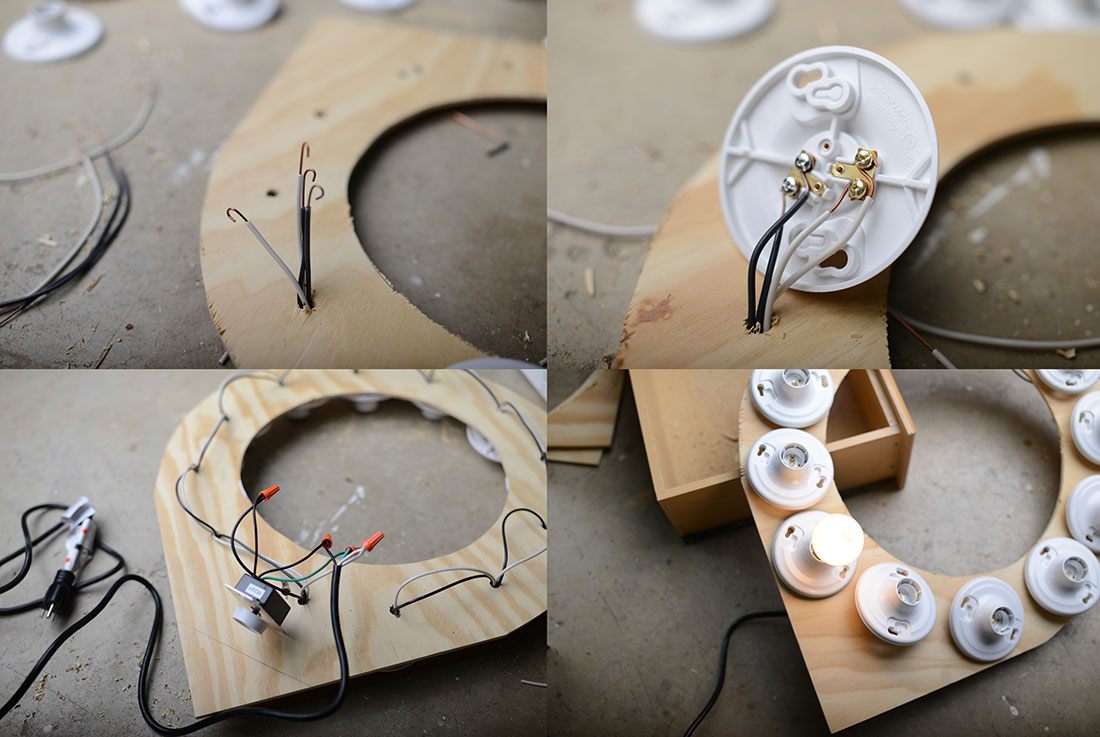
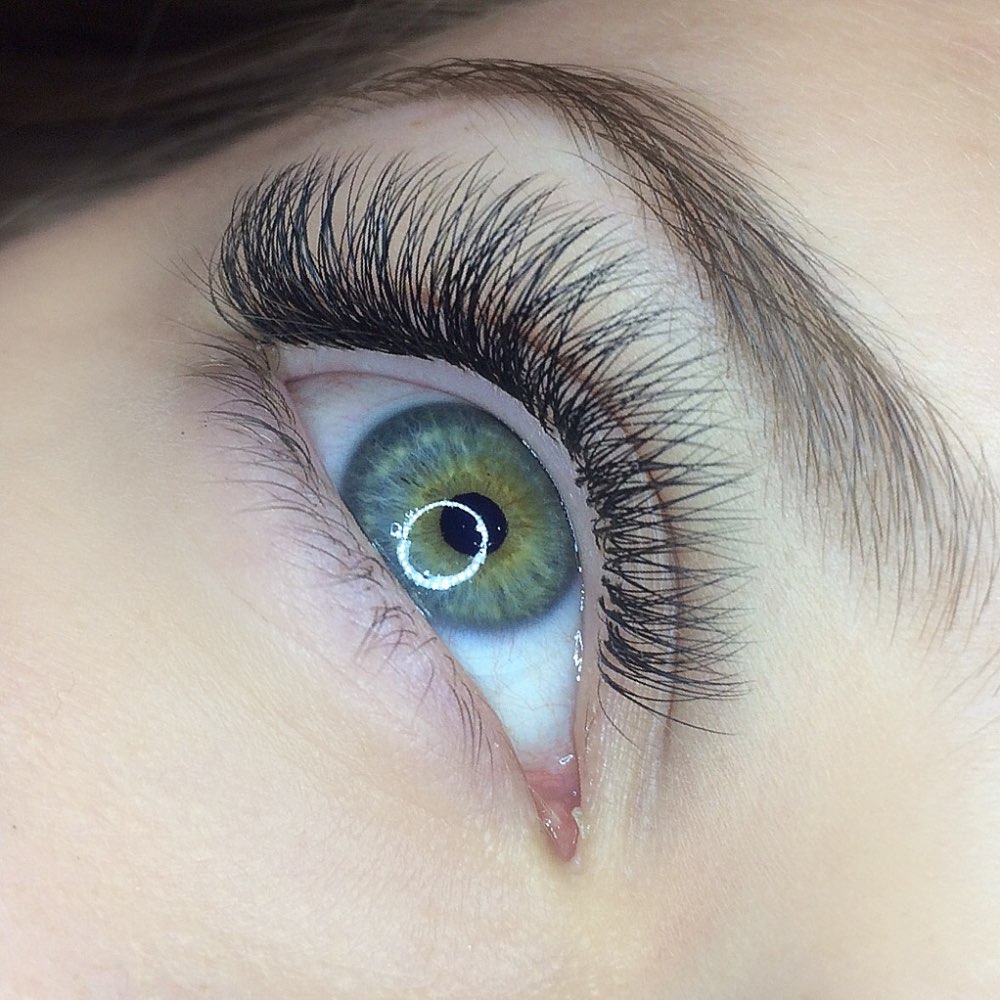
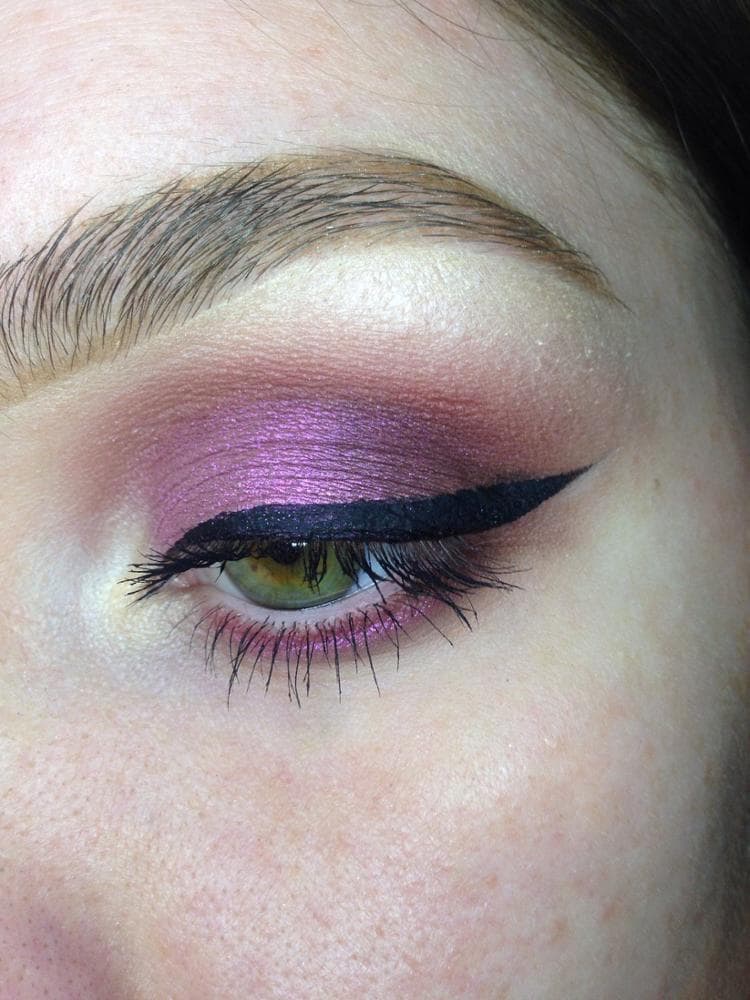
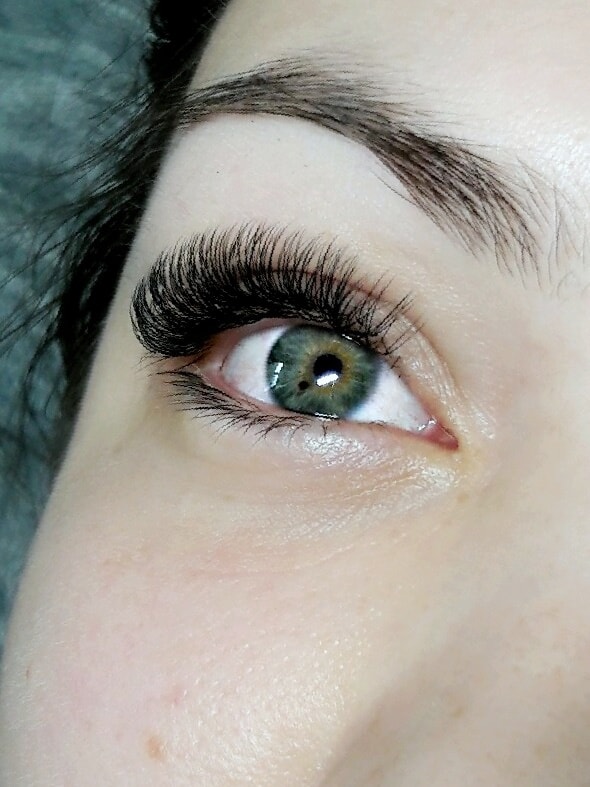
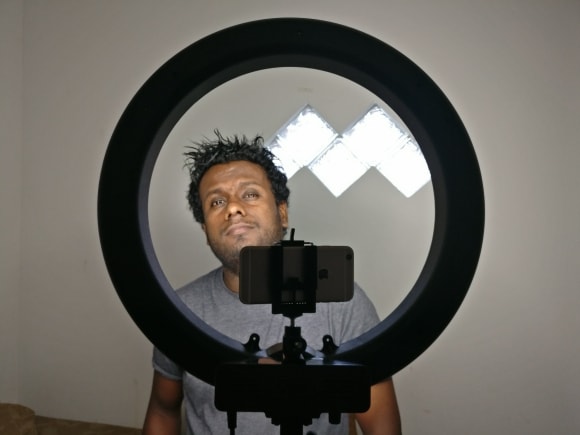
5 Reasons You MUST Try Out a Ring Light This Weekend If you’ve never given a ring light a try, this weekend is the time to make. it. happen. Beyond offering beautiful, soft light that is perfect for capturing amazing straight on portraits, there are many reasons why you should add the ring light to your repertoire. 1. That Catch Light Tho The first is the most obvious: a ring light means one of the coolest, most attractive catch lights (the light reflection in your subject's eye) in the business! 2. It Makes a Awesome Prop The light doesn’t have to be off-camera. In fact, one of the coolest effects you can get in a portrait is to have your subject hold it themselves. The darker the surroundings the better: let that ring be the only source of light. 3. You Can DIY Your Own for Cheap His cost only $70, but he estimates that it’ll run you between 50 and 100 depending on how fancy you want to get. The results he’s gotten (like the photo below) speak for themselves. “I can’t afford it” isn’t a good excuse… sorry. 4. It Helps You Capture Killer Closeups The very nature of a ring light requires that you get very close, and the way the light spills across your subject’s face is absolutely stunning. When taking close-ups, a ring light is extremely hard to beat… 5. It’s Great for Macro Photography The ring light reflection in the drops is gorgeous, and the close-up nature of a ring light/ring flash makes it perfect for many macro photography applications. If water drops aren’t your thing, here’s another beautiful macro example captured with a ring light: Basic ring lights range in price from cheap $10 bulbs to $100 and beyond for higher-end LED setups. More information: 500px DIY: How To Build Your Own Ring Light Meet Jay Russell a.k.a. The Photo Fiend, a self-taught creative portrait photographer based in Calgary. Want to improve your portraits with a full, soft light on your model? Jay can teach you how to make your own ring light. So you too can use it to shoot stunning portraits like the images below! HOW TO MAKE YOUR OWN RING LIGHT by Jay Russell This is a tutorial on the ring light I made that I use for most of my portrait work on 500px. I’ve made a few DIY lights since making my first ring light, but I still prefer the original 12 lights on a 24″x 24″ plywood to be the best light for my portraits. It’s not difficult to build, but just a warning—because you are working with electricity, I recommend getting an electrician to build it for you or at least provide you with some guidance. If you wire something wrong, you can easily end up electrocuting yourself, so please be safe and take all the necessary precautions. You can do this project for about $50-$100, depending on the specific materials you decide on using. My cost for this project is $70. It will take about 1-3 hours to complete. MATERIALS 14-gauge household wiring (approximately 10 ft) Standard light sockets x 12 24″x 24″ plywood. I used 1/4″ fir, 3/8 would be stronger A light switch. I decided on a 600-watt dimmer switch 12 light bulbs. CFL or incandescent work fine. Keep in mind incandescents run hot. Make sure you don’t go over the wattage that your switch can handle. I used regular 40-watt household bulbs. Power cord Small bag of wire connectors Zip ties Bracket and spigot for mounting to a light stand Electrical tape Electrical box TOOLS Jigsaw Drill Wire cutters and strippers Screwdriver Pliers Box cutter Measuring tape Pencil String INSTRUCTIONS Measure and mark the center of your plywood at 12 inches. Then attach the string to your pencil to draw the inner circle you need to cut out. Use one of the light sockets to gauge the distance you need to make it. Then, do the same for the outer circle. Use the jigsaw and cut out your inner and outer circles. For the outer circle, leave one corner in tact, so you have a spot for the switch and mounting bracket. Once you are done, you’ll have a teardrop shape with a hole in it. You can measure and mark 12 evenly spaced points for the light sockets. I just spaced my sockets out and marked everything without measuring. Drill the 12 holes out with a 7/16″ bit, or whatever is close enough so that you can feed 4 wires through. Next you’ll need to strip the wire. Remove the outer shield and cut off 8-10″ strips of the black and white pairs. You’ll need 12 pairs in total. Then you’ll need to strip the ends of every wire, roughly 3/4″ bare wire and use the pliers to make hooks on the bare wire. You’ll feed 4 wires through each of the 12 holes you drilled and wire each light socket. I wired mine in parallel. You’ll want to take your time, and make sure you don’t mix up the polarity. The 2 white wires go to the two gold contacts on the light socket. The 2 black wires go to the silver contacts. Make sure you feed the wire onto the contacts clockwise, so that when you tighten the screws, the wire doesn’t spin off. Double check your work, and do not mess this up. As you wire around the ring, you should have 1 white and 1 black wire left. Do not wire these into the socket you started with—you will wire these into the switch according to the instructions that come with your switch. For my dimmer switch: White wire goes directly to the power cord The black gets wired into the switch The ground from the switch goes to the ground on the green power cord Secure your wires with wire connectors and tape them. Now is a good time to test your handiwork. Screw a light bulb into the last light socket, and test it out. It should work like a regular light switch. If it doesn’t work, then you messed up and you’ll need to unplug your light and double check your wiring. After you know your wiring works and it’s NOT plugged into the outlet, zip tie everything in place. Drill small holes for the zip ties. You can also cut off the tip of the teardrop, so you have a flat edge for your mounting bracket. Important: Make sure you are NOT plugged into the wall when you’re working on your light! I zip tie everything, including the bracket and switch. Make sure there is no bare wire coming out the back of the light sockets or the switch. Throw your ring light on a light stand, screw in your bulbs and test it out! We hope you found this tutorial helpful! Follow Jay Russell on instagram to see more of his work.
- 4 replies
-
- 1
-
-
- ring light for video diy
- ringlight photo
- (and 26 more)
-
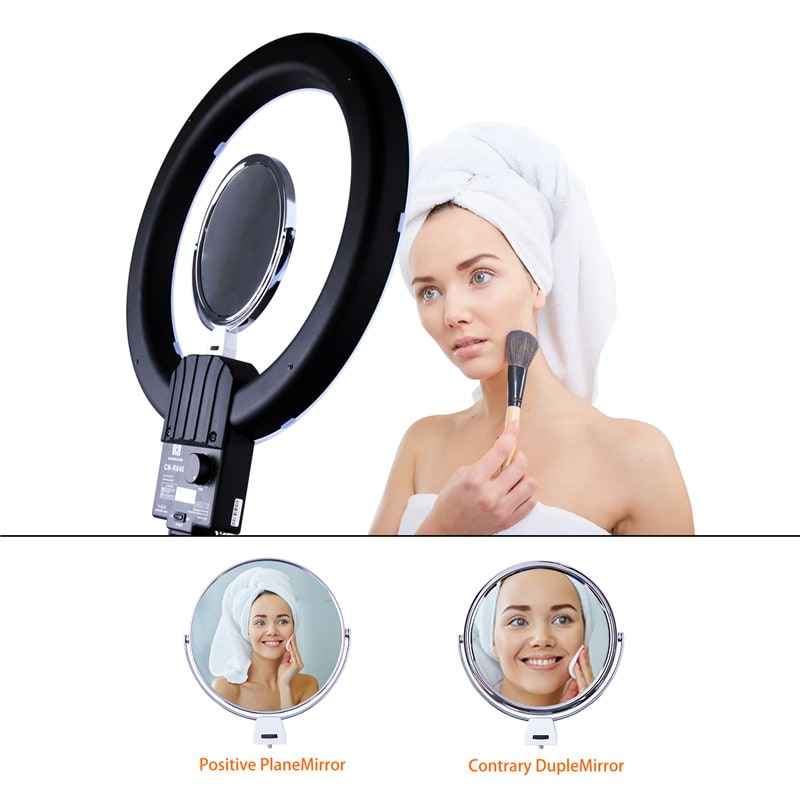
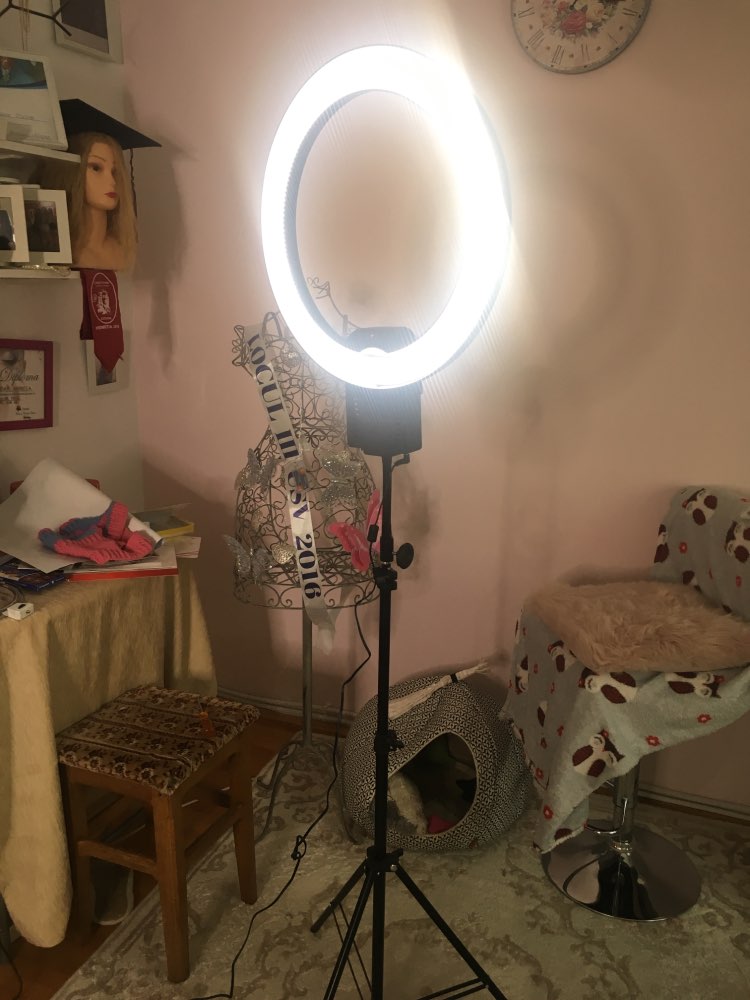
LED Lamp Ring Light. The Best Lighting for Photo,Video, Makeup Artist
AliLight replied to AliLight's topic in (EN) FORUM LIGHTING
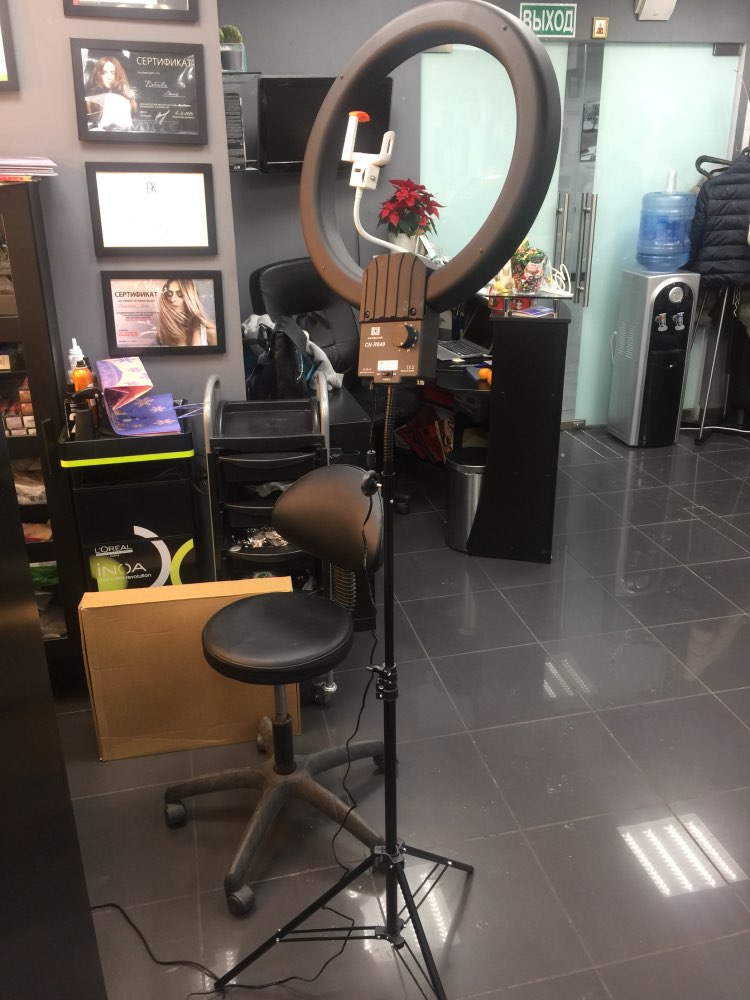
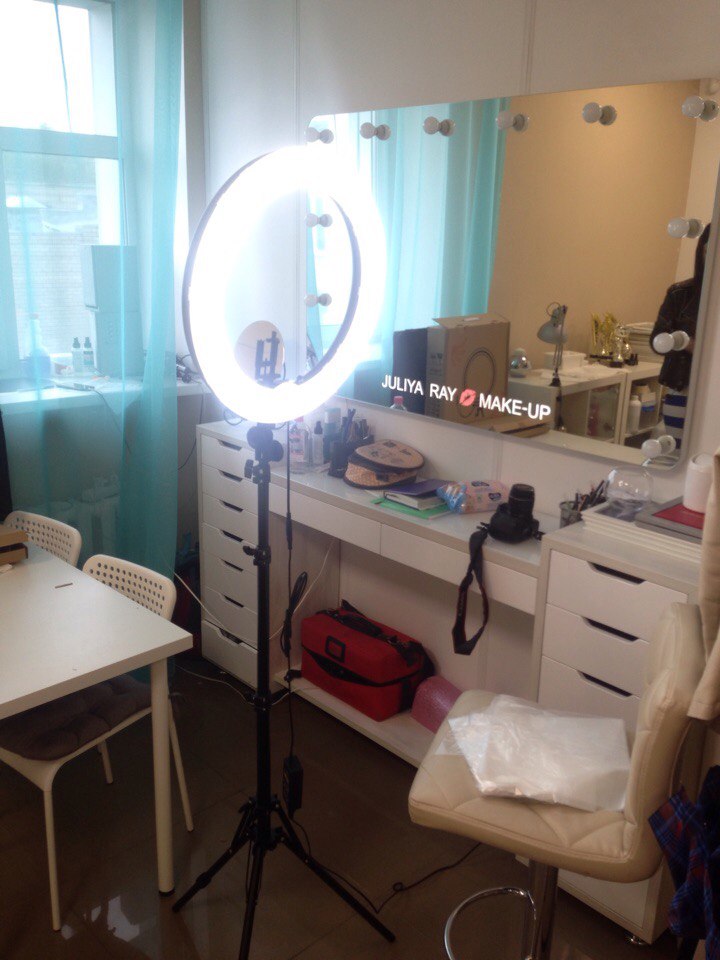
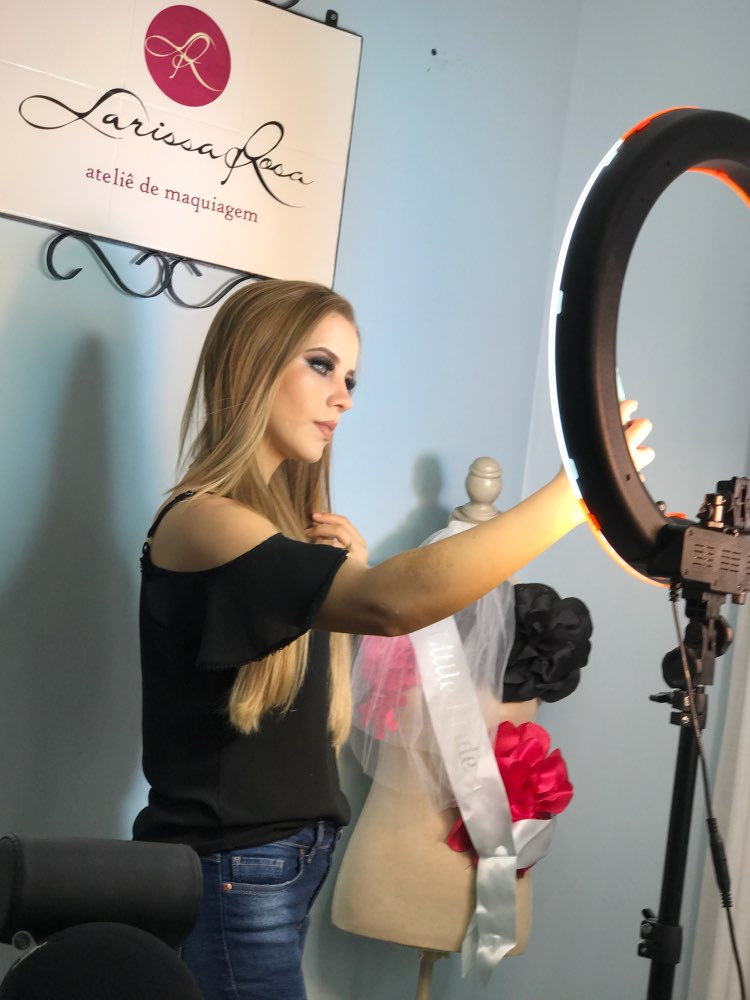
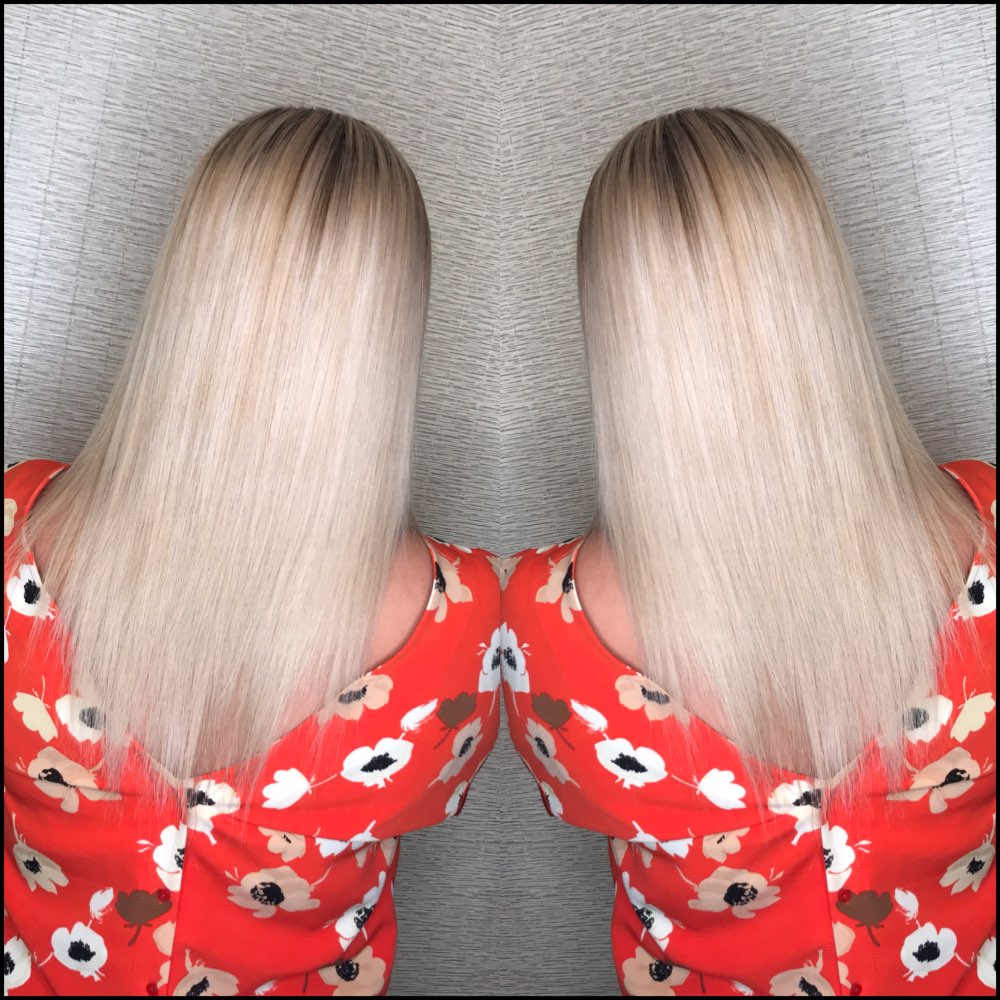
LED Ring Lighting | Makeup Pictures For Instagram NanGuang CN-R640 LED Ring Light is the ideal lighting setup for YouTube channels or vlogs ? Photo & Video: ? REVIEW Ring Light LED NANGUANG CN-R640: ? Buy Now $196.00 Free international shipping ??✌️ How I Take/Edit My Makeup Pictures For Instagram: ? Ring Light Accessories ? NanGuang CN-R640: - http://aliexpress.com/e/3rNbyfM - http://aliexpress.com/e/F6i6urF For LED Ring Light: - http://aliexpress.com/e/AqNnAIU - http://aliexpress.com/e/Zzr7YRj - http://aliexpress.com/e/ZNFiQja Universal accessories, for all types LED Ring Light - http://aliexpress.com/e/Qznm2Vv - http://aliexpress.com/e/BQrVfIQ - http://aliexpress.com/e/JmqvZbE ? Best gift for girl ??? - http://aliexpress.com/e/ZbQVnYZ
-
LED Lamp Ring Light. The Best Lighting for Photo,Video, Makeup Artist
AliLight posted a topic in (EN) FORUM LIGHTING
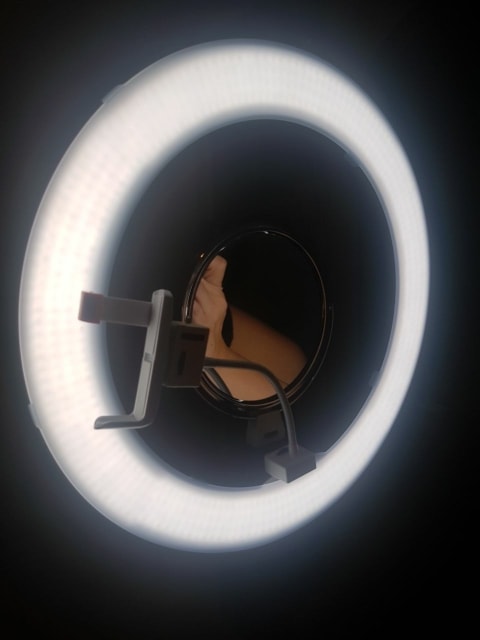
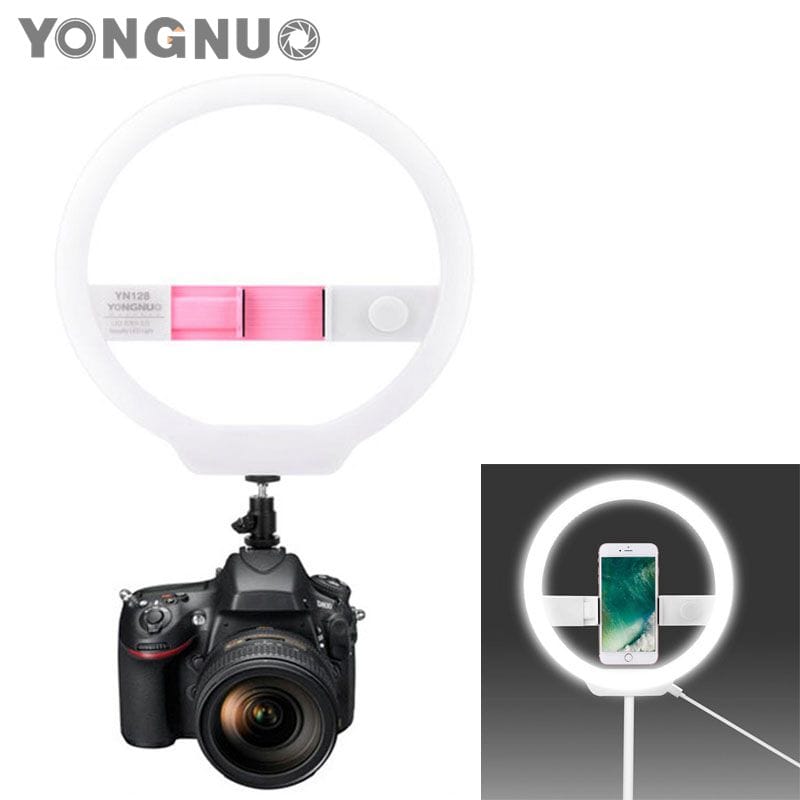
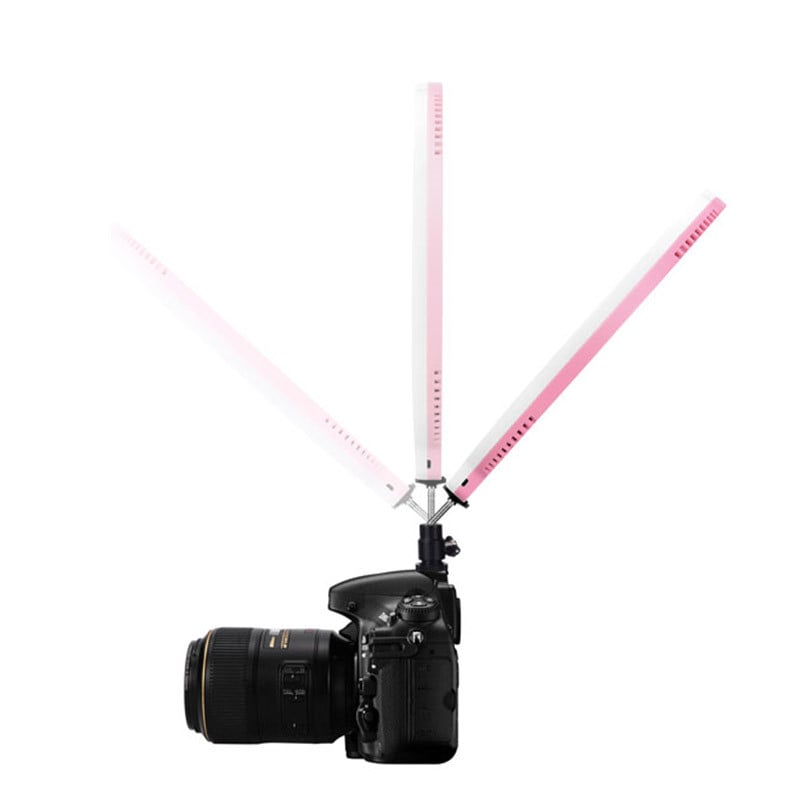
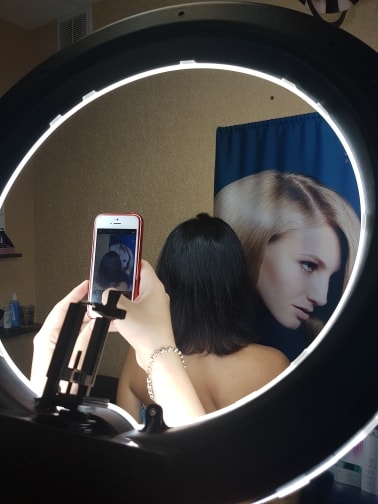
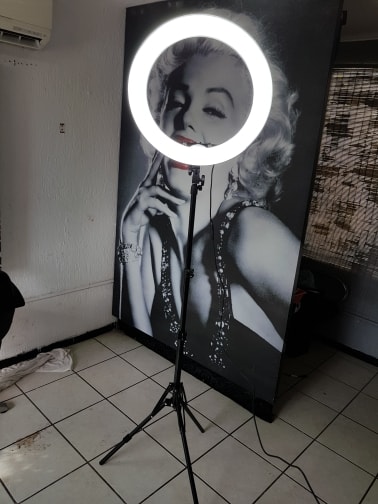
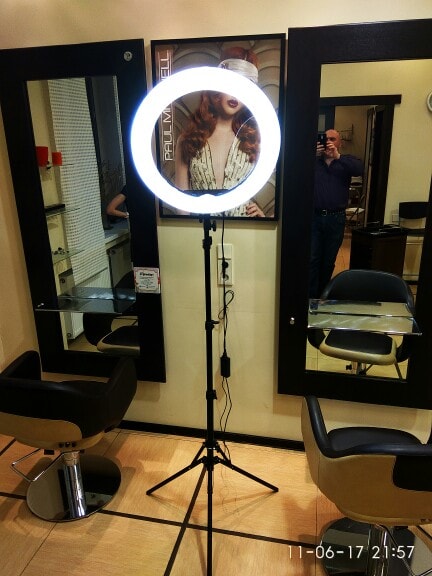
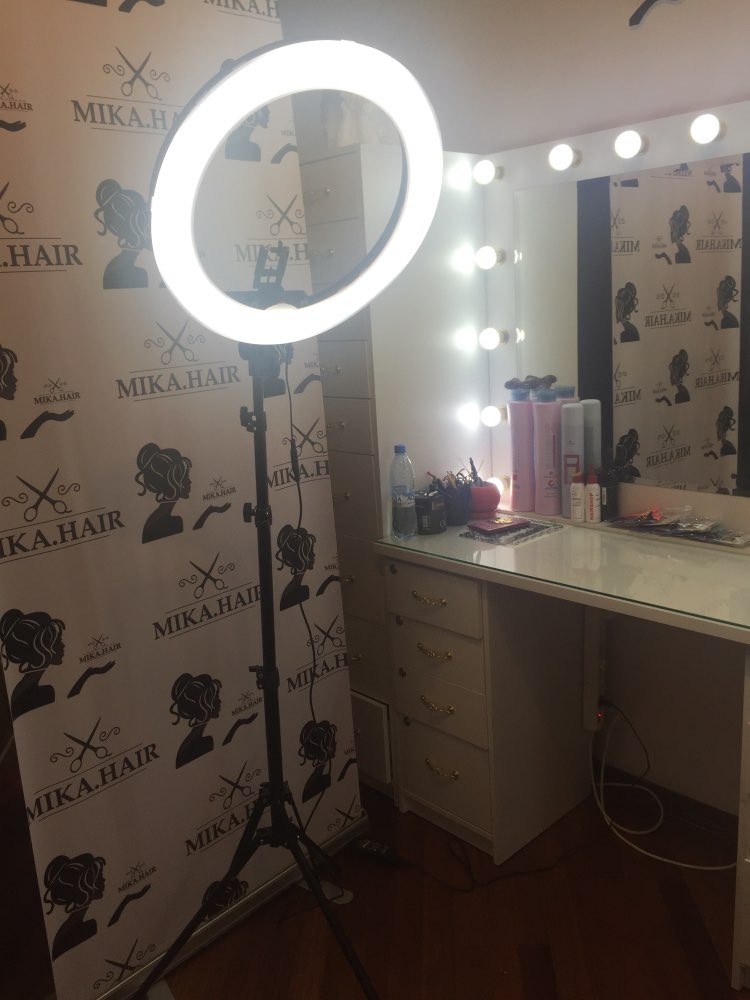
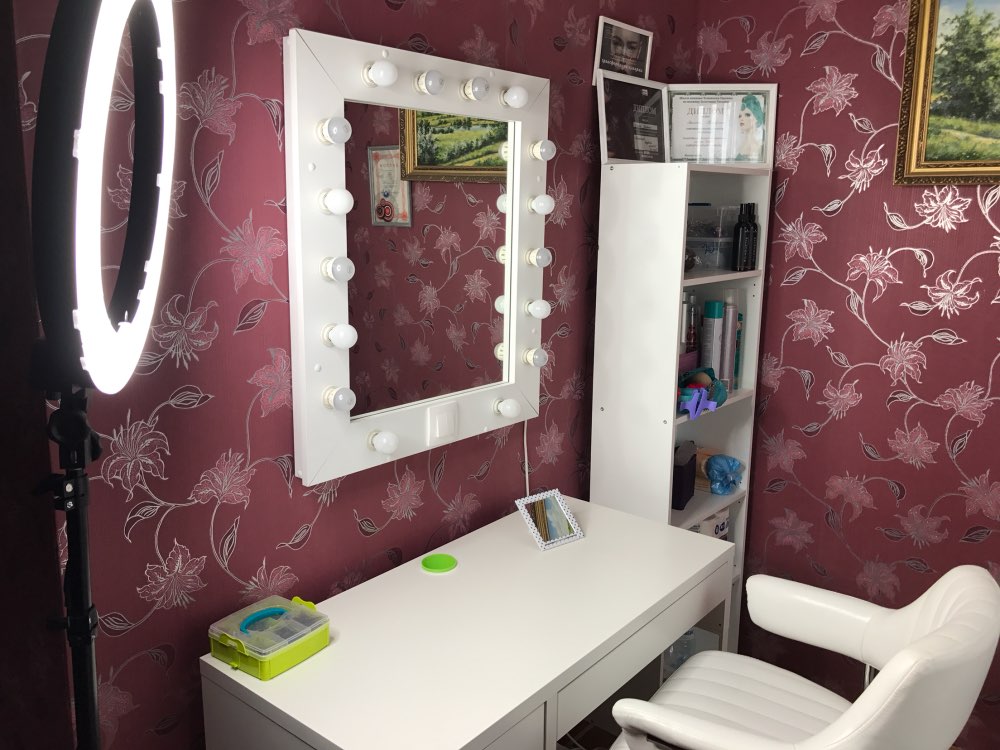
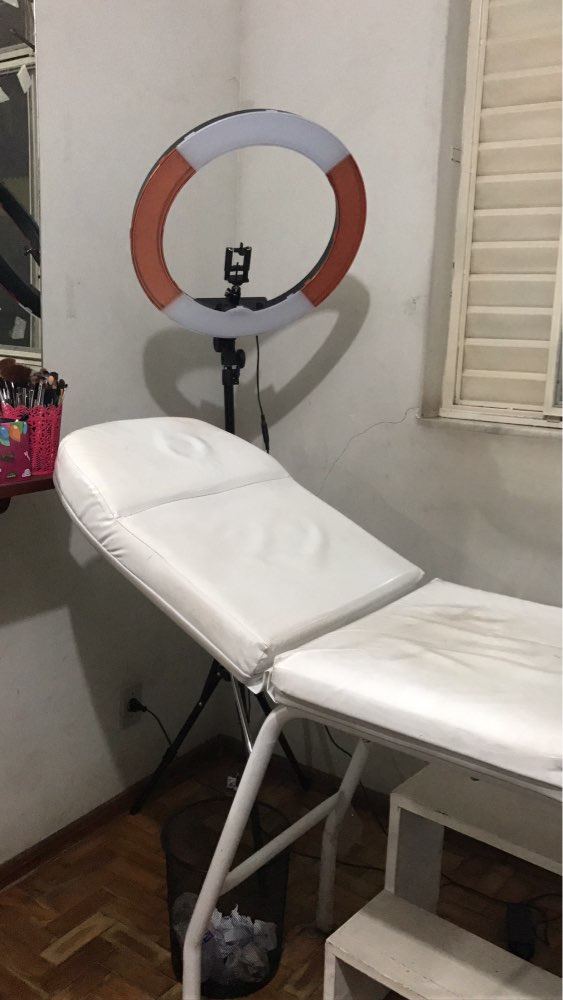
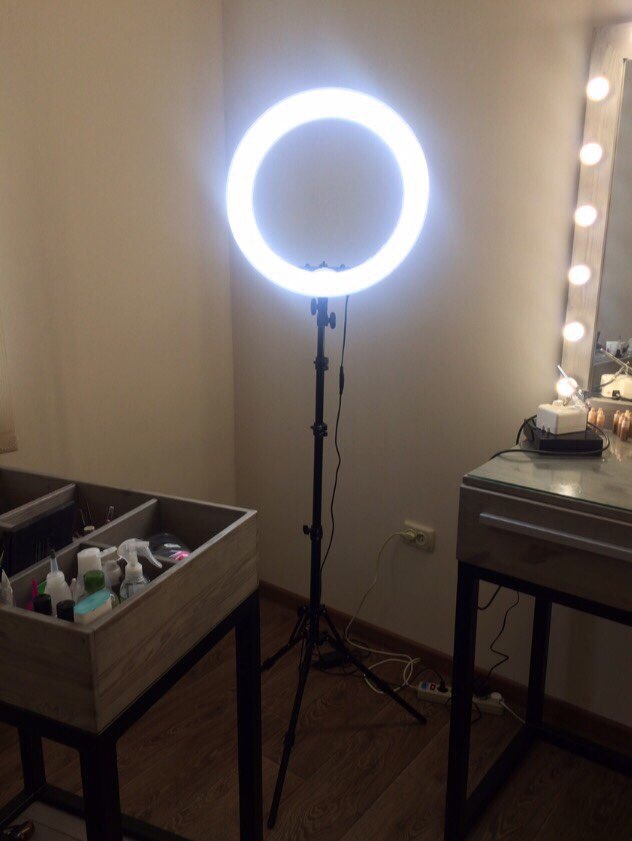
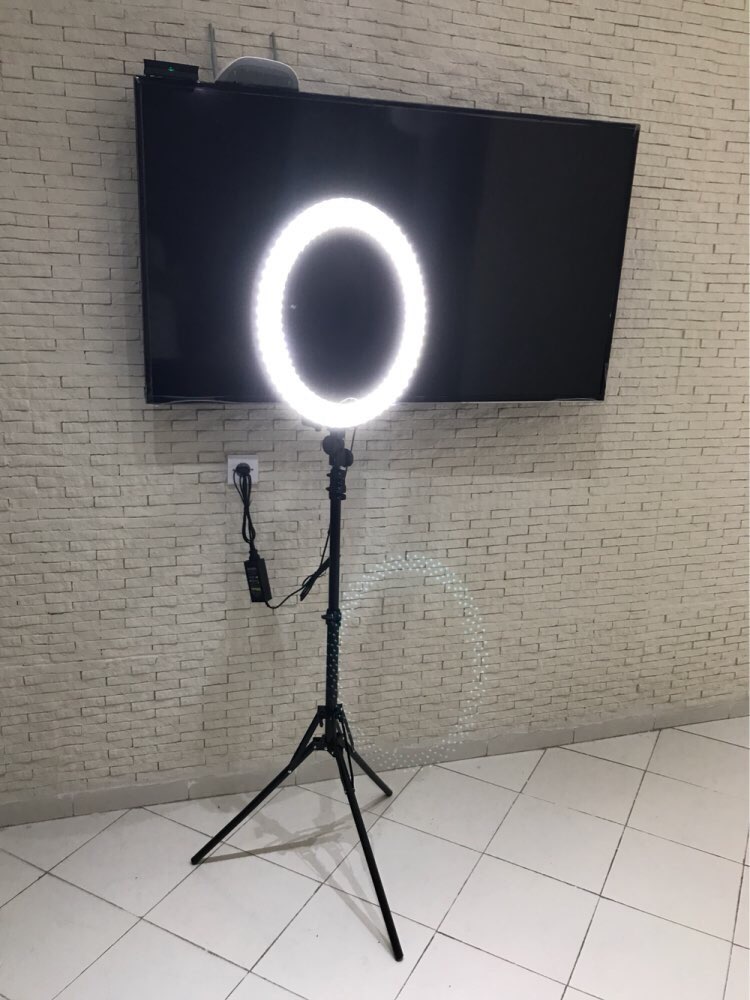
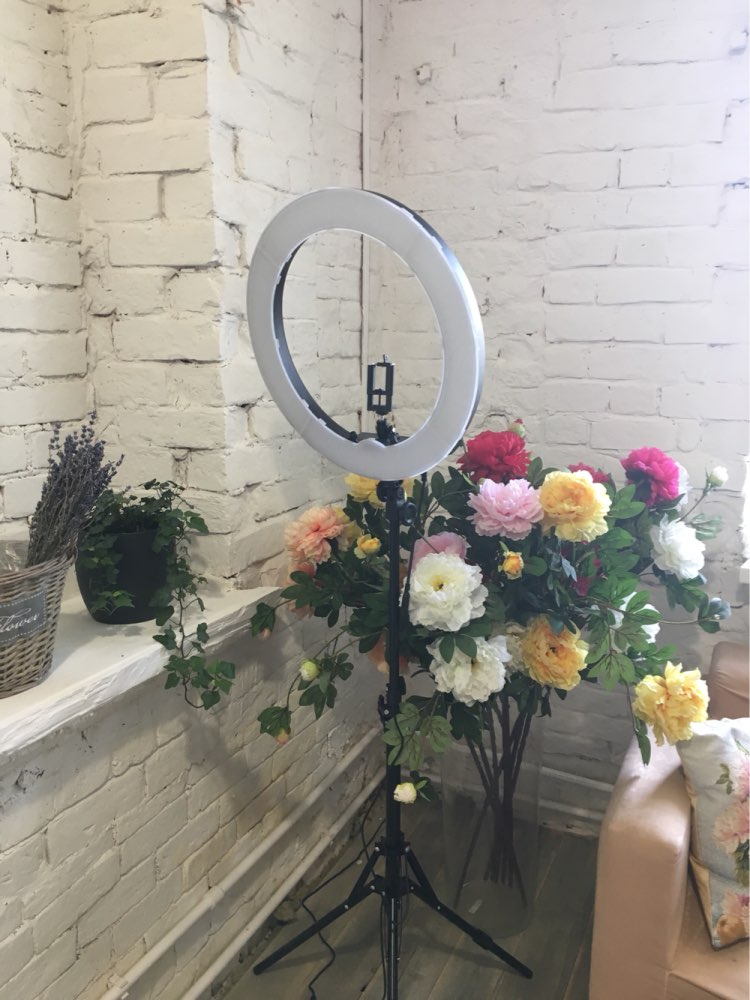
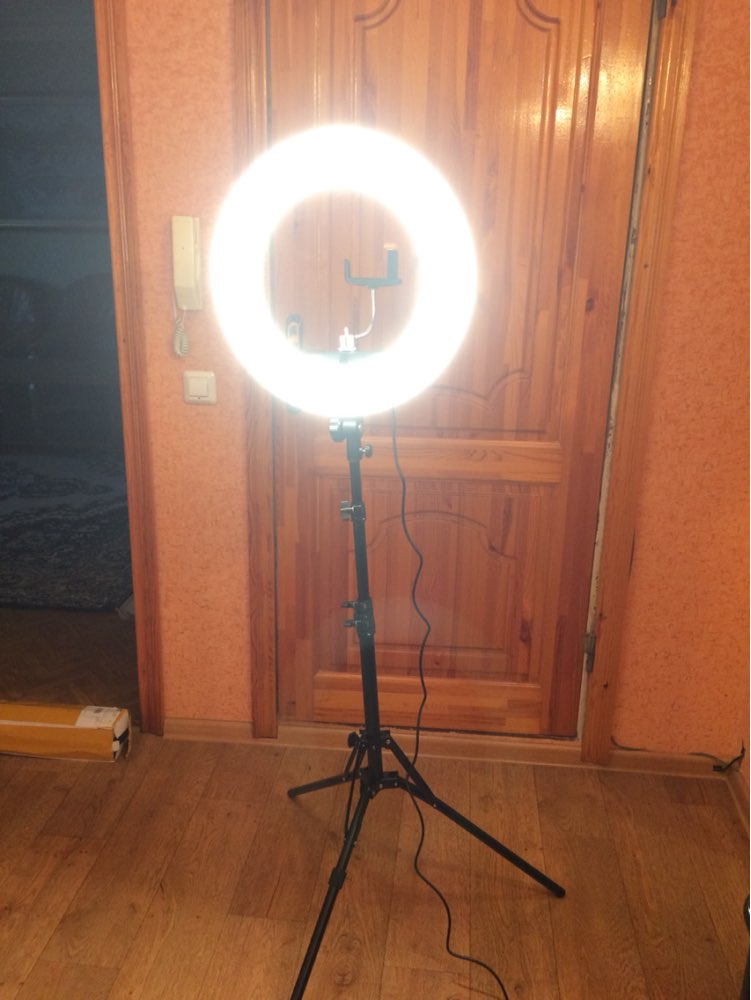
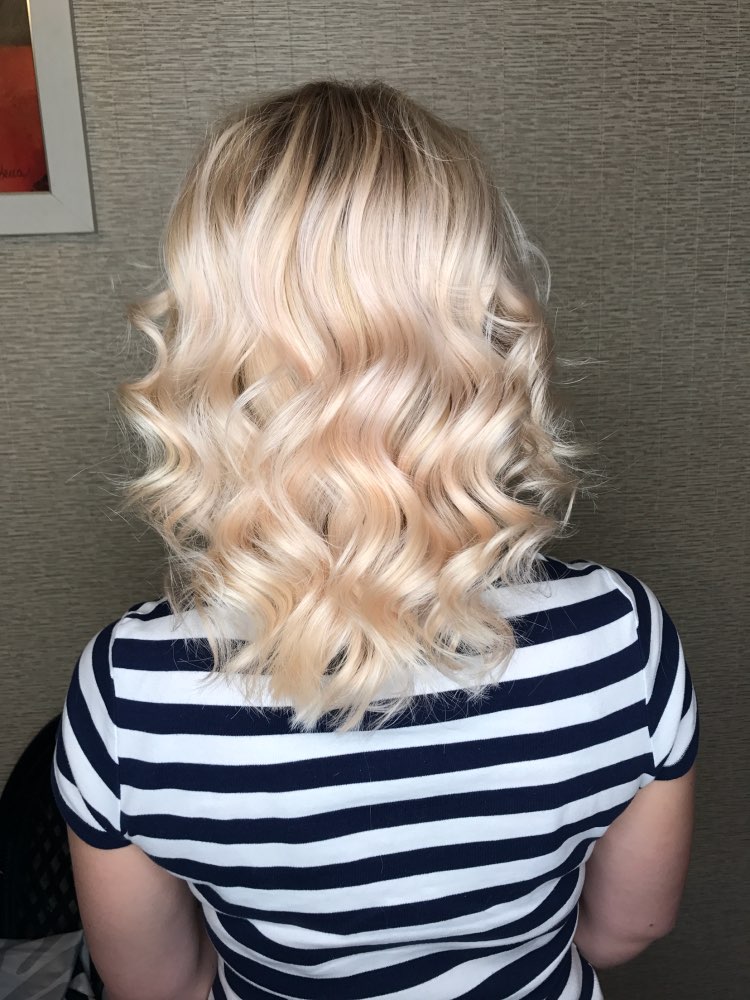
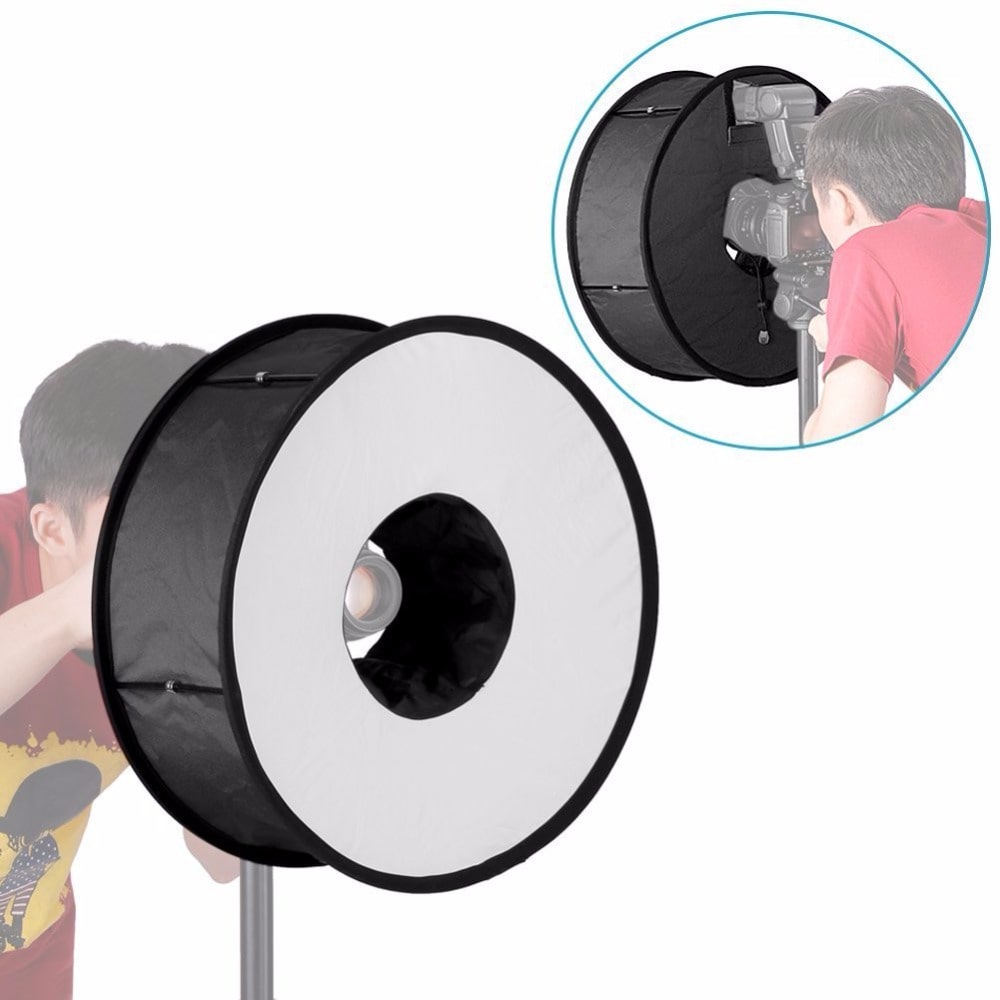
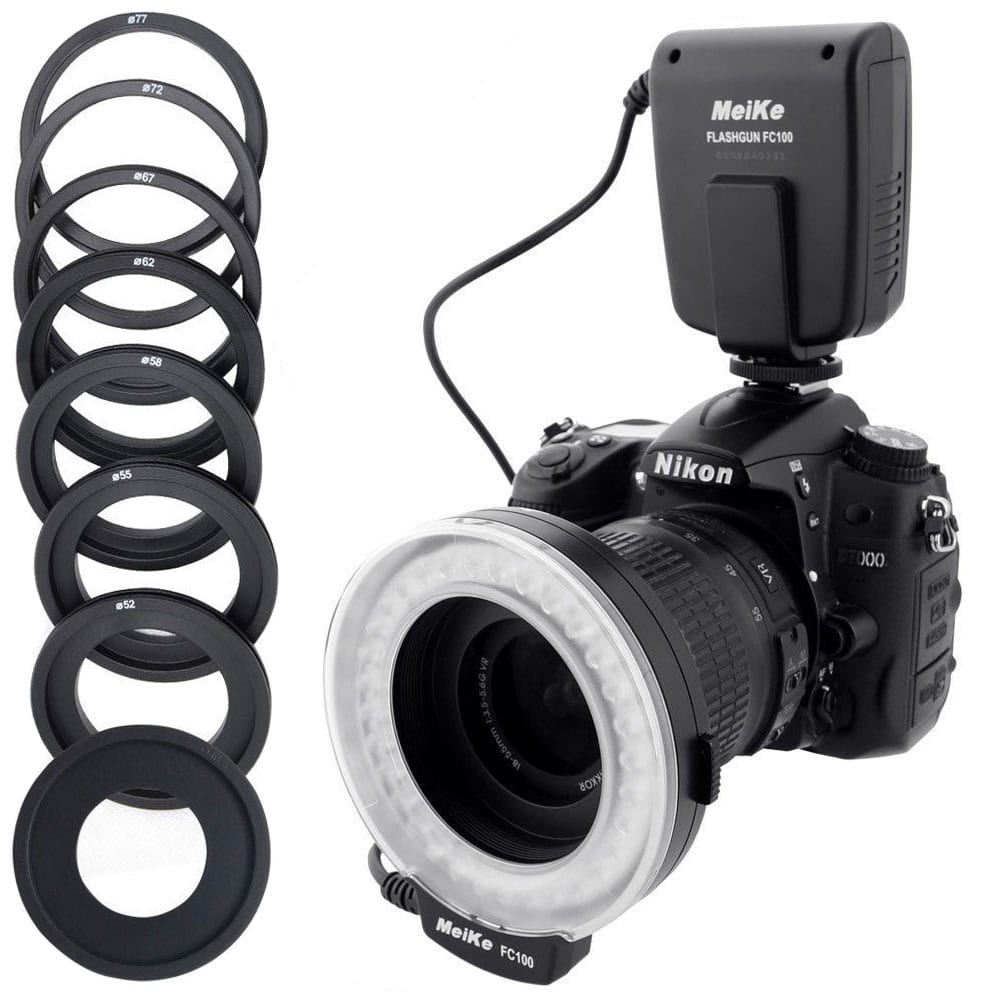
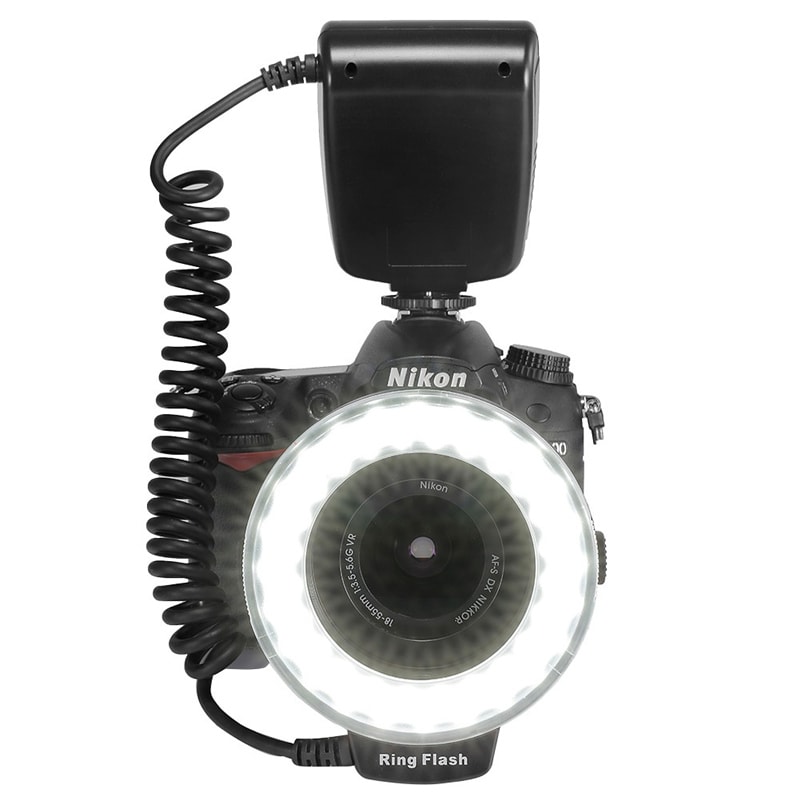
Ring Light Best for Photography Selfie & Makeup This selfie light gives you a beautiful selfie even in low light conditions. It will give you those gorgeous light rings in the eyes like models have and the magazines. Ring Light LED bulb is specially designed to provide supplemental or side lighting for photography in the night or darkness. The light helps you to get higher quality pictures and videos even in a low-light place. This light is perfect for makeup artists, it will not wash out the makeup. Every makeup artist knows that lighting is everything. LED Lighting provides a professional lighting environment where there is no access to natural light. ? Best LED Ring Light Reviews: Selfie Ring Light for iphone ? led ring light battery ⚡ flash light ring usb ??? Helpful customer Reviews & Comments. Read honest and unbiased product reviews. ✨ Professional Ring Lights for Photo and Video Best Selfie Ring Light • Lighting for Makeup Artist Ring Light (12-14 inch - 180LED) Ring Light (18 inch - 240LED) ? LED Ring Light Best Buy: Store: Meidike Photographic Equipment Co., LTD Store: fosoto Store Store: Fusitu Store ??? Helpful customer Reviews & Comments. Read honest and unbiased product reviews. Professional Ring Lights for Photo and Video: ? Bi-Color LED Ring Light 3200-5500К: ??? Helpful customer Reviews & Comments. Read honest and unbiased product reviews. Round Ring Light Softbox ??? Helpful customer Reviews & Comments. Read honest and unbiased product reviews. ? Macro Ring Flash Light for Nikon Canon Ring Pendant Light Fixture ? ⭕️: http://aliexpress.com/e/iYnE6Ur ? ⭕️⭕️: http://aliexpress.com/e/iqVjQvZ ? Store: Farito Lighting Manufacturer Store ✦ Buy Now → ✈️✈️✈️ [Free international shipping] Ring Light Best for Photography Selfie & Makeup
- 10 replies
-
- 1
-
-
- photographic lighting
- makeup photography lighting
- (and 13 more)


.png.cb807e9d12fe90fe74aad6787ab1018f.png)


.gif.43d0330ee3a294e8098a4d4e2da5b19c.gif)


-
Темы
-
- 1 reply
- 1,315 views
-
Lineare LED Beleuchtung ~ Linear Lichtsysteme • Design-Lichtlinien
By LEDWORKS Licht Manufaktur, in (DE) FORUM BELEUCHTUNG
- lineare beleuchtung
- led linear
- (and 11 more)
- 29 replies
- 19,450 views
-
- 1 reply
- 1,812 views
-
- 2 replies
- 2,476 views
-
Помогите узнать название покрытия защитного стекла на галогеновой лампочке. В идеале что за лампа?
By Vladimir Kuznetsov, in (RU) ФОРУМ ОСВЕЩЕНИЕ
- 0 replies
- 1,065 views
-
Подскажите насчёт ультрафиолетовой декоративной подсветки для шкафчика
By Vladimir Kuznetsov, in (RU) ФОРУМ ОСВЕЩЕНИЕ
- 0 replies
- 1,941 views
-
- 0 replies
- 35,638 views
-
- 1 reply
- 15,841 views
-
Unleashing the Captivating Charm: SK6812 RGB LED Strip Transforms KTV Experience
By Anna, in (EN) FORUM LIGHTING
- 2 replies
- 4,034 views
-
Как освещение влияет на здоровье человека?
By Decorator, in (RU) ФОРУМ ОСВЕЩЕНИЕ
- освещение в спальне
- освещение в гостиной
- (and 2 more)
- 4 replies
- 7,475 views
-
- 0 replies
- 6,225 views
-
- 0 replies
- 2,607 views
-
- 2 replies
- 19,480 views
-
Подключение светодиодного светильника SWIT S-2630 без контроллера
By type49, in (RU) ФОРУМ ОСВЕЩЕНИЕ
- 0 replies
- 1,211 views
-
- 0 replies
- 3,701 views
-
- 0 replies
- 3,382 views
-
- 0 replies
- 12,305 views
-
- 0 replies
- 2,602 views
-
- 1 reply
- 19,613 views
-
Помогите с расчетом необходимого количества светильников
By Евгения Пономарева, in (RU) ФОРУМ ОСВЕЩЕНИЕ
- 0 replies
- 4,284 views
-
- 3 replies
- 5,689 views
-
- 1 reply
- 9,960 views
-
Яркая подсветка самоката своими руками | Подсветка для электросамоката
By Tamik, in (RU) ФОРУМ ОСВЕЩЕНИЕ
- 4 replies
- 25,960 views
-
- 1 reply
- 6,225 views
-
- 1 reply
- 3,293 views
-
Look at the LED Sets with Simple Operation & Various Effects
By BTF-LIGHTING, in (EN) FORUM LIGHTING
- 7 replies
- 3,519 views
-
- 17 replies
- 8,867 views
-
- 8 replies
- 8,126 views
-
- 7 replies
- 4,546 views
-
- 1 reply
- 5,476 views
-
- 16 replies
- 5,767 views
-
- 0 replies
- 2,297 views
-
DIY Leuchtendes Strichmännchen Kostüm selber machen | mit LED Licht | Halloween Kostüm | Tutorial
By Tim Ustrabowski, in (DE) FORUM BELEUCHTUNG
- 0 replies
- 2,718 views
-
- 0 replies
- 2,121 views
-
- 0 replies
- 2,021 views
-
- 0 replies
- 1,922 views
-
- 0 replies
- 2,177 views
-
Giant LED Tree Weaving! Tiny Whoop vs Mobula HD vs SQUIRT Footage comparison
By Steve Beatty, in (EN) FORUM LIGHTING
- 0 replies
- 1,941 views
-
Glowing Wire Wrap Necklace with LED Lights - Programmable, with USB Charging
By Mechanic, in (EN) FORUM LIGHTING
- 0 replies
- 2,299 views
-
- 0 replies
- 4,902 views
-
- 0 replies
- 2,663 views
-
- 7 replies
- 16,117 views
-
- 1 reply
- 2,391 views
-
- 0 replies
- 2,279 views
-
- 0 replies
- 2,188 views
-
Правильное освещение: от печали и вирусов - Светотерапия, лечение светом
By Platon, in (RU) ФОРУМ ОСВЕЩЕНИЕ
- освещение в гостиной
- освещение в прихожей
- (and 3 more)
- 5 replies
- 4,799 views
-
DIY - RINGS OF SATURN LED PENDANT LIGHT I LUSTRE PENDENTE ESPIRAL - HOW TO MAKE
By Recarga, in (BR) FÓRUM ILUMINAÇÃO
- 0 replies
- 3,072 views
-
Résidence étudiante Les Croisiers - Eclairage et installation électrique Électricité tournaisienne
By Geary Lewis, in (FR) FORUM ÉCLAIRAGE
- 0 replies
- 2,507 views
-
- 0 replies
- 4,838 views
-
- 0 replies
- 2,381 views
-


.thumb.jpg.aa8e0eb4465e724dc084cb403f62ed80.jpg)